What is it about other people’s versions of the same recipe that inevitably turn out better than yours? I call it Other People’s Salad Syndrome, or Salad Syndrome, for short. I can put the same baby lettuce, grape tomatoes and grated carrot in a bowl, make a basic vinaigrette and it will be fine. My Mum will make it or a friend will whip one together and it will still taste better than one I’ve made.
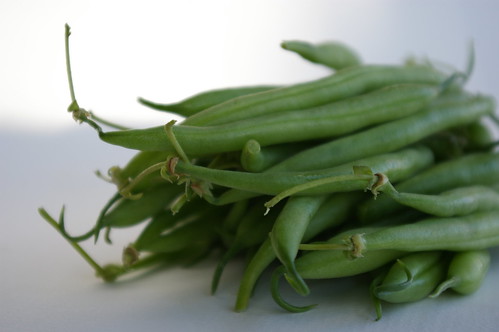
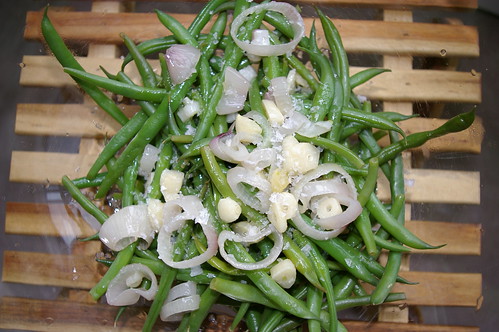
When I was back in Vancouver a few weeks ago, my Mum made a dinner that included Green Beans with Garlic. In a nutshell, it’s steamed green beans, doused with olive oil that has had chunks of garlic cooked in it, then sprinkled with salt and pepper. We’ve had this many times over the years, and I’m sure I remember a few versions that had long strips of sweet red pepper for colour and flavour contrast.
Still craving another hit of that garlicky, summery taste, I picked up a huge bag of green beans earlier this week. Then, this morning as I was procrastinating (surely, this is one of the top reasons I bake and cook), I thought it would be the perfect time to cook up some beans.
I had double checked the “recipe” with my Mum the night before. (“So, it’s just beans and garlic in oil and salt and pepper, right?” I messaged her in the middle of our online Scrabble game. “Yup.” Alrighty, then.) So, I was good to go.
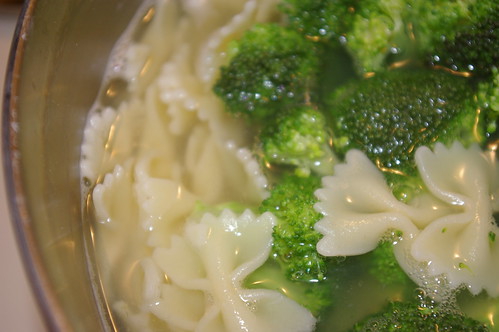
Oh, except for the fact that for some unknown, unexplained and super annoying reason, the water to my apartment was cut off for several hours today. But, never one to shy away from a challenge, I proceeded anyway. (I can be particularly stubborn and, subsequently, pretty creative.) I had just enough water in my Brita to make three cups of rice (for the other part of my lunch) and to steam the green beans. Thank god I refilled that thing.

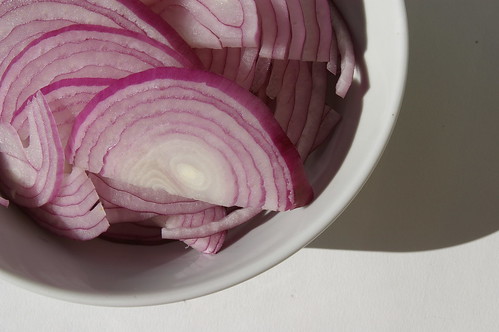
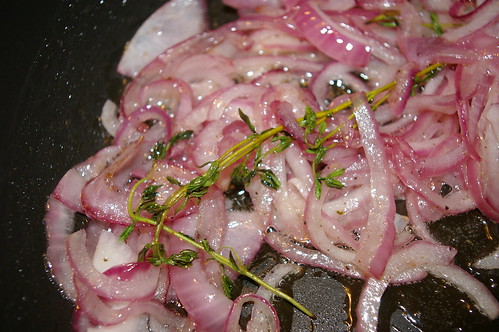
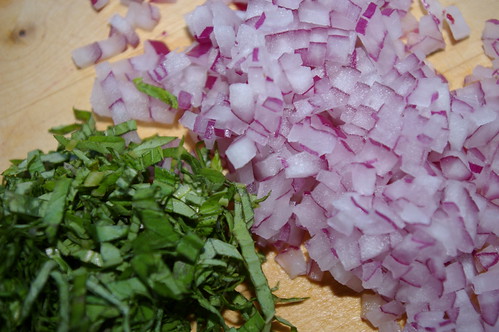
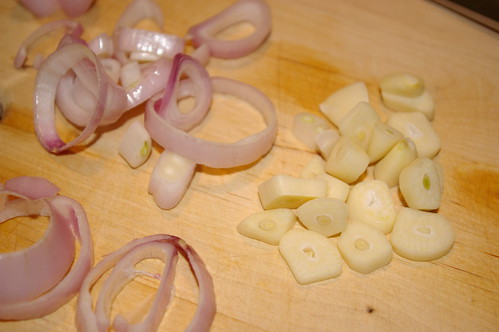
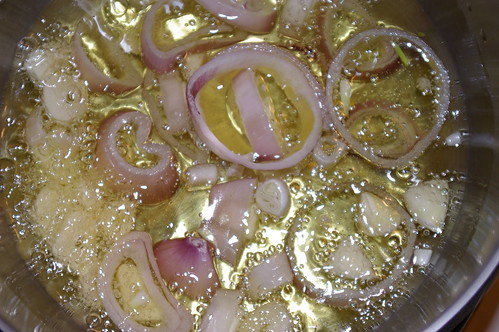
Owing to my overwhelming supply of shallots, I thought I’d adjust the recipe slightly and slice up one of those and add it at the last minute to the olive oil. I really liked this touch, as the shallot was a sweet addition, and will do it again in the future. But if you don’t have any lying around, I wouldn’t worry about it.
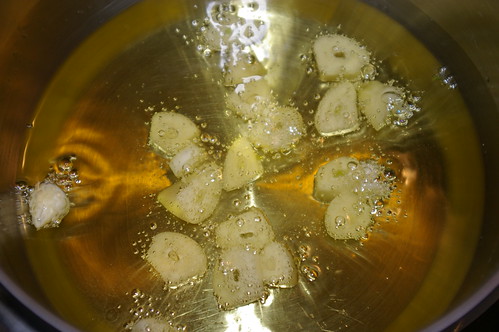
The idea here is to cook the garlic until it’s tender and has lost its bite in favour of a slightly nutty taste sort of akin to roasted garlic. If the oil’s temperature is too high, the garlic could burn and it will taste very acrid. The key is to watch the amount of bubbling after throwing in the garlic. I also occasionally lift the pot off and swirl the oil around to keep the garlic moving. If you’re going to add some shallot, add it towards the end because it will cook more quickly than the thick-cut garlic.
Anyway, I steamed the beans, cooked the garlic in the oil, added the (what I believe to be) inspired choice of a shallot, tossed it all together with some salt and pepper and sat down to enjoy lunch.
And was disappointed.
It’s not that it wasn’t good. Mmmmm garlic. Mmmmmm slightly sweetened shallot. Mmmmm grean beans. And yet, it still wasn’t as tasty as the version I had just two weeks earlier.
I’m blaming it on Salad Syndrome.
But I’m going to keep working on it because this summery, salad-ish recipe is too good to give up on.
For this recipe, I use Maldon flaked salt. I like the slight crunch of the crystals and that it’s not an overpoweringly salty taste.
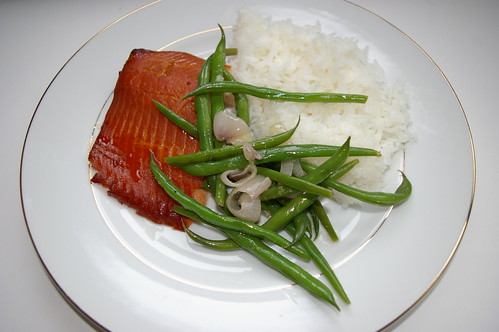
Green Beans with Garlic
- 1 pound green beans
- 1/2 cup olive oil, extra virgin preferable for it’s more intense flavour
- 4 cloves garlic, sliced thickly
- 1 or 2 shallots, sliced thickly in rings and then separated
- salt
- pepper
Steam the green beans. (I do it on the stove using a steamer, but only because I’m not sure how to do it in the microwave.) When they are still slightly crisp (I think the technical term is “tender crisp”) and bright green, throw them in a bowl of ice cold water to shock them — stop the cooking process and keep them a nice colour. Strain and throw in a bowl. While the beans are steaming, set a small pot with the olive oil onto a burner set to medium heat. Add the garlic and cook until slightly golden. Toss over beans and then add salt and pepper to taste.
P.S. When all the beans are eaten and there is still all that lovely, garlicky oil left over, it’s pretty delicious with chunks of french bread.
P.P.S. Hmmmm. Having just had another round of beans that have been sitting out since I made them (about two hours ago) and are now about room temperature, I’d say they are even better this way. Maybe *that’s* the trick. When my Mum made them, my sister and I kept picking away at them while the rest of dinner cooked, so they probably were more at room temperature by the time we all sat down.
So, you may want to make them slightly ahead of time and let them cool before enjoying.