In a rash move, I bought a whole bunch of peaches a couple of weeks ago. And then, when those had run out, I bought some more. Some of you may have already enjoyed the Peach, Prosciutto, Rosemary and Goat Cheese flatbread, which resulted from this sudden and inexplicable need to purchase peaches. But, wait, there’s more! Since it became clear I was going to need to bake with some of them, as they all began to ripen at once, I became fascinated by the idea of making a Peach Upside Down Cake.
I never really understood the love affair with pineapple upside down cakes (maybe it’s my aversion to maraschino cherries), but I do like the idea of fruit getting baked into the bottom of a cake and then being turned out so it becomes the decorative topping. They’re just so darn pretty.
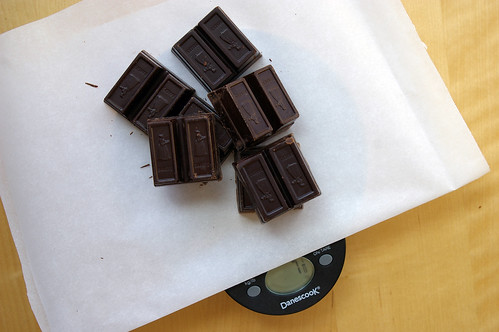
Now would be a good time to praise my digital kitchen scale because, well, this recipe is almost completely in weights, with the exception of the eggs and vanilla.
That said, I absolutely do love my digital kitchen scale, which was a gift from my mum one Christmas. It is, by far, one of the most used gadgets in my kitchen. It’s super handy for measuring butter (since I always have to cut mine to measure because we don’t have “sticks” of butter up here and it gets tricky sometimes trying to carve off the appropriate amount from the blocks we have up here) and I now use it exclusively when making no-knead bread (post coming soon) because I can just tare it off before adding the next ingredient. And, of course, a lot of European recipes only use weights, which makes the scale essential.
I don’t usually encourage people to purchase additional things for the kitchen (cough, cough, except for the clearly essential rasp, which I have talked often about; mine is from Lee Valley Tools), but I do believe this is a useful tool. Ok, moving on.
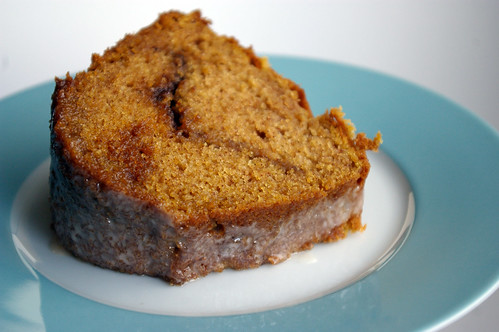
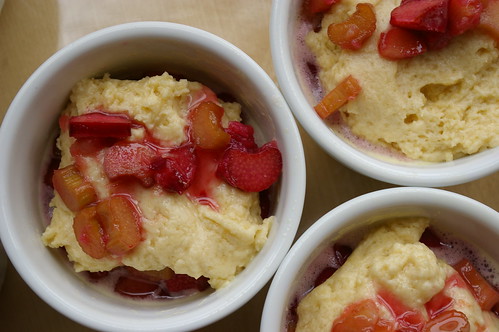
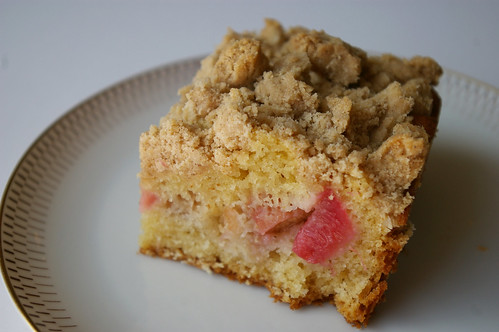
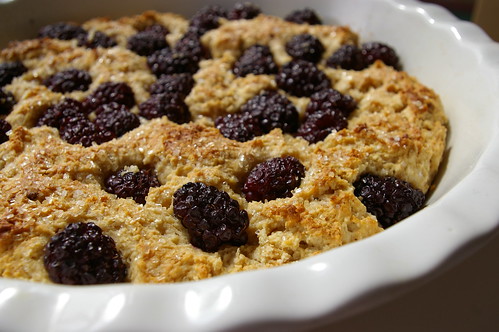
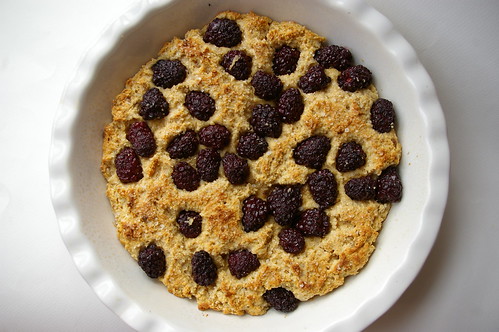
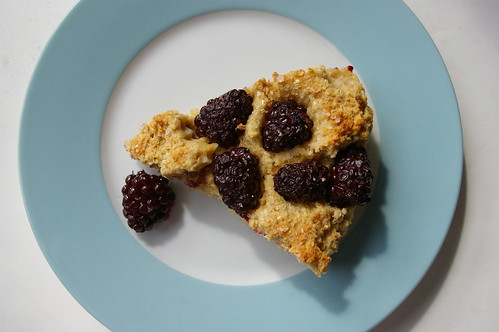
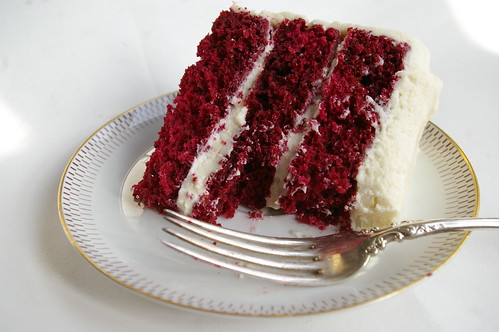
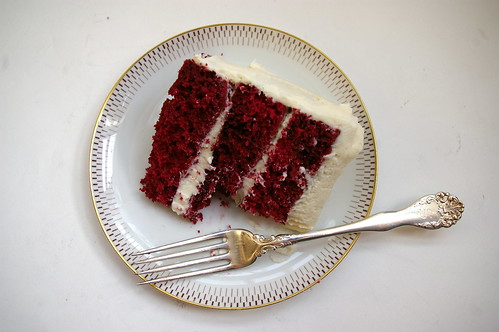
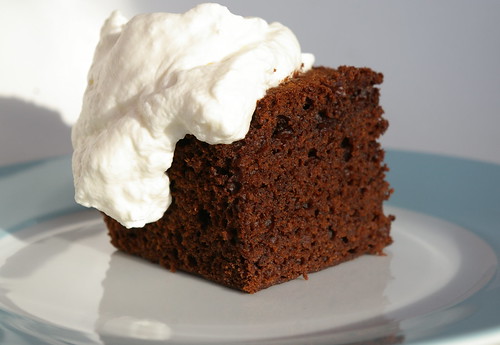
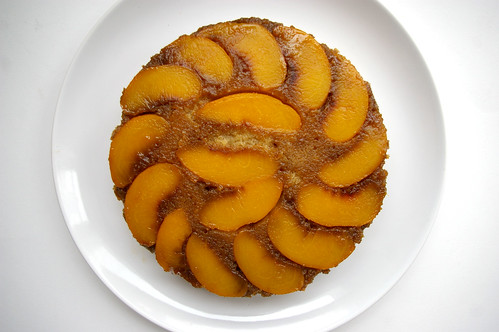
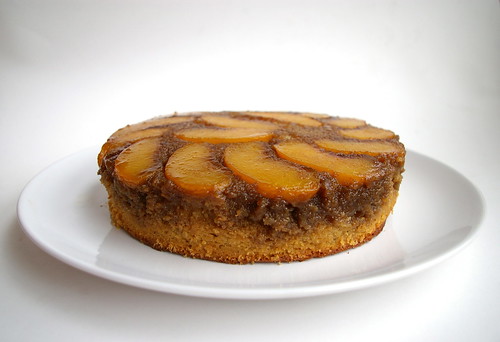
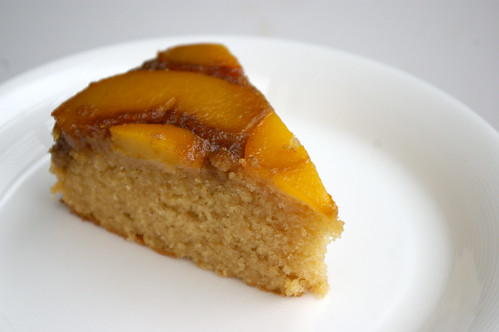
This cake was seriously delicious and oh-so-pretty. The brown sugar and butter-topping created a moist, topping and the peaches were perfect. The cake was relatively light and nicely spiced, so the perfect complement to the rich topping and cooked fruit.
And, perhaps more importantly, it was really quiet easy. But the gorgeous presentation doesn’t suggest that at all, making it an ideal cake for sharing with friends. (Which I did!)

I have no idea how I stumbled on to this recipe, but it came from Kerrisdale Design Inc.
Peach Upside Down Cake
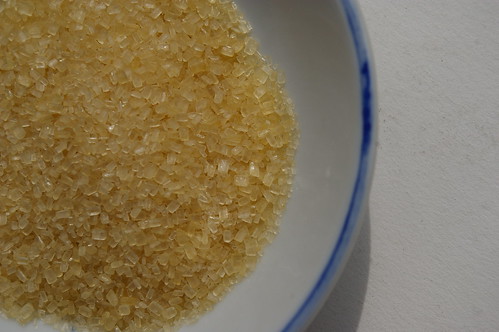
- 3 ounces brown sugar
- 4 tablespoons unsalted butter
- 2 peaches, peeled and cut into 1/2″ slices
- 6 ounces unsalted butter
- 3.5 ounces brown sugar
- 3.5 ounces white sugar
- 2 teaspoons vanilla
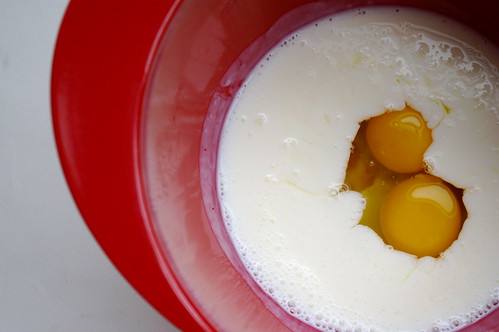
- 2 eggs
- 6.5 ounces all-purpose flour
- 1/2 teaspoon cinnamon
- 1/4 ounce baking powder
- 1/4 teaspoon salt
- 7.5 ounces buttermilk
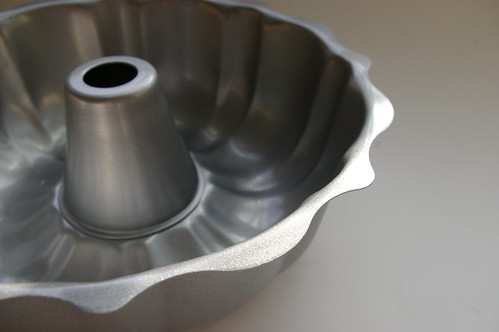
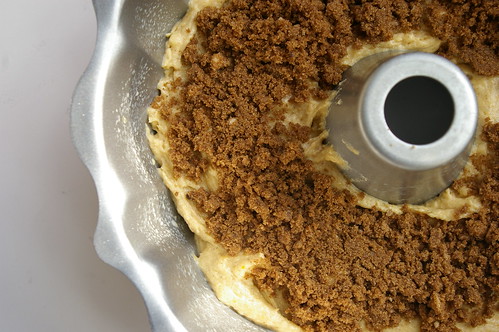
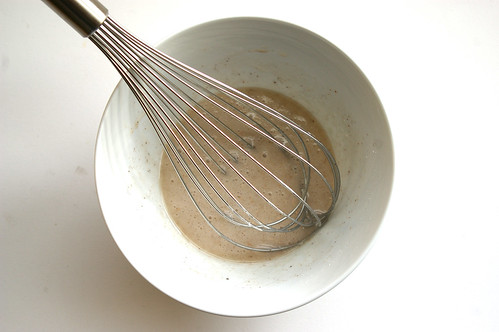
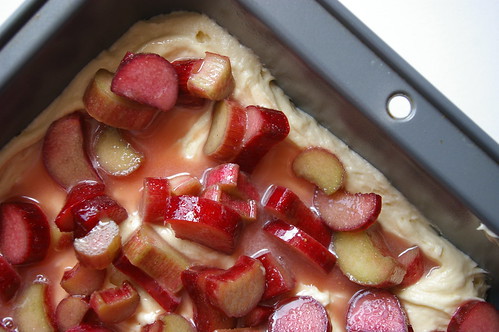
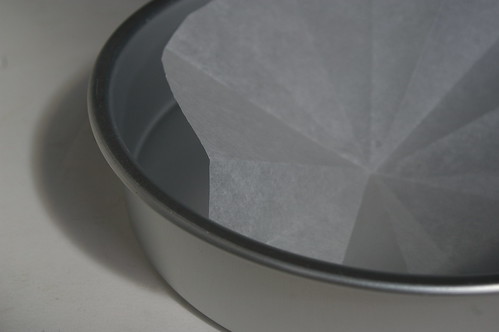
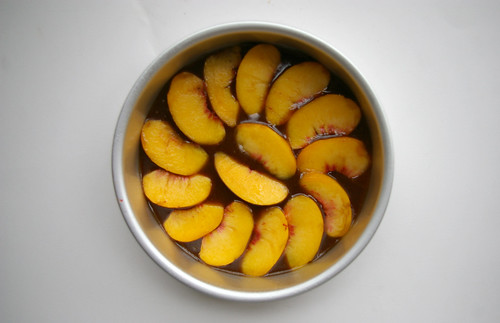
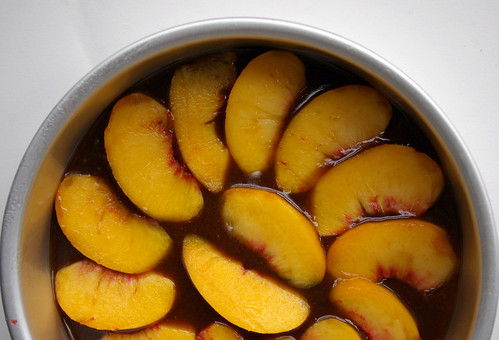
Heat the oven to 350 F and spray an 8-inch cake pan with non-stick spray. In the microwave or in a small pot on the stove, melt together the butter with brown sugar, mixing well. Pour the butter mixture into the prepared pan and layer the sliced peaches on top. Set aside.
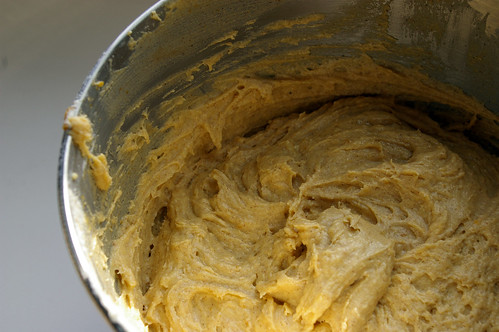
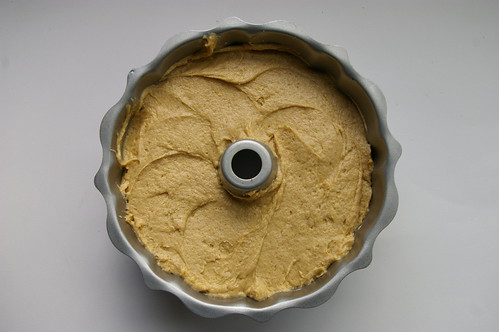
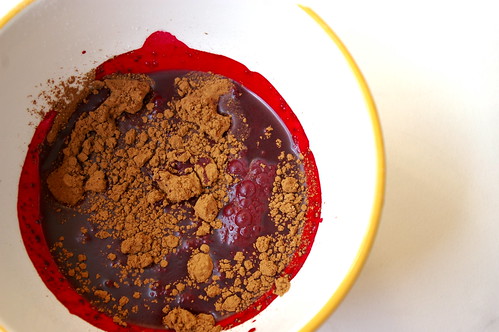
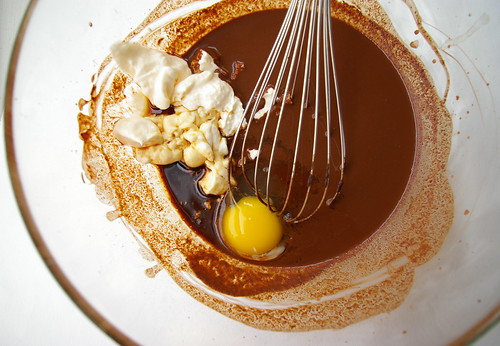
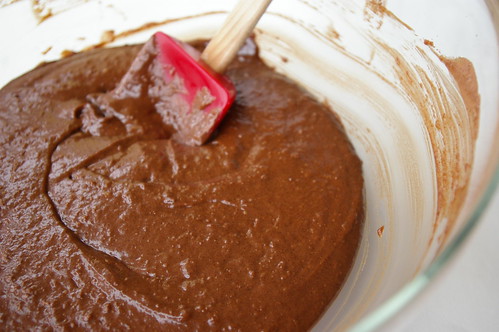
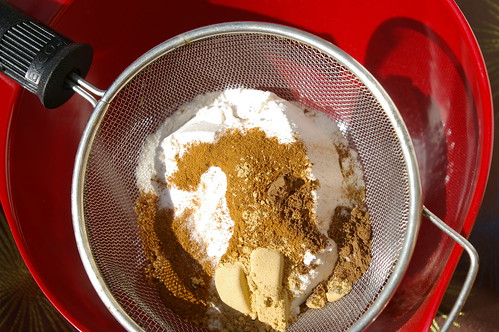
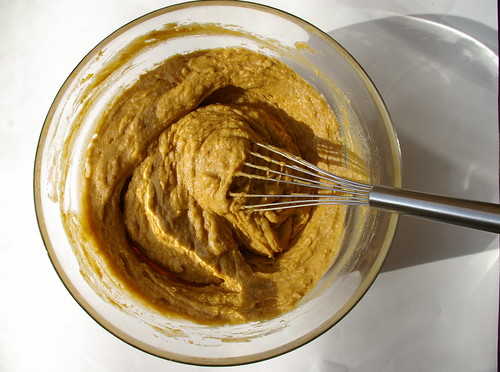
In a medium bowl, cream the butter and sugars until well combined. Add the vanilla and eggs, one at a time, mixing well between additions. In a separate bowl sift the flour, cinnamon, baking powder, and salt. Add the dry ingredients, alternating with the buttermilk, starting and finishing with the flour. Pour the batter over the peaches and spread to the edges of the pan.
Bake for 40 to 50 minutes, or until the center of the cake springs back when lightly pressed and the edges begin to pull away from the sides of the pan. Cool for 10 minutes in the pan then turn out onto your serving platter. Allow to cool for an additional 30 minutes before slicing.