Flourless Chocolate-Walnut Cookies

There is often debate among brownie fans on whether it is better to be fudge-y or cake-y. I have mostly stayed away from this because I’m not enough of a brownie enthusiast to really care one way more than the other.

Besides, the only thing that really matters when it comes to the brownie is the slightly crisped edges and the crackled top. For me, that is where the beauty of the brownie lies.

But, let’s face it, unless you have one of those special “all edge” pans with their labyrinthine shape, someone is getting stuck with the middle bits.

And that’s how I thought things would always be, until I tried these flourless chocolate-walnut cookies.

Flourless Chocolate Cookies

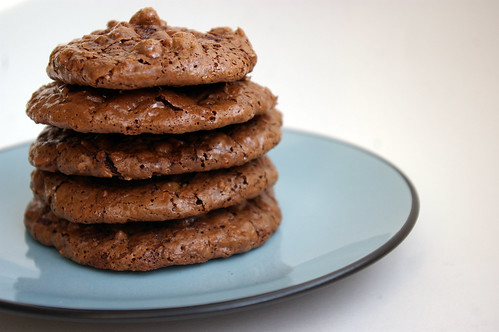
OK, they are not brownies. For someone like me, they are even better. They are cookies that taste like the crinkled surface layer of a brownie with its slight chew and crackle goodness, studded with chunks of walnuts.

To be honest, flourless chocolate cookies were not high on my list of things to bake when I stumbled across the recipe. But I came upon it after I had put some egg whites in the freezer, unsure what to do with them after using up the yolks.

I could have saved them for a pavlova, but figured it was worth trying out something new.

The list of ingredients was straightforward, if not a bit puzzling. I’ve never measured out three cups of icing sugar for a cookie recipe before.

Nor was I actually convinced that the airy ingredients would transform in the oven to some sort of cookie delight.

However, it did have a few things going for it: I already had egg whites ready to go and the recipe reminded me of a package of cookies I bought from a chain store grocery store once.

I served them to friends with a dollop of vanilla ice cream sandwiched between: a gourmet version of the childhood treat. It seemed worthwhile to see if these could compare. Or, as the case ended up being, improve on the store bakery version. The chocolate chew and nuts in a tender cookie package were so right. And they were light and not overly sweet. (Though, that was dangerous too, as it was easy to eat more than one or two and feel I still had room for another.) Mine did not get as shiny as I have seen in other people’s photos of the same type of cookies.

Normally I’d get a bit worried. Or envious.

Why do mine look different?

But after sampling one — OK, several — of the cookies, I realized I didn’t care what they looked like. They were fantastic.

I have since found myself trying to find recipes that use up only yolks so that I can take advantage of this cookie recipe again.

Toasted walnuts

Cocoa and Icing Sugar

Cocoa Sugar mix

Flourless chocolate cookie batter

Cookie dough puddles

Chewy goodness

Francois Payard’s Flourless Chocolate-Walnut Cookies

from New York magazine

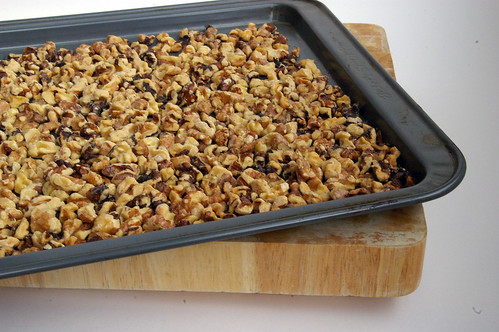
  • 2¾ cups (675 mL) walnut halves
  • 3 cups (750 mL) confectioners/ icing sugar
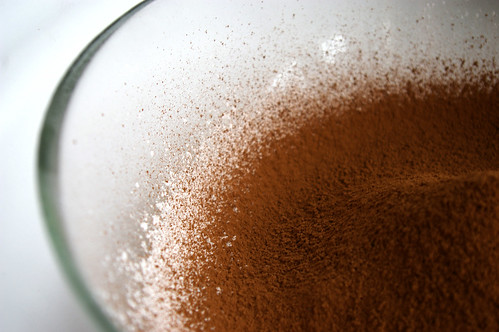
  • 1/2 cup plus 3 tbsp (170 mL) unsweetened Dutch process cocoa powder
  • 1/4 tsp (1 mL) salt
  • 4 large egg whites, at room temperature
  • 1 tbsp (15 mL) pure vanilla extract

Preheat oven to 350°F (180°C). Spread the walnut halves on a large-rimmed baking sheet and toast in the oven for about 9 minutes, until they are golden and fragrant. Let cool slightly, then move the walnut halves to a work surface and coarsely chop them.

Position two racks in the upper and lower thirds of the oven and lower temperature to 320°F (160°C). Line two large-rimmed baking sheets with parchment paper.

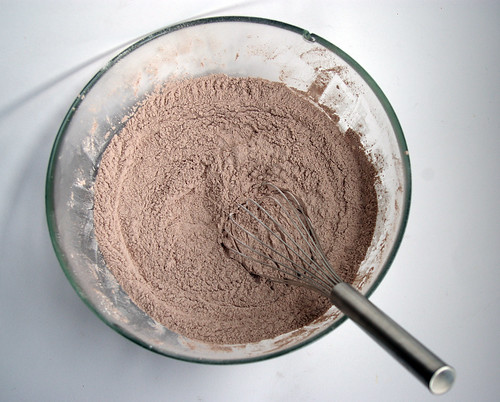
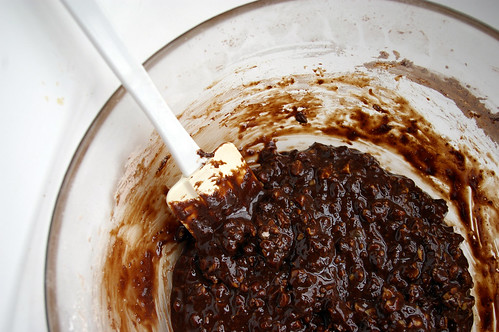
In a large bowl, whisk (or use an electric mixer on low speed) the confectioners’ sugar with the cocoa powder and salt followed by the chopped walnuts. While whisking (or once you change the speed to medium), add the egg whites and vanilla extract and beat just until the batter is moistened. Do not overbeat or it will stiffen.

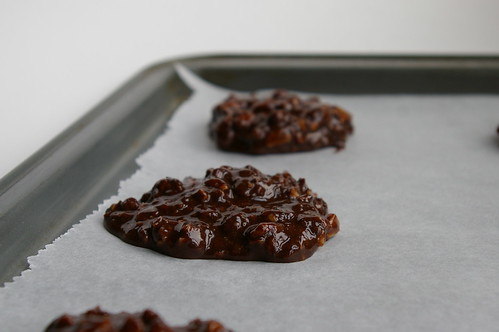
Spoon the batter onto the baking sheets in 12 evenly spaced mounds, and bake for 14 to 16 minutes, until the tops are glossy and lightly cracked; shift the pans from front to back and top to bottom halfway through to ensure even baking.

Slide the parchment paper (with the cookies) onto 2 wire racks. Let cookies cool completely, and store in an airtight container for up to 3 days.

This story first appeared in the Real Life section in the Calgary Herald. For more delicious recipes, visit CalgaryHerald.com/life.

Continue Reading

Southern Comfort

Red Velvet Cake is a southern U.S. tradition that is so popular it can even be found in the cake mix aisle. I can’t date when my obsession with this cake began, though I think it first came to my attention while watching Steel Magnolias where the groom’s cake was shaped like an armadillo and it looked like it was bleeding when someone cut into it.

And I’m also not sure what the reason behind this obsession is. Must be something about the virginal white icing hiding the slutty red interior and all its metaphors.

Essentially, it’s a chocolate layer cake infused with red food colouring that turns the cake into a shade of crimson that plays against the white, cream cheese icing.

Red Velvet Cake

But I had no idea what I was getting myself into when I decided to take this on for a dinner party Sunday night.

1) It’s the first cake I’ve ever baked that did not involve me opening a box and praising Betty Crocker.

2) It involved at least 30 minutes worth of research on dutch processed cocoa vs. natural cocoa. (Nutshell: dutch processed is treated to neutralize its acidity, so has to be used in recipes that call for baking powder as it may not react with baking soda.)

3) It also involved a further 30 minutes of research to figure out whether the cocoa I bought for this (Fry’s) was or was not dutch processed, since it was not indicated anywhere on the can. For the record, it is.

On the upside, attempting this cake also gave me an excuse to buy some new toys for my kitchen: an offset spatula and two new cake pans.

I was initially hesitant to make this cake, having never baked one that didn’t come out of a box. This hesitation was amplified after I went out on a blind date with a man who considered himself quite a baker. While the meringues he brought to munch on over coffee were good, I thought it was a bit presumptuous when he tried to talk me out of my red velvet plan.

“You’ve never made a cake?”

And then: “You should make brownies. There’s a great recipe by Alton Brown, just cut back the sugar to half a cup.”

Brownies, he said, were good and easy and hard to screw up.

“You don’t want to make your friends your guinea pigs,” he added.

That was pretty much the end of the date. There won’t be a second one.

And, after that, I was much more determined to master the Red Velvet.

I won’t call it a resounding success — as kind as my friends are for saying it was delicious — but it was a worthy first effort. And, frankly, anything coated in that much cream cheese frosting can’t be all bad. I learned a few things, including the need to sift all the dry ingredients together or suffer the consequences. In this case, that meant cocoa swirls throughout the not-quite-flaming red layers; and that a crumb coat is definitely the way to go when dealing with such an intensely coloured batter.

The Ingredients


Red Velvet Cake with Cream Cheese Icing

  • 2 1/2 cups sifted cake flour
  • 1 tsp. baking powder
  • 1/2 tsp. salt
  • 2 tbsp. Dutch-processed cocoa powder
  • 1/2 cups unsalted butter, room temperature
  • 1 1/2 cups white sugar
  • 2 large eggs
  • 1 tsp. vanilla extract
  • 1 cup buttermilk
  • 2 tbsp. liquid food colouring
  • 1 tsp. white distilled vinegar
  • 1 tsp. baking soda

Preheat oven to 350 degrees F. Butter two 9″ round cake pans and line the bottom with parchment paper

Sift together flour, baking powder, salt and cocoa powder. (And ensure the cocoa is evenly distributed.)

Beat butter until soft, then add sugar and beat until light and fluffy. Add the eggs one at a time, beating well each time. Add vanilla.

In a measuring cup whisk the buttermilk and red food colouring. (I used food colour gels here, so added two tbsp. of water and mixed in the gel, adding more and more until the desired colour.)

Alternately add the flour mixture and the buttermilk mixture to the butter and eggs, ending on the flour.

Mix in small cup the vinegar and baking soda. Watch it fizz, then add to the batter.

Pour the batter into the two pans and bake for 25 – 30 minutes. Let cool in wire rack in the pans for 10 minutes, then out of the pans until cool.

  • 8 oz. cream cheese, room temperature
  • 1/2 cup butter, room temperature
  • 3 cups icing sugar, sifted
  • 1 tsp. pure vanilla extract

Beat butter and cream cheese until light and fluffy. Add sugar and vanilla. (Prepare to be coated in icing sugar cloud.) Beat to combine.

Continue Reading