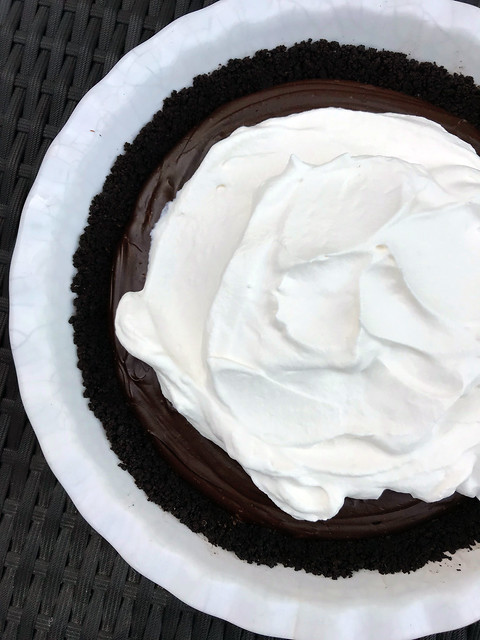
No-Bake Chocolate Cream Pie

This post is dedicated to the lovely woman I met (and whose name I, naturally, embarrassingly forgot) at the Half Your Plate fundraiser dinner at Winsport. I don’t know if you’re even going to check my blog again after such a long absence, but please know I have not forgotten your kind words and encouragement.)

My thoughts are bubbling over as I try to figure out how to start talking about this pie.

I mean, part of me isn’t really sure any words are needed.
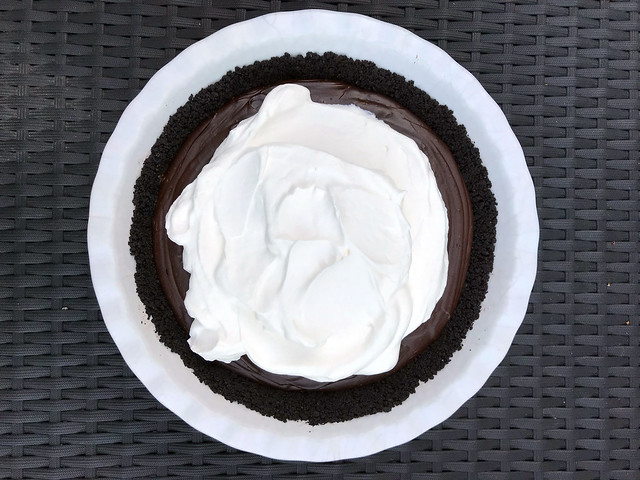
No-Bake Chocolate Cream Pie
Right? (TL:DR version, if you’re skipping to the bottom: this tastes like the chocolate cream pie of your dreams.)

I guess I could start with how the tweet from Bon Appetit stopped me in my tracks when I was scrolling through Twitter the other day and I immediately favourited it, so I could return to it later.

Now, truthfully, I probably have a few hundred recipes bookmarked this way and have never actually got around to making any of them. But this pie? I don’t know. It felt… doable. More importantly, it requires no oven to be turned on. And, frankly, I’m already no good in a heat wave. Heat my apartment by turning on the oven and I’d be passed out in front of a fan while whatever I was baking burned.

Or I could start with the fact that it was perfect timing to have found this recipe just as friends invited me over for a barbecue feast dinner party, complete with ribs, brisket, cornbread and deep-fried balls of macaroni and cheese. Would I consider bringing dessert? Yes, I absolutely would. After all, it’s more motivating to make a massive chocolate cream pie when you get to enjoy it with good friends. (And also because you’ve had these ribs before, they are ridiculously good and I feel that making an awesome pie is only a drop in the bucket when it comes to returning the favour.)

Or maybe I’ll just point out that while in high school I never once ate in the cafeteria (opting to play cards in the hallway in front of my locker), but on the rare occasion I would head there for a snack — either this doughy, saucy pizza bread or a slice of McCain’s chocolate cream pie. You know the one. With the star-tipped “cream” frosting over a pudding-like piece of pie.

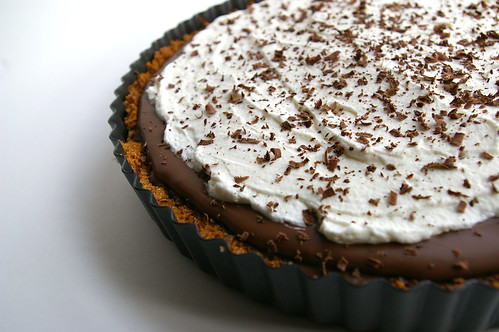
It might actually be blasphemous to compare that to this Bon Appetit version, but I couldn’t help drawing comparisons as I put it together and, eventually, finally got to slice into it and try a piece. The original recipe, yes, calls for a torched meringue on top. But I really liked the idea of a gently sweetened whipped cream slathered on top instead. Bonus points: no need for a kitchen torch.

No-Bake Chocolate Cream Pie

Double bonus: I can make a pavlova with the leftover egg whites and top it with more whipped cream and big handfuls of juicy summer berries.

Lastly, I could have started this post by talking about how I generally loathe comments posted below recipes online. That’s because they’re often things like, “I made this but I swapped this ingredient for that one and didn’t add butter because I’m on a diet and blah blah blah. It didn’t taste very good, so I’ll never make this again.”

In this case, though, I’m super glad to have read the comments because one person spent a lot of time and energy posting extensive recipe instructions far more detailed than the original and I have absolutely no doubt the only reason I had great success with this pie is because of that. Bless you, anonymous person!

(I do love that the only other comment on this recipe, posted before the helpful instructions, was: Biggest waste of my time. Tried this twice. Evidently you have to be a bloody witch to make this. Each time it cooked the egg yolks. Dumbest recipe EVER.)

The total trick to this pie is tempering THE HELL out of the yolks and corn starch. That’s going to make or break the pie filling.

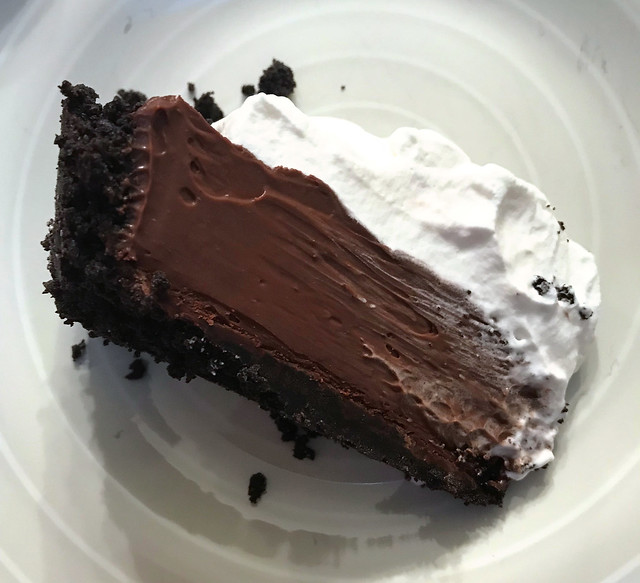
Yes, it’s a bit complicated to make. Patience is going to be the main ingredient. But…. Let me put it this way: whenever I make a dessert and take it to someone’s house for dinner, I generally want to come home with an empty serving dish because I kind of lose interest right after eating a piece of whatever I’ve brought. This time, I offered the last, healthy-sized wedge of pie to a friend to take back to her house and eat later.

No-Bake Chocolate Cream Pie slice

Five minutes later, I wondered why I’d been so nice.

I guess I’ll just have to make this again.

IMG_7884

IMG_7892

IMG_7894

IMG_7908

No-Bake Chocolate Cream Pie

No-Bake Chocolate Cream Pie

Adapted slightly from Bon Appetit

  • 9 tablespoons butter
  • 6 ounces chocolate wafer cookies
  • Salt
  • 8 ounces bittersweet chocolate, melted, divided
  • 2 1/2 cups whipping cream, divided
  • 2 tablespoons unsweetened cocoa powder
  • 1 1/2 cups whole milk (aka 3.25 per cent)
  • 3/4 cup sweetened condensed milk
  • 4 large egg yolks
  • 3 tablespoons cornstarch
  • 1 – 2 tablespoons sugar

Melt butter in a small pot over medium heat. Set aside.

Blitz cookies in a food processor until finely ground and transfer to a medium bowl.

Add 5 tablespoons of the butter and a nice pinch of salt to the bowl with the cookie crumbs and mix until thoroughly combined. Transfer to a 9-inch pie dish and press evenly into the bottom and up the side using the bottom and side of a measuring cup to really pack it down. Put in the fridge to chill for 20 minutes.

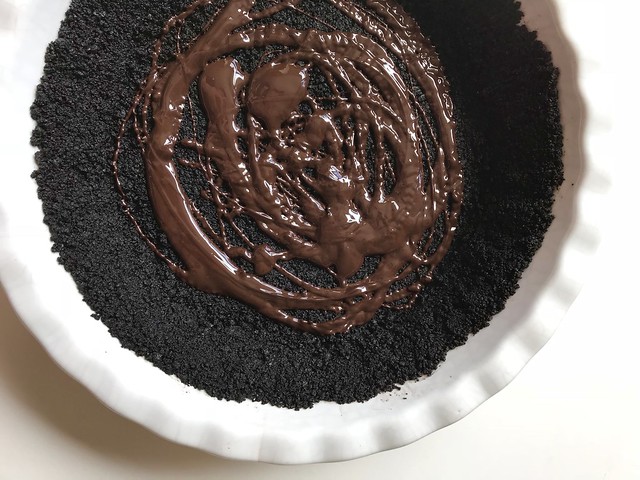
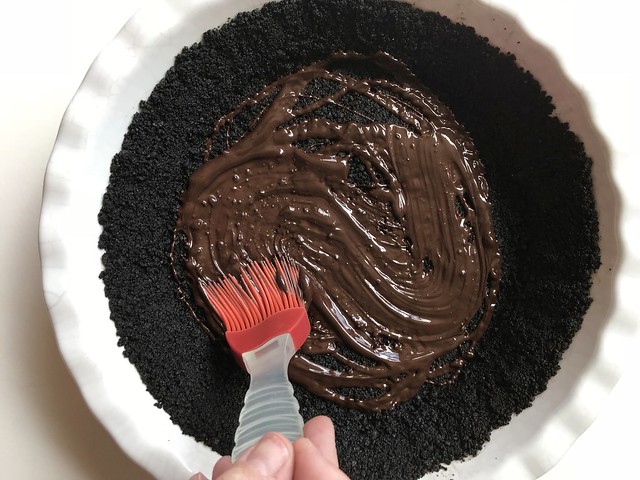
Brush the bottom of the crust with 2 ounces of the melted chocolate and put the pie dish back in the fridge.

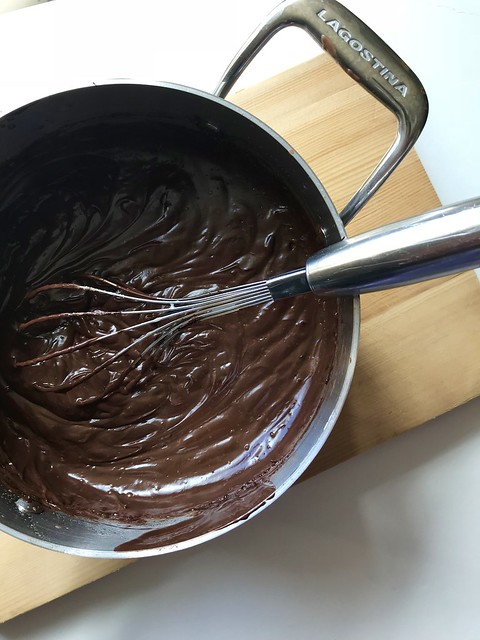
Whisk cream and cocoa powder in a medium saucepan until there are no lumps, then mix in the milk and sweetened condensed milk. Over medium-low heat, warm until the cream mixture just reaches 180F. While it’s heating, whisk the egg yolks and corn starch in a medium bowl.

Scoop up about 1/4 cup of the heated cream mixture and dribble a little bit at a time into the egg yolks while constantly whisking. This is where you need to go slowly because this keeps the eggs from scrambling! Once that’s all mixed in, repeat with another 1/4 cup of the cream. Repeat until you’ve added about half of the cream mixture to the yolks.

Pour the yolk mixture into the pot on the stove. Whisk, whisk, whisk as the entire mixture heats up. This will initially take what feels like a while, but then it will fairly suddenly thicken up to a pudding-like texture. Once it has a pudding consistency, remove the pot from the heat, add the remaining melted chocolate and the rest of the melted butter and whisk until completely combined.

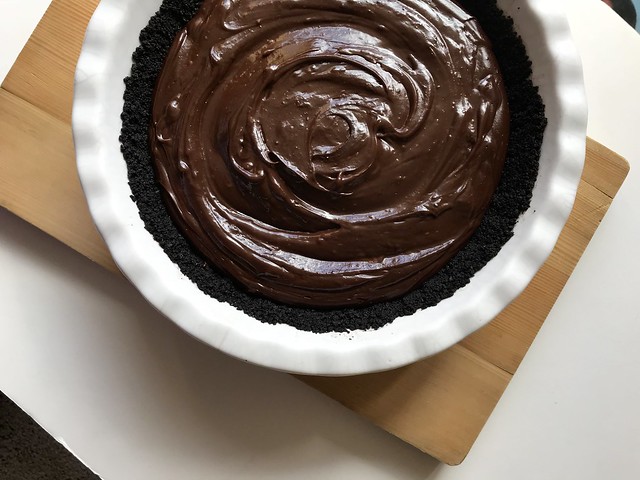
Scrape into the pie crust and chill until the chocolate custard is cold and set — at least two hours.

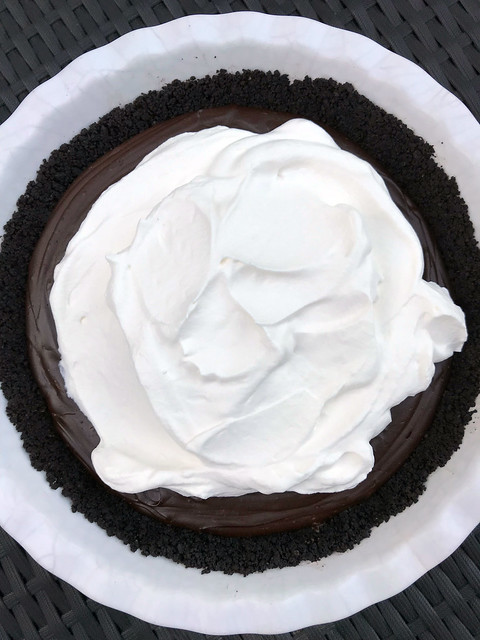
Just before serving, make the whipped cream. In a bowl (chilled, if possible, as this makes it faster to whip the cream), beat the remaining 1 cup of cream with 1 tablespoon of sugar until fluffy. (I like mine to slump a little bit, so it’s a bit softer than a really stiff whipped cream.) Taste partway through the beating process to see if it’s sweet enough for your liking. Add the rest of the sugar as you see fit.

Scoop over the pie and serve.

Continue Reading

French Silk Pie

I love Jason Segel.

He meets most of my criteria for ideal man: tall, not overly thin nor athletic and oh-so-funny. (Or, as my friend once described as “tall, broad, goofy guy.”) You can have your pretty boys, girls. Give me a man who can make me laugh and I’m a smitten kitten.

I know this isn’t really the place for romantic confessions, you know, being a food blog and all. But, sigh. And, I swear, it’s relevant.

Chilled and ready

I missed the first season of How I Met Your Mother because I couldn’t figure out when the program was on. Some kind friends lent me it and season 2 on DVD. I’m not admitting anything but I may have watched them both in just a handful of days. That started a lovely tradition of discussing each episode on Tuesdays over email and getting together for season finales.

My crush on Segal started there and has continued through Forgetting Sarah Marshall and then I Love You, Man. (Even though his hair in I Love You, Man was beyond ridiculous and, unfortunately, spilled over into HIMYM because I guess they were filming bits of both at the same time.) (And, may I add, my love of him has absolutely nothing to do with the full-nude scene in Sarah Marshall. Ahem.)

This year, my friends and I set up the date as soon as we knew when the finale was going to air. I, naturally, offered to bring dessert. But, while Dawn and I are fans of anything lemon, Chris is less than interested in citrus desserts. For him, it’s chocolate all the way. I’m not against broadening my horizons away from lemon and I felt like it would be nice to cater to someone else’s tastes for once. Plus, c’mon, chocolate pie? I’m still all over that.

I thought this would be great with a straight-up pie crust and tried that vodka pastry recipe from Cook’s Illustrated that set the baking world on fire. (It’s a wet, easily workable dough that uses part water and part vodka. The vodka evaporates leaving this stunningly flaky crust without all the fuss.) Yes, it was easy to work with and I think it would have been fantastic if I hadn’t rolled it so thin that the bottom got a little too brown. Not burnt, but brown enough that I just couldn’t bring myself to serve it to friends. Yes, I’m a perfectionist.

So, I then went with a graham cracker crust because
a) I had the ingredients
b) It’s a lot harder to screw up.

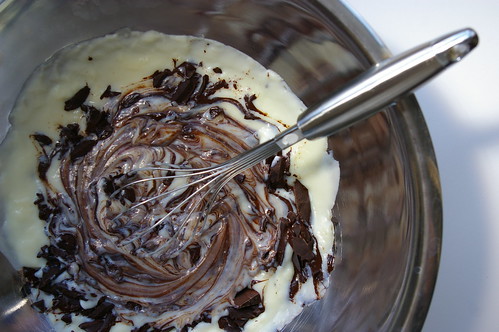
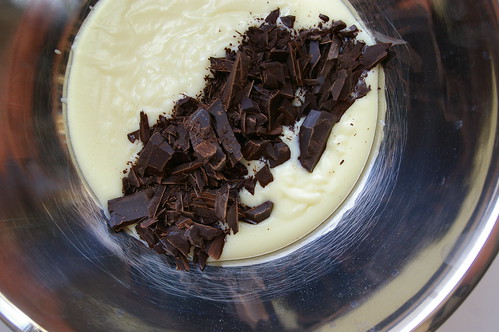
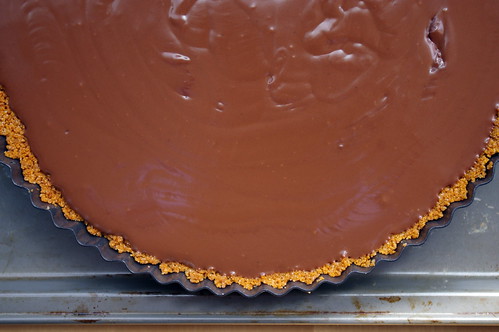
I loved photographing how this came together, especially the part where I got to mix in the chopped chocolate to the custard base, watching the cream and brown swirl together.

Mixing it in

The only hitch in all of it was this thing seriously took forever to set. That’s why there are no photos of slices because it was still setting while I was driving over to my friends’ house. I had set the tart tin on a baking sheet on the floor of my car and was freaking out every time I had to come to a stop as I watched the chocolate goo ripple slightly. We immediately put it in the fridge when I got there and let it chill for another three hours. It was perfect when it came time to cut in, but it was far too late for pictures. And, frankly, we just wanted to eat the damn thing.

It was so good.

Richly chocolate, smooth without being gloppy. It slumped ever-so-slightly in that perfectly decadent way. As if it was so full of goodness that it couldn’t contain itself.

I have it on good authority (OK, he was dimed out by his wife) that another slice or two went down after I left before bed time.

Yeah, it’s that good.

Yolks

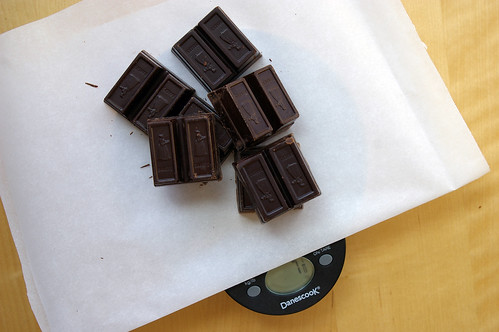
Weighing the chocolate

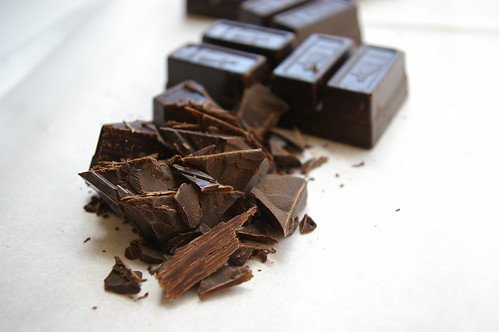
Chopped chocolate

Custard and chocolate

Time to chill

Chilled and ready II

French Silk Pie

For crust:

  • 1 1/3 cups graham cracker crumbs
  • 5 tablespoons unsalted butter, melted
  • 1/4 cup sugar

For filling:

  • 2/3 cup sugar
  • 1/4 cup cornstarch
  • 1/2 teaspoon salt
  • 4 large egg yolks
  • 3 cups whole milk
  • 5 oz fine-quality bittersweet chocolate, finely chopped
  • 2 oz unsweetened chocolate, finely chopped
  • 2 tablespoons unsalted butter, softened
  • 1 teaspoon vanilla

For topping:

  • 3/4 cup chilled heavy cream
  • 1 tablespoon sugar
  • 1 tablespoon cocoa powder, for dusting OR a small chunk of dark chocolate, shaved with a grater or rasp

Crust:
Put oven rack in middle position and preheat oven to 350°F.

Stir together crumbs, butter and sugar and press into 9″ pie plate or tart tin. Bake until slightly golden, about 15 minutes. Let cool on a rack.

Filling:

In a heavy-bottomed pot, whisk yolks, sugar, cornstarch and salt until well combined. Add milk in a stream, while still whisking. Over medium heat, while still whisking, bring to a boil. Reduce heat and simmer, still whisking, for about a minute. The filling will be quite thick.

Sieve the filling into a large bowl. Whisk in chocolates, butter and vanilla and stir until everything is melted together and fully incorporated. Cover with plastic wrap, pressing it against the custard mixture to keep it from forming a skin. Let cool completely, about two hours.

Spoon filling into cooled crust and then chill all together in the fridge for at least six hours. (Mine took more like eight.)

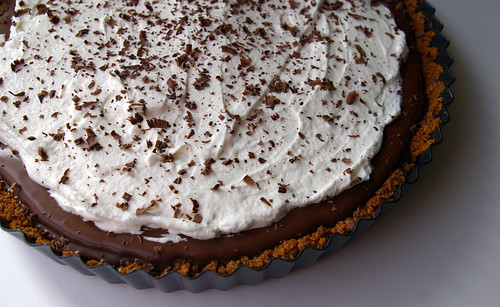
When ready to serve, beat whipping cream with sugar until it hold soft peaks. Cover pie and dust with cocoa powder or chocolate shavings.

Continue Reading

Key Lime Pie

Any Dexter fans out there?

Season Three has turned out to be even more intense than the previous two — something I didn’t think the writers could do. But after the episode where … WARNING, possible spoilers and a little bit of profanity ahead for anyone not keeping up with this season … Camilla asks Dexter to find her the perfect piece of key lime pie, I found myself wanting a taste of that myself.

Camilla: You know, Dexter, my whole life I’ve been searching for…

Dexter: The meaning of life.

Camilla: The perfect key lime pie. And what do I get when I’m about to croak? Fucking pie crust, Reddywhip and green Jell-o

End spoilers and profanity.

So, the research began. And, after flipping through pages of recipes, it became clear there were two things that made a key lime pie authentic: key limes and no dairy. (My understanding is that this pie was born at a time when there was no real refrigeration in the Florida Keys, which is why canned condensed milk is used.)

As usual, this adventure was not without its disasters, er, learning experiences.

One valuable lesson: just because a can doesn’t have an expiry date doesn’t mean it doesn’t have a shelf life.

I was all excited that I already owned a couple of cans of sweetened condensed milk. (Side rant: Why are the cans in Canada 300-milliletres and the U.S. ones come in 14 ounces? That means I need to use one full can and most of another, but am left with some, which really bugs me. We share a border, why can’t we share can sizes? Also, on that note, a lot of recipes that come from the States simply say “one can of sweetened condensed milk” so I had to find out exactly how much that was. Yes, yes, I could have mathematically figured out how to use up both cans, but that was going to be a lot of fractions. Not that I don’t love math, I just don’t want to do it all the time. Okay, moving on.) And I was excited that they had no expiry dates.

And then I opened them.

They had gone golden coloured, looking a bit like they were turning themselves into dulce de leche. A little googling indicated they were safe still to eat, but one person posted in a forum that they probably shouldn’t be used for something like Key Lime Pie, which should come out a very pale, creamy yellow colour. So, it was off to the grocery store for two more cans. Thinking about it later, it occurred to me that I actually had no idea when I bought those first two cans. Yikes.

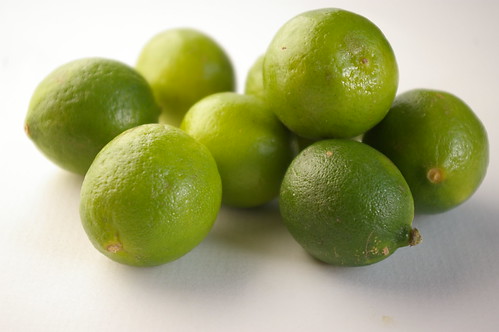
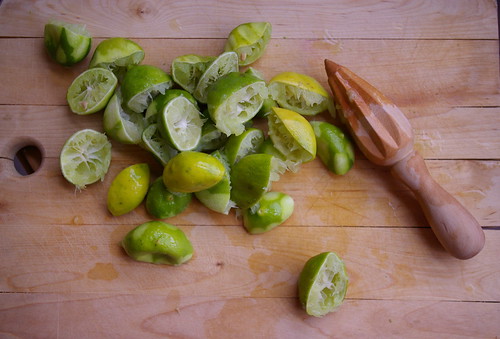
Key limes. Teeny, tiny limes. Full of teeny, tiny amounts of juice. They weren’t hard to find — most grocery stores around here have mesh bags of them amongst the Persian limes and lemons — nor were they hard to squeeze. But it took about 16 of them to get all the juice the recipe called for.

Key Limes

So, I could have made one big pie (in my still relatively new pie dish), but then I was out shopping and spied baby tart tins. Oh yeah, have to have those. First, who doesn’t love individual desserts? Second, they were just so darn cute. And they were on sale. There, three very fine reasons to purchase more bakeware.

The tarts ended up a bit shallow for all that filling, so I threw the rest of the mixture into a ramekin and just baked it off. That was a pretty tasty dessert too.

I cut it close, but had them ready to go for Sunday when I and my Dexter-watching friends dined on them while watching the next episode.

And I get what Camilla was searching for.

Zesty limes

Key Lime massacre

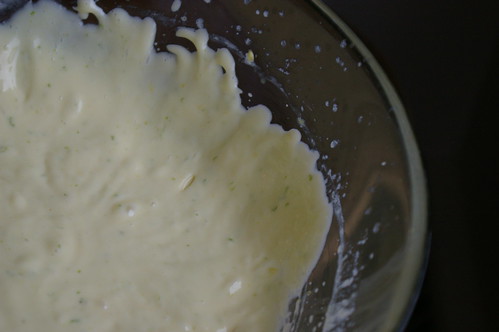
The filling

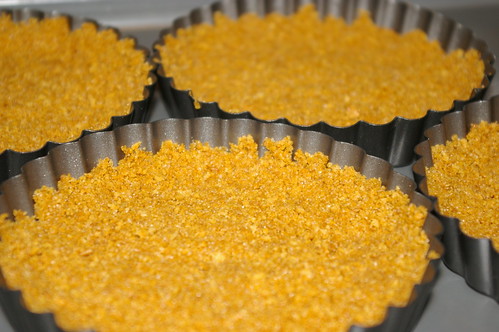
Pie shells

Little pies pre-oven

Key Lime Pie

I kind of combined a couple of recipes here, and this is what I ended up with.

Key Lime Pie

  • 15 graham crackers, crushed
  • 2 tablespoons sugar
  • 1/2 cup butter, melted
  • 4 large eggs, yolks only
  • 1 3/4 cups sweetened condensed milk (14-ounce can)
  • 12 key limes, juiced (1/2 cup fresh lime juice; it took 16 limes for me)
  • 2 teaspoons lime zest

Preheat oven to 350

Beat egg yolks with a mixer until they lighten in colour and thicken. Add the zest and beat again. Add the juice and condensed milk, then thoroughly mix and let sit for 30 minutes as the mixture thickens.

Mix the crackers in a food processor until they are crumbs. Add sugar, then turn on processor and slowly pour in melted butter. Press into a nine-inch pie dish or tart pan and push up the sides slightly. Bake for 12 minutes until the pie shell is golden.

Pour mixture into the pie shell, and bake for 15 minutes. (Less if you are doing smaller, individual servings.) The centre should jiggle slightly when the pan is shaken.

Remove from the oven and allow to cool to room temperature before putting in the fridge. Let cool for another three hours before serving. Serve with whipped cream if desired. (I liked it with the whipped cream, even if it isn’t traditional, because it cuts the richness of the pie.)

Continue Reading