Last week I worked a couple of night shifts.
I used to have a position where I worked nights for a month at a time, every three months. That was too much for me. Over the course of the weeks, I’d start to feel more and more ghost-like, spending my days alone and my nights with only a handful of colleagues; the final hour I was pretty much alone and I would slink out into the dark night, drive home and stay awake until three in the morning before finally crawling into bed.
But I don’t mind the odd night shift, actually. Sleeping in? A sunny day to one’s self? A few hours to bake and cook and photograph and eat? Sounds good to me. (Especially in these days of waning winter light, when full sun has been minimized to just a few short hours in the early afternoon.)
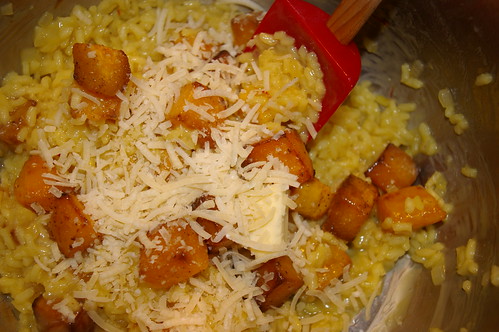
Plus, who doesn’t love the idea of waking up and having Risotto with Roasted Butternut Squash for breakfast?

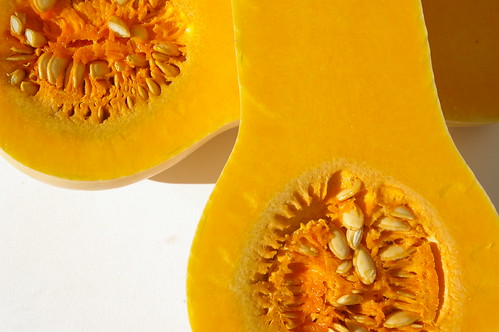
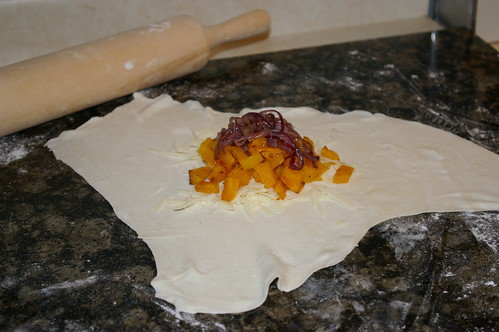
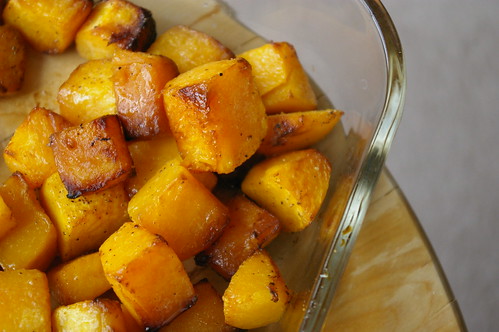
That morning, searching around for something to eat, I realized I had better use up some butternut squash that was otherwise going to have to be imminently pitched. Roasting it was the only reasonable answer. And, as I dumped the cubes into a roasting dish and drizzled it with olive oil and sprinkled on salt and pepper, I remembered a Barefoot Contessa recipe for a risotto with roasted squash.
In pulling out my recipe book, however, I realized I was missing some key ingredients, including shallots and pancetta. I’m sure these things make her version even better, but this bastardized version made me swoon when I sat down less than an hour later with a big bowlful and the contented feeling that comes from hot food and knowing work is still hours away.
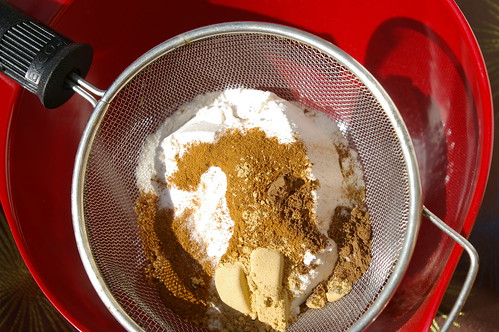
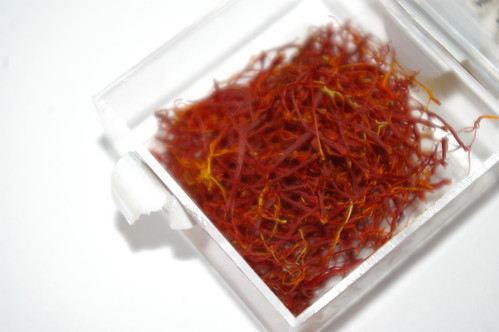
Luckily, I did have a small box of saffron — another of my myriad food impulse purchases that had not been cracked open. Saffron, those delicate threads, so scarlet, so fragile. I remember growing up, seeing the same type of small, clear plastic box in my mum’s cupboards. But I have no recollection of her ever using it. The red threads impart a lovely orange-yellow colour to the risotto and also their own flavour, which I can’t really attempt to explain. Still, while I made this with saffron, if you don’t have it, I wouldn’t panic.
This made enough to feed two adults generously, likely four as a side dish. Or, one of me over the course of several meals.

Risotto with Roasted Butternut Squash
- 1 small butternut squash (1 pound)
- 2 tablespoons olive oil, divided
- salt and pepper
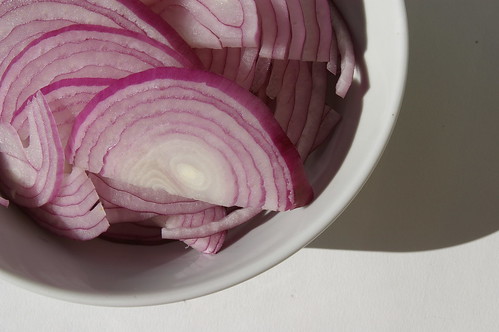
- 1/2 onion, diced
- 3/4 cup arborio rice
- pinch saffron (optional)
- 1/2 cup white wine
- 3 cups chicken stock
- 2 tablespoons butter
- 1/2 cup freshly grated parmesan
Preheat oven to 400. Peel the butternut squash, halve it and remove seeds. Cut into 3/4″ cubes. Place squash in roasting dish or on sheet pan, toss with olive oil, 1 teaspoon salt and 1/2 teaspoon pepper. Roast until tender and golden in spots, about 25 minutes. Toss once to ensure even roasting.Meanwhile, heat the chicken stock in a small covered saucepan. Leave it on low heat to simmer.
In saucepan, heat 1 tablespoon olive oil, add diced onion and saute until translucent. Put chicken stock in microwave safe bowl or measuring cup and heat. (Time will vary on the microwave; start with two minutes. This can also be done by warming the stock on the stove, but I find the microwave system saves me another pot to wash. If the stock cools too much, just microwave it again.)
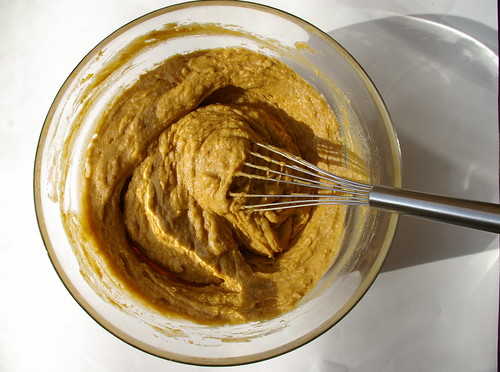
Add rice to onion and oil mixture and stir until the grains are coated. Add the wine and let it reduce slightly. Add one cup of stock, along with the saffron, if using. Simmer, stirring occasionally, until the stock is absorbed — about five to 10 minutes. When the stock is almost gone, add the next cup. Repeat with the last cup of stock. When the liquid is all absorbed, remove pot from heat, stir in butter and cheese. Toss in roasted squash. Add salt and fresh pepper to taste.