I only have one cookie cutter. It’s shaped like a dog bone. I bought it for a book club function — we bring foods that can be linked back to the book; this time it was The Curious Incident of the Dog in the Night and I was going to make dog-bone cookies. And then I didn’t.
So, when I was overtaken by the impulse to make Pine Nut Rosemary Shortbread, I realized they were going to be dog-bone shaped.
Or so I thought.
It’s no wonder I was drawn to this recipe. Rosemary? Sugar? It was going to be like the Barefoot Contessa’s Rosemary Cashews, but in cookie form. What could be better? And, there is no doubt, this recipe was a winner.
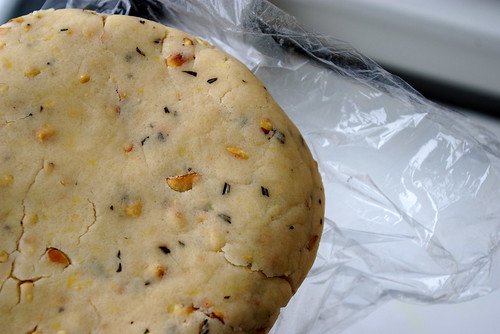
But it wasn’t without its problems. Shortbread and I don’t get along. Once again, the dough absolutely shattered into pea-sized bits when I added the flour. I squished it into a ball and then two flat disks before putting it in the fridge, but when it came to rolling it out, it was a no go. Instead, I squished it back into logs and sliced it. I definitely liked the thicker slices better and would not hesitate to make them again this way. But, next time, I will take my mum’s advice and let the butter get so warm it’s almost sloppy before attempting this recipe. Apparently, I am too impatient when it comes to letting the butter get to room temperature and it was likely too cold when I started.
So, there were no dog-bone shaped shortbread cookies. Perhaps next time. Or perhaps not. It doesn’t matter, frankly, what shape these are, just as long as they get made.
This recipe comes from Heidi over at 101 Cookbooks. I’ve made a few changes, namely doubling the rosemary and using all-purpose flour. I am considering making this next time with brown sugar, just to see what that would be like.

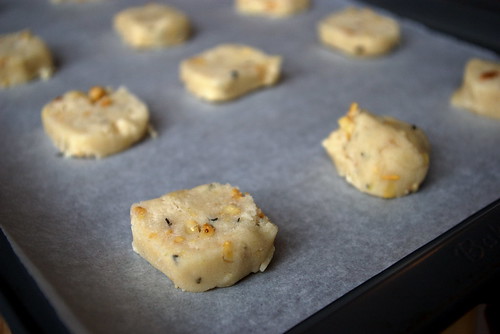

Pine Nut Rosemary Shortbread
- 2 cups all-purpose flour
- 1 teaspoon fine-grain sea salt
- 1 cup unsalted butter, at room temperature (seriously)
- 2/3 cup sugar
- zest of one lemon
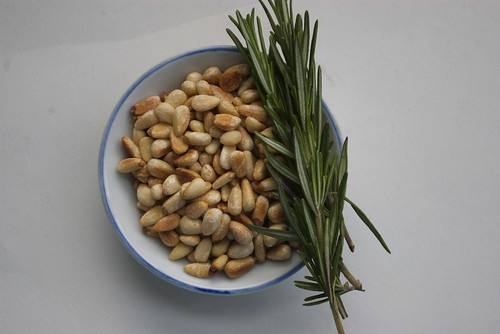
- 2/3 cup pine nuts, toasted and loosely chopped
- 2 teaspoons fresh rosemary, finely chopped
Mix flour and salt in a small bowl, using whisk to combine.
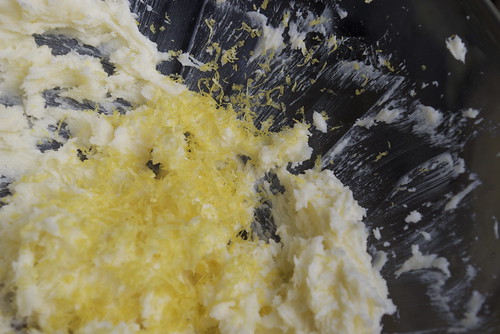
Cream butter until light and fluffy. Add sugar and lemon zest, then beat again. Add flour mixture, nuts and rosemary and mix until the dough goes just past the crumbly stage and begins to clump together (Heidi’s words, not mine, obviously, because mine never got past this stage). Turn dough out onto lightly floured work surface and knead once or twice to bring it together. Divide into two balls and flatted into disks about one inch thick. Wrap in plastic wrap and refrigerate for 15 minutes. My way: squish into logs about one inch in diameter. Roll in plastic wrap and then refrigerate.
Preheat the oven to 350. Line a baking sheet with parchment. If you went with the log method, slice into 1/4 inch rounds and place on baking sheet. (Some of mine were thicker than this and I liked them better.) If you have a disk, roll out on lightly floured surface to 1/4 inch thickness. Cut with cookie cutters and place on baking sheet. Either way, bake for about 10 minutes or until slightly golden.