If you live in Alberta, chances are good you’ve heard about “cookiegate.”
If you don’t, there’s still a chance you may have heard about it. (Even DListed caught wind.)
Here it is in a nutshell: after a week that saw harsh criticism levelled at Alberta Health Services, the board’s chief executive Stephen Duckett spent the day Friday in a meeting examining Alberta’s emergency care crisis. At the end, he came out to find three reporters looking for comment.
And what did he say? “I’m eating my cookie.”
Repeatedly.
You can see the entire exchange on YouTube here, though I also quite enjoyed this Cookie Monster/Duckett mash-up that someone later posted.
I’m not saying he had to stop and give a quote. My point is merely that this is a highly-paid official and a professional. It would have been much easier to simply stop, say he would not be giving a comment but that there was a media availability in 30 minutes if the reporters wanted a quote. To wave the cookie in a reporter’s face was rude. To continue for two minutes going on about eating the cookie was just comical. And not in an endearing way.
Anyway, I’m not here to wax on about politics. This is a food blog and I’m a baker at heart, so for me the curiousity became increasingly about the cookie at the heart of the controversy.
On Monday, I tweeted that I wondered what type of cookie Duckett had been eating. Turns out I’m not the only one that thought that way. The Edmonton Journal’s political columnist, Paula Simons, tracked down the chef behind the now-infamous cookie and he supplied the recipe. And all I could think after that was, I have to bake these things.
Turns out, he is Emmanuel David of La Persaud catering, a man who believes the secret to a chewy and soft oatmeal cookie lies in using lots of butter and sugar. And this recipe has it in spades. In fact, I was a bit surprised when I saw the ingredient list because it seemed to consist solely of those two ingredients. (Turns out there was some misinformation initially, which the chef later corrected. Below is the corrected version of the recipe.)
Still, only 1 teaspoon of baking powder didn’t seem to be enough leavening to give these cookies some height when competing against all that butter. And a complete absence of salt seemed strange.
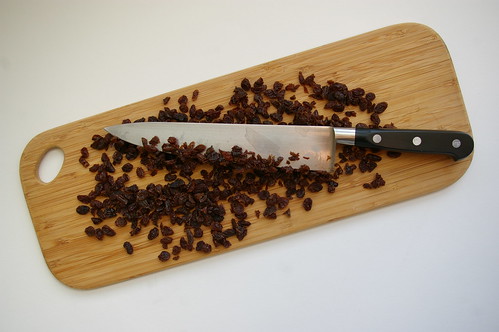
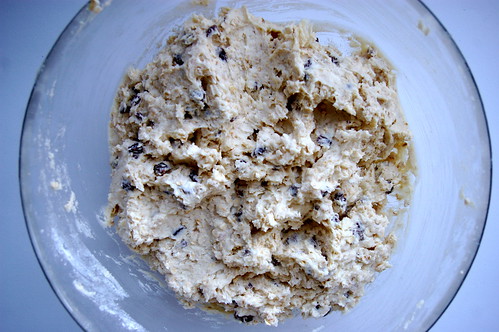
But this chef must know what he’s doing, I figured and I confidently moved ahead, creaming together the copious amounts of butter and granulated sugar, beating in the four eggs one at a time and then gently folding in the dry mixture of flour, oatmeal, chopped raisins and the tiny amount of baking powder. (I love the idea of chopping the raisins first so you get little bits of them rather than just complete ones every once in a while.)
OK, I threw in two pinches of salt. It seemed crazy not to have some. Yes, even though I used salted butter.
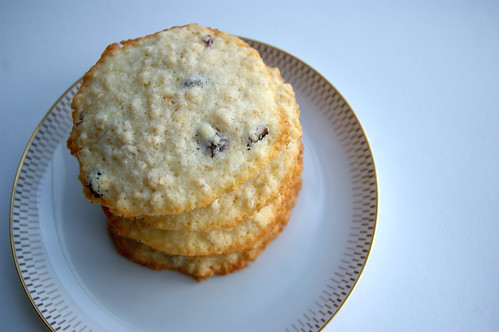
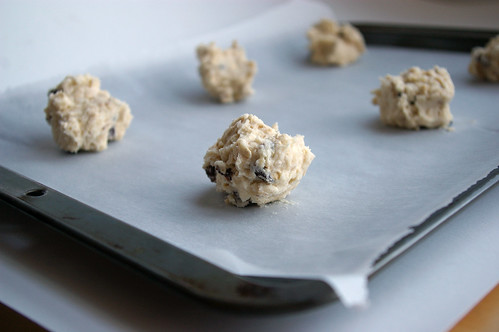
I threw a tray of six rounded balls of dough in the oven and then set the timer for 10 minutes. (The recipe doesn’t specify how long they go in for, just to bake until “golden.”) When the timer went off, the edges were verging past golden and into “crisp” territory, but the tops of the cookies, while cooked, were almost as pale as snow. I would let them bake for another minute, but just don’t like burnt cookies, so I pulled them out and tried again. For the second batch, I moved the rack in the oven up a rung so it was in the top third and not in the middle. These cookies fared a little better.
I tried making them smaller; I tried making them bigger.
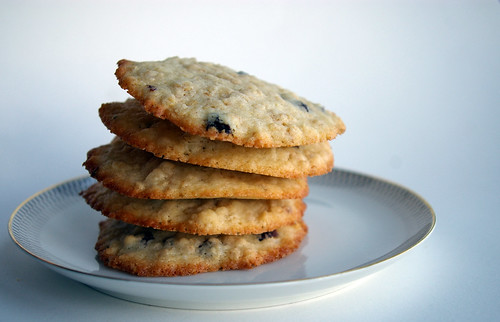
But nothing I did made them look the same colour as the cookie Duckett brandishes in the video.
Perhaps the best thing I did was sprinkle a scant pinch (just a few grains really) of sea salt on top of the last few batches to try to even out the sweetness.
It was only halfway through as I was trying to puzzle out why they weren’t working (the perfectionist in me was absolutely beyond annoyed) when I began to wonder if David meant brown sugar when he just wrote “sugar” in the recipe. That certainly would have changed the colour and given them a bit more heft. It’s too late now, but I may revisit this later and make that swap. Or do half granulated and half brown to see what happens.
Because, ultimately, these are very light, soft cookies and worth a second attempt.
As the last tray came out of the oven, news began to trickle out over twitter that Duckett had been given the boot.
I guess that’s the way the cookie crumbles.
Stephen Duckett’s Oatmeal Raisin Cookies
from Emmanuel David, converted into imperial measurements by me. The instructions are exactly how he gave them on Simons’ blog.
- 500g butter (about 2 1/8 cups. One block of butter is 454g, so it’s more than that)
- 450g sugar (2 cups)
- 4 large eggs
- 200g organic oatmeal (2 cups)
- 100g California Golden Raisins, chopped (scant 3/4 cup and I used purple ones because that’s what I could find.)
- 400g flour (2 3/4 cups)
- 5 mL baking powder (1 teaspoon)
- Dash cinnamon, optional
Method:
1. Cream Butter & Sugar Until Fluffy. Add Egg Gradually
2. Fold Flour, Oatmeal & Raisins Mix Well
3. Shape cookies into small round balls. Do not flatten – place on cookie sheets as balls.
4. Bake 180 degrees C until golden brown.
(Gwendolyn’s note here: Most of mine baked for about 12 minutes to get a golden edge and bottom. They were fully cooked, though still pale.)
Yield: Makes approx. 30- 90g Cookies
(Mine made more than 30, for sure. Somewhere closer to 45.)