It’s been summer for all of one day this year – and by that I mean that we’ve had, cumulatively, about one full day of hot, sunny, bright, lovely weather.
The next storm is rolling in as I type, grey clouds muting the sky.
I can smell the dampness in the air, that fresh greenness that announces the rain about to fall.
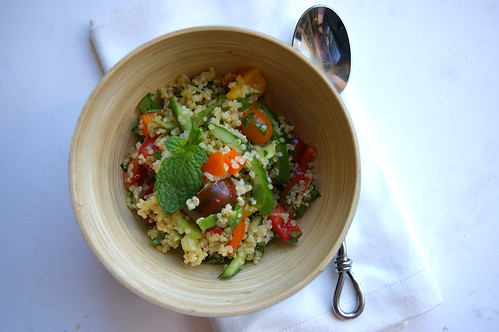
No matter, I ate summer for dinner, even if the weather wasn’t cooperating.
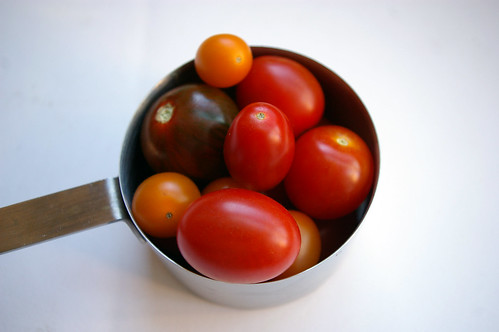
Despite the near-daily storms, hail and thunder, the markets and grocery stores are at least full of seasonal bounty: corn, zucchini, basil and a medley of tomatoes.
Judging from Instagram, people are also having a banner year for zucchini, which always prompts questions of what to do with it all.
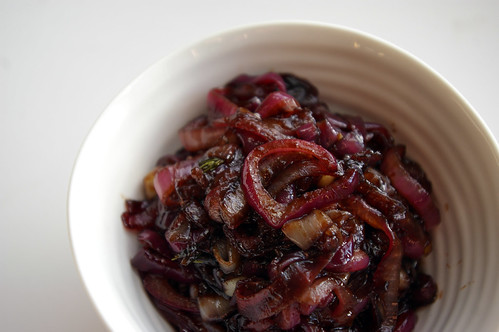
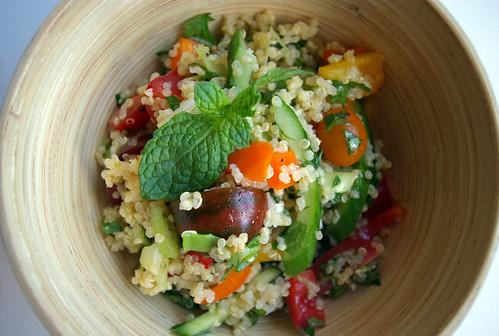
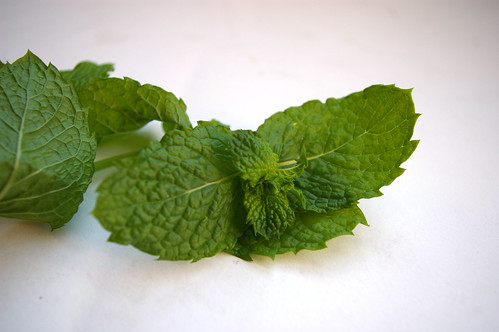
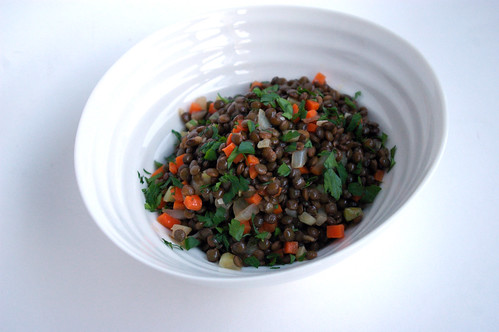
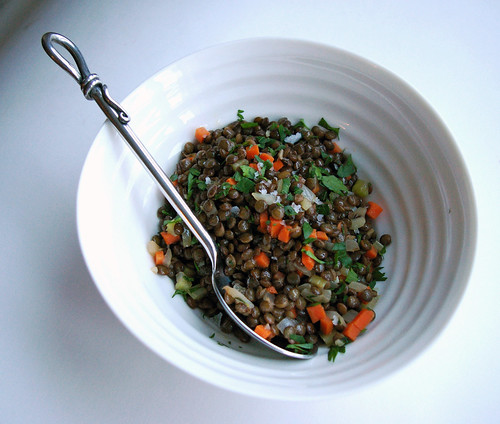
Sure, you can make chocolate zucchini loaf, but I like to celebrate them in all their natural – un-cake-like – glory. I had been bandying around grilled zucchini ideas the other day and came up with a plan to play off that flavour with some salty feta and oh-so-summery mint.
I actually can’t even quite bring myself to call this a recipe; it’s more like a suggestion of things that go well together. Want more feta on top? Go for it. Think some pine nuts might be nice? You’re probably right; try that too.
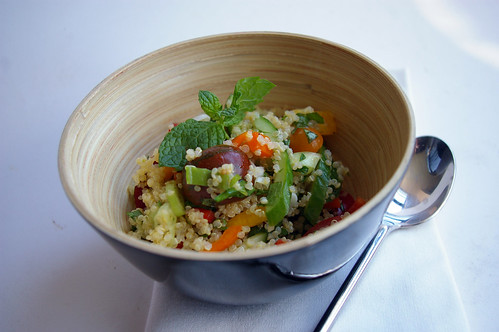
And since I was going to be grilling, and I have oodles of tomatoes because I just can’t resist buying so many when they’re finally in season, I thought I’d do a riff off a traditional Panzanella salad.
I’ve been joking a lot that this has been the summer of salad and toast. Well, this is basically the combination of those two things.
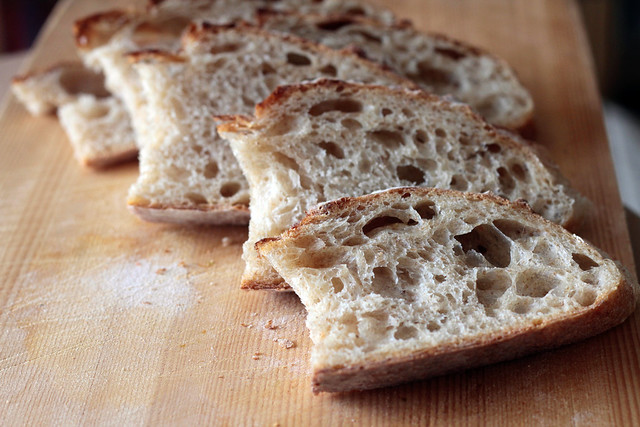
Though, instead of actual toast, I brushed slices of really good sourdough with some olive oil and then grilled them so they had those delicious char marks, which adds just a hint of summery smokiness.
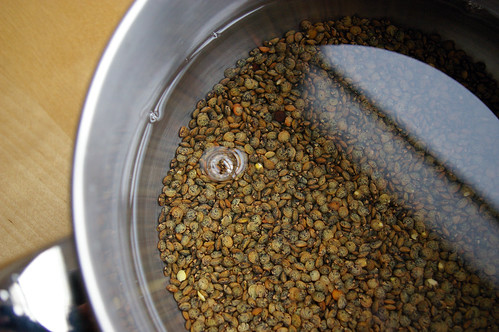
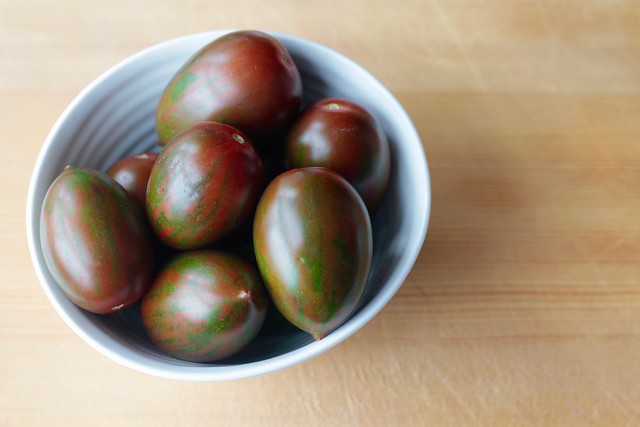
Panzanella is one of those dishes that is really best in the summer months when tomatoes are in all their glory and you want to eat as many as possible because they actually taste like they’re supposed to and they arrive in stores in a rainbow of colours.
Traditionally, this salad is made with stale bread, but I’ve found I’ve preferred to roast roughly ripped up bits of bread in the oven or, now, this method. The roasting and grilling helps the bread retain a slight crunch and chewiness, even when soaking up the tomato juices and simple dressing.
(Don’t have a grill? No problem. Grill pans will mimic this quite well, just set one over medium-high heat and then follow either of these recipes the same way. Except, with the bread, weighting down the slices with something – I have used a can of cranberries wrapped in aluminum foil, so, really, anything goes – helps get those grill marks just right.)
With any luck, we’ll get an actual summer in the next few weeks – and hopefully into September. However, even if we have to stick indoors in the evenings, at least the eating can be seasonal.
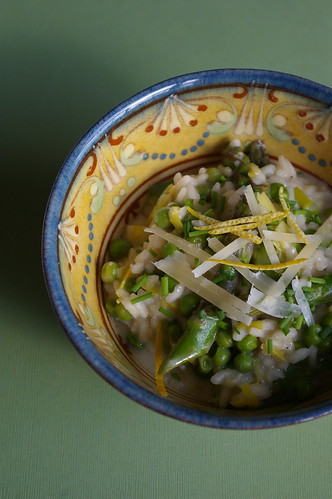
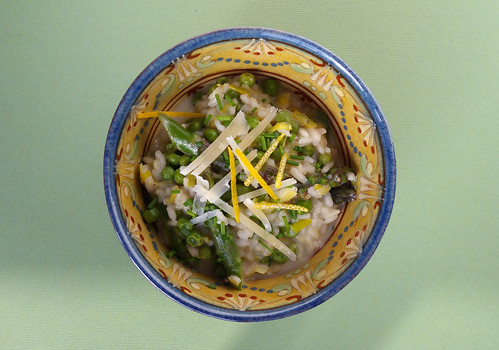
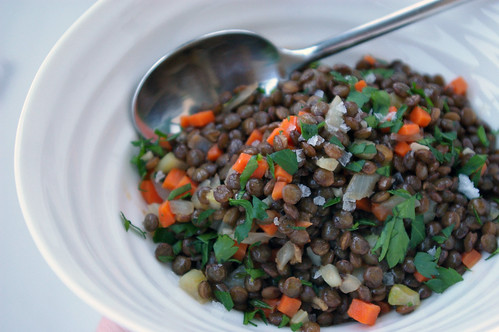
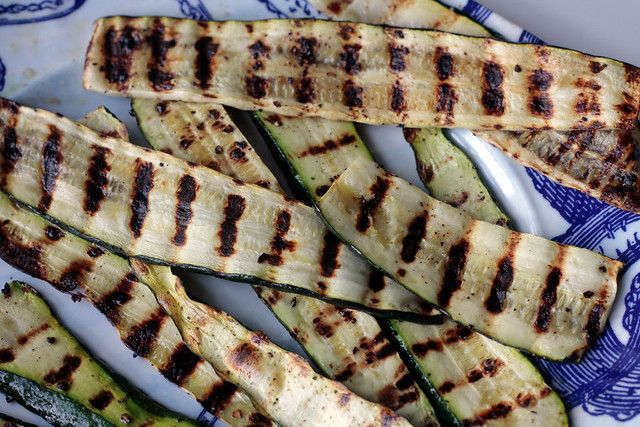
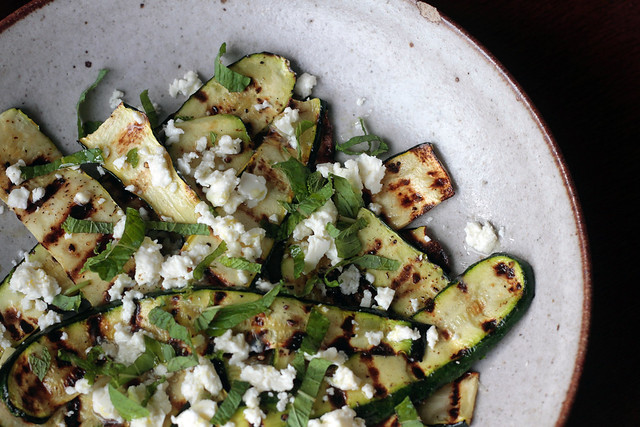
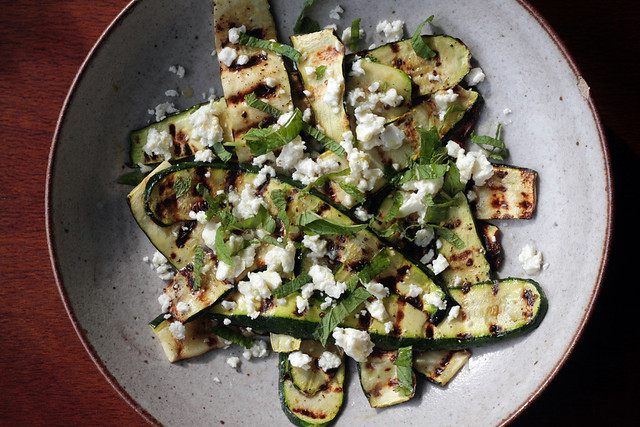
Grilled Zucchini with Lemon and Feta
Think of this more as guidelines for a great side dish; you may find you want more lemon or cheese – or less, though I’m not sure how that would be possible. Don’t fret about making the zucchini slices perfectly the same thickness, just watch them on the grill and turn when they’ve got nice grill marks.
- 1.5 pounds of small zucchini, about four or so
- Olive oil
- Salt
- Freshly ground pepper
- 3 to 4 tablespoons feta, crumbled
- Juice of 1/2 a lemon
- 3 tablespoons fresh mint
- Good extra-virgin olive oil for drizzling, optional
Preheat the grill to medium-high.
Remove the ends and then slice the zucchini lengthwise as thinly as possible.
Brush one side with olive oil and sprinkle over a scant amount of salt and then freshly ground pepper. (The feta is also salty, so you don’t want to add too much to the zucchini.)
When the grill is hot, place the zucchini strips on the grate, oil side down, and then brush the tops with a little more oil and sprinkle with salt and pepper. Grill until they have nice char marks have gone soft. Remove to a serving dish or platter.
Scatter over the crumbled feta. Squeeze the 1/2 lemon overtop, cut side up to keep the seeds from ending up on the plate.
Stack the mint leaves on top of each other and then roll into a cigar. Thinly slice them into ribbons and then scatter over the zucchini and feta.
If desired, use some good extra-virgin olive oil to do a very light drizzle over top.
Serve immediately.
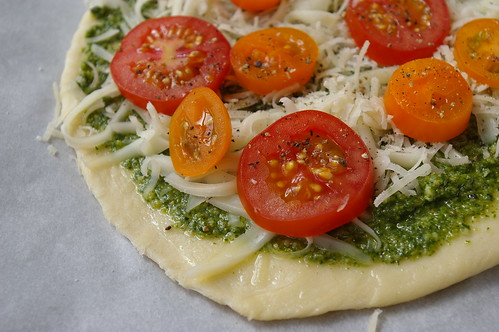
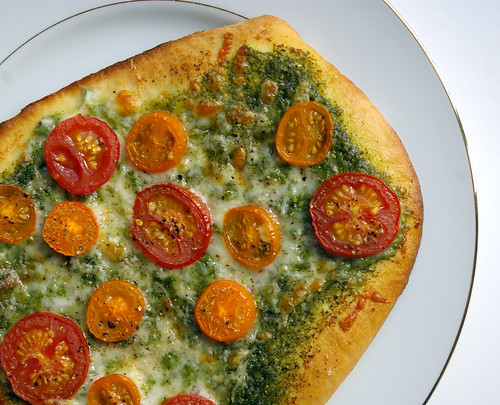
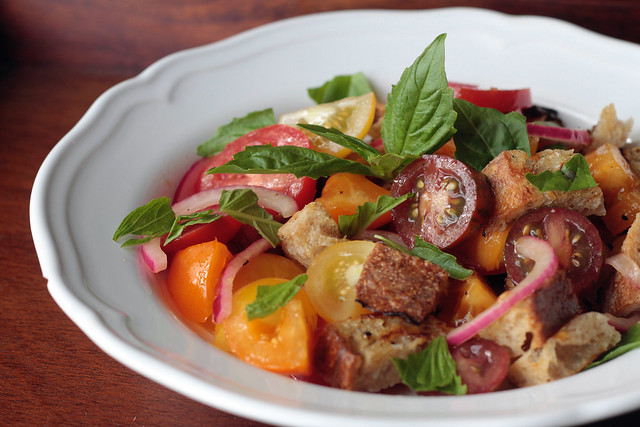
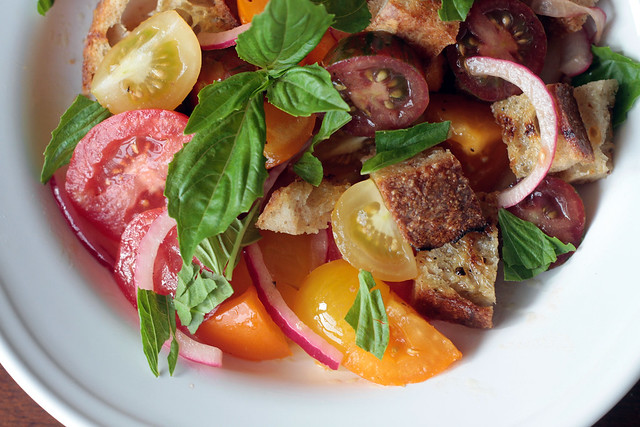
Panzanella
Traditionally, stale bread is used for this, but I love grilling the bread (or roasting it in the oven when it’s not summer). You can use all the same types of tomatoes, but I love to grab all sorts of colours to make this really stand out.
For the grilled bread:
- 1/2 lb (250 g) ciabatta, sourdough or hearty bread, sliced 1/2-inch thick
- Olive oil
- Salt
- Freshly ground pepper
For the salad:
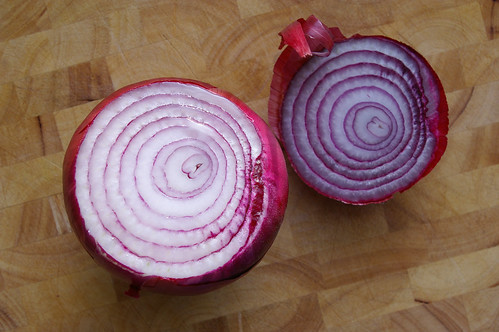
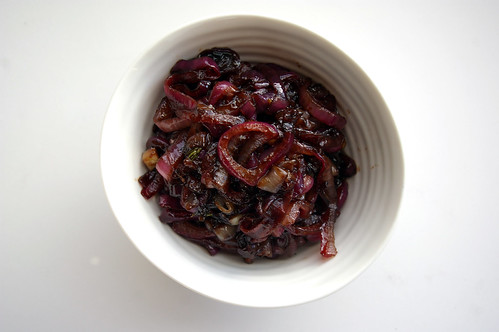
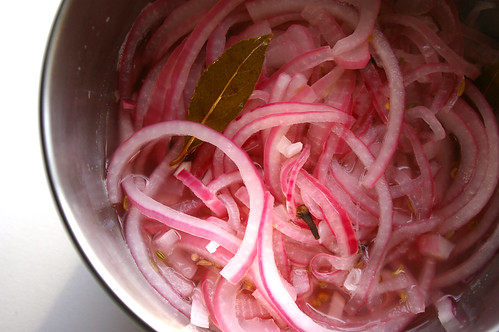
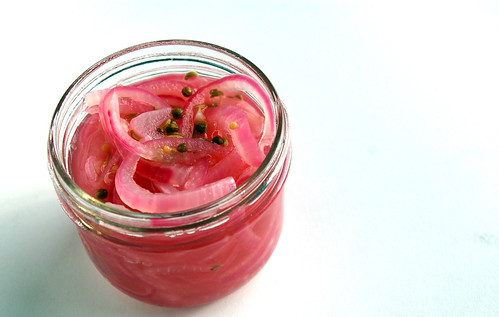
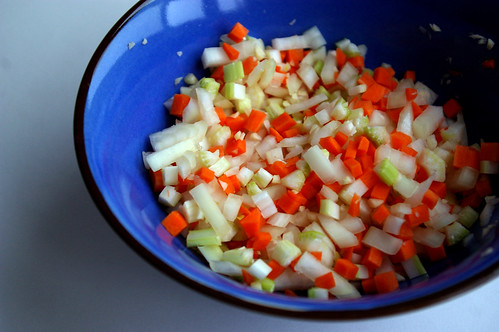
- 1/2 small red onion, thinly sliced
- 3 tbsp (45 mL) red wine vinegar
- 2 lb (1 kg) tomatoes
- 1 garlic clove, peeled and minced
- Salt
- Freshly ground pepper
- Pinch or two of sugar
- 1/4 to 1/3 cup (60 to 80 mL) extra-virgin olive oil
- 1/2 cup fresh basil leaves
Turn on the grill to medium-high heat.
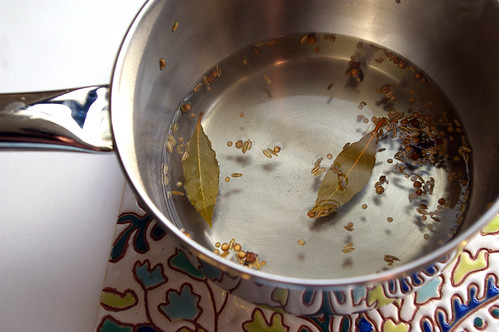
In a small bowl, pour the red wine vinegar over the onion slices and let sit, stirring occasionally, while you prepare the rest of the recipe.
Brush the sliced bread with the olive oil and then sprinkle with some salt and pepper. When the grill is hot, place the slices, oil side down, on the grates. Grill until the bread has nice char lines. Remove from the grill and set aside.
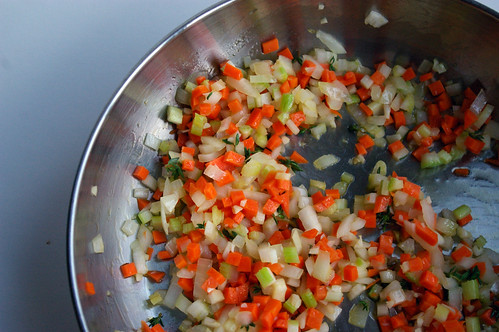
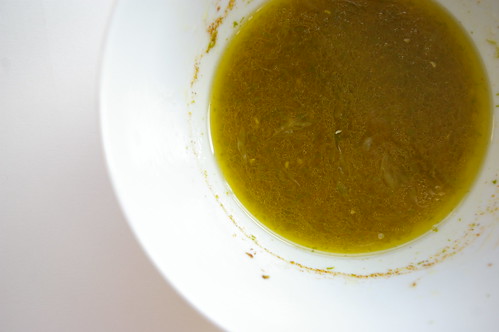
Core and slice or dice large tomatoes – smaller ones can be halved or quartered – and add to a large bowl. Strain the onion slices, reserving the vinegar for the dressing, and add them to the tomatoes. In a jar or small bowl, combine the vinegar, garlic, salt, pepper and sugar. Shake or whisk until the salt and sugar have dissolved.
Add 1/4 cup (60 mL) of the olive oil and shake or whisk again until the vinaigrette is emulsified. Taste for seasonings, adding more oil if the dressing tastes too acidic.
Pour most of the dressing over the salad and toss until well mixed.
Cut the bread into rough, bite-sized squares.
Add the bread pieces to the tomatoes and toss again, making sure they get saturated with the vinaigrette. Add more dressing as necessary. The bread pieces will soak up some of dressing.
Let sit for about 5 minutes and then toss again.
Tear the basil leaves roughly, add to the salad and mix until combined.
Serve immediately.
Serves 4 to 6.