Pickled Ginger

Contrary to what some may believe, dinners around here are mostly decidedly unfancy.
A few nights ago, it amounted to Japanese fried rice (made from this packaged seasoning mix I became immediately addicted to while living there and now happily buy from nearby Arirang – an amazing resource for Korean and Japanese ingredients in the Beltline), some quick pickles I made from shaved slices of cucumber and, inevitably, a fistful of pickled ginger. Yes, somewhat shamefully, that nearly electric pink, aspartame-sweetened kind.

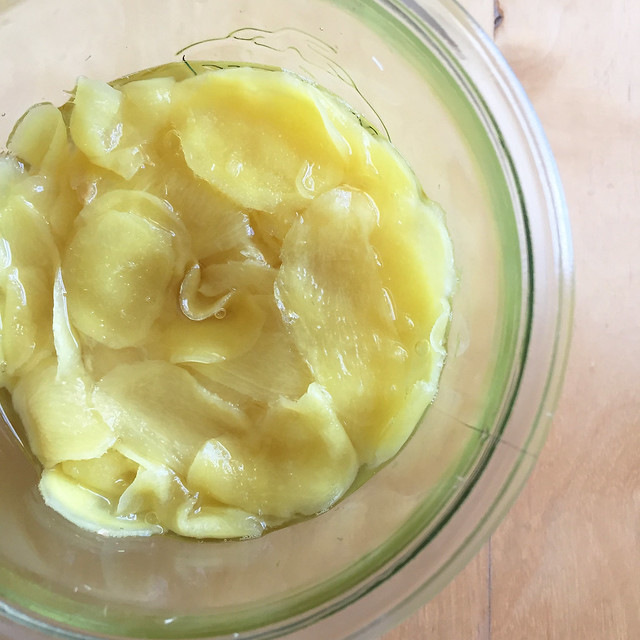
Gari, the Japanese word for pickled ginger, is part of the family of tsukemono (pickles) that pretty much only appears when served up alongside a plate of sushi. The slightly spicy, tangy thin slices of ginger are supposed to be eaten between the different types of nigiri or sashimi as a plate cleanser. (Not on a piece of sushi, please and thank you.)
IMG_9244

The odd thing is that, for years, I hated pickled ginger. I’d ignore the lump of it sitting next to my sushi rolls when I’d go out with my friend Michelle. This actually worked out well for her because she loved the stuff and then would get to eat both of our portions.

And then, at some point, I must have tried it again. And discovered I loved it. And starting to find myself asking people if they are planning on eating any of the thin slices of puckery, hot, palate-cleansing gari. I take whatever they don’t want.

It has now become a full-fledged addiction.

While traditionally served with sushi to cleanse the palate, I basically now consider it a condiment when eating various things with rice.

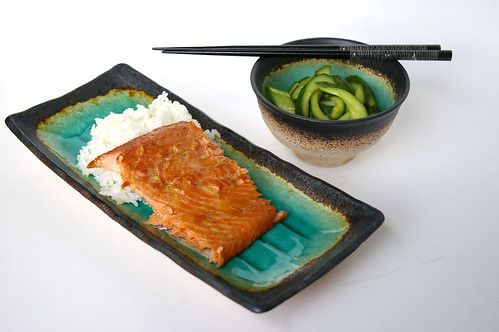
When I make those Szechuan Green Beans, I add pickled ginger. That teriyaki trout with quick pickles? Yup, I add a nice pile of gari to that. When I get sushi takeout, I order extra. (Though, blissfully, Zipang believes in a healthy heap of it for their takeout orders; when I ordered extra from there once, it was too much even for me, though I stored the rest in the fridge and it was gone within a few days.)

_MG_3721

Ideally, gari is made with new ginger, which is milder in flavour, has a thinner, paler skin and is tipped with pink, giving it a blush tinge when pickled. (That’s what the dyes in the store-bought versions are trying to mimic.) The season for young ginger is short, though, so most of us have to make do with older ginger, which is spicier and makes for a yellow colour when pickled. If desired – I was too lazy and not all that bothered by the colour this time – throwing a sliced radish or a tiny bit of beet to the pickling liquid will lend it all a nice pink hue.

I looked over a number of recipes to try to find one that sounded like it would get me the right combination of slight heat and tang and sweetness, and was surprised to find so much variety in the methods and ingredients. Some called for salting and/or boiling the ginger to cut the vivid heat of older roots, others just suggested slicing and brining. Some had very low quantities of sugar, which would make the ginger much more acidicly pickled, others had so much it almost sounded like candy.

In the end, I cobbled together a couple of versions.

I’ve eaten half the jar already, so I think it’s safe to say I’m pretty happy with it.

_MG_3683

_MG_3688

_MG_3696

_MG_3716

_MG_3733

Pickled Ginger

  • 10 oz ginger
  • 2 teaspoons salt, divided
  • ¾ cup vinegar
  • ½ cup sugar

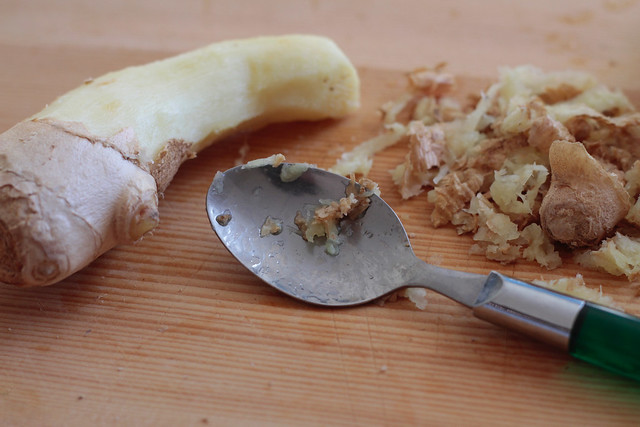
Using a spoon, scrape the skin off the ginger. A knife can be used to cut off any knots.
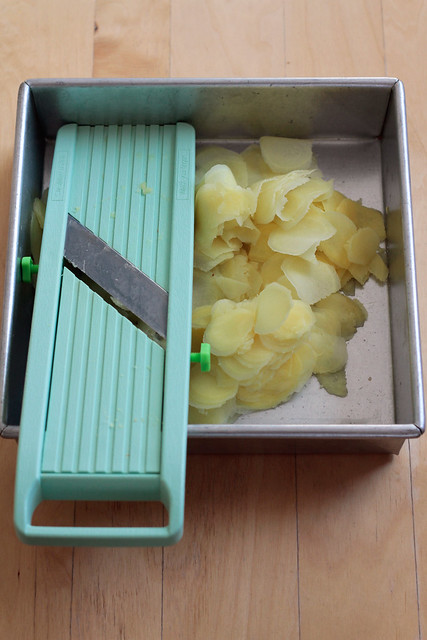
Set a mandolin on the thinnest setting – testing with a couple of slices of ginger to make sure you still actually get a slice of the root – and then position it in a baking pan or dish. This keeps the mandolin from moving around (safety first!) and also keeps all your ginger slices in one place.
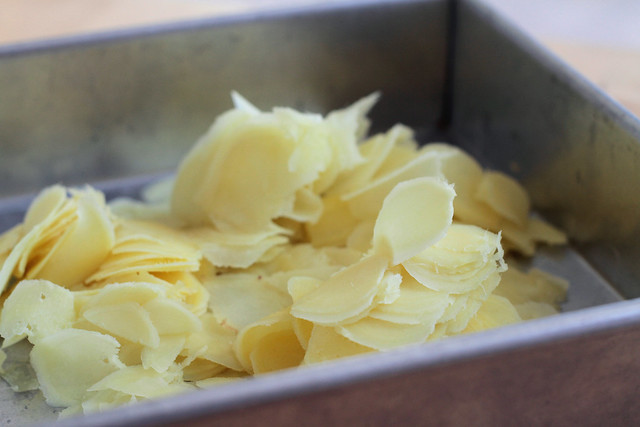
Slice all the ginger as thinly as possible.
Spread it around the pan or baking dish so it’s mostly in one layer. Sprinkle over 1 teaspoon of the salt and give it all a bit of a toss so it’s fully mixed. Set aside for about 10 minutes.
While the ginger is curing in the salt, set a medium pot of water over the stove and bring to a boil.
Once the water is boiling, add the ginger slices to it and let them cook for a few minutes. This cuts down the spiciness of the ginger, so the cook time will depend on how spicy you want it. (I did 3 minutes and probably could have gone for 4.)
Drain the ginger slices through a fine-mesh sieve and spread them out, letting them drain completely.
In a small pot, add the vinegar, sugar and the remaining salt. Bring it all to a boil and let it cook for a few minutes until it has lost some of the really astringent vinegar smell.
While it cooks, add the ginger to a clean jar with a lid.
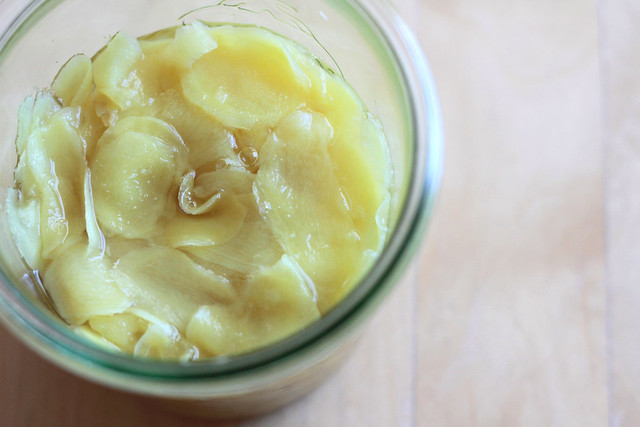
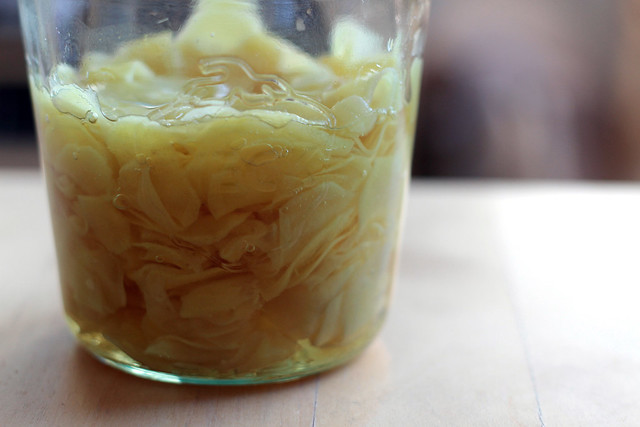
Pour over the brine, tamping down the ginger to make sure it is submerged in the liquid. Place the lid on the jar and let cool for a little while before storing in the fridge.
Now the hard part: wait about 48 hours before cracking the jar open to enjoy the ginger. (You can eat it sooner than that, but the extra time will really infuse the ginger with the brine.)
As a pickle, it should last a while in the fridge without danger of going bad. That is, if it even lasts long.
Mine was half gone in just a couple of days.

Continue Reading

Pork Meatball Banh Mi

I had never even heard of a Vietnamese sub before I moved to Calgary.

But my introduction to banh mi came soon after I arrived, when I took that first bite of a sate beef version, topped with pickled carrots and various sauces, all nestled into a crusty baguette.

Pork Meatball Banh Mi

It was a Saturday afternoon and I was working a reporting shift at the Herald. We were working on a big story and there wasn’t much time to think about lunch, let alone leave the building to get it.

And that’s when a colleague said he was going on a Vietnamese sub run; did I want one?

Yes, yes, I did, though I had no idea what I was agreeing to.

The first few bites had me thankful for the perks of living in a new city.

Now I have my own favourite place to get subs from and I do so often enough that the girls behind the counter recognize me.

It’s that fabulous combination of spicy and sour, salty and sweet – the traditional flavours of Vietnamese cuisine, and others in Southeast Asia – that make these so appealing to me.

The chili heat of the beef, the sweet-sour of the pickled carrots, the slathering of rich mayonnaise, the crusty, chewy bread. It’s all the right flavours and textures coming together.

In the years since, I’ve eaten my fair share (and perhaps more), but never thought about making them at home until I stumbled upon a Bon Appetit recipe for a pork meatball version. It had all the things I was looking for with the benefit of using meatballs instead of slices of beef sate.

But, of course, I made a few adjustments.

I made my meatballs smaller, then jammed a lot of them in to make the sandwich really filling. Feel free to make them larger, though you’ll need to adjust the cooking time slightly. (Ground pork is cooked through when it reaches an internal temperature of 160F or 75C.)

The original recipe also calls for pan frying them first in some sesame oil before finishing them off in the oven. I was looking for something a little less fussy; cooking them in the oven completely left them slightly less golden, but gave me a chance to tidy up at the same time, which is a good thing in my books.

No Vietnamese sub I’ve seen has daikon on it, so I skipped that in favour of more pickled carrots.

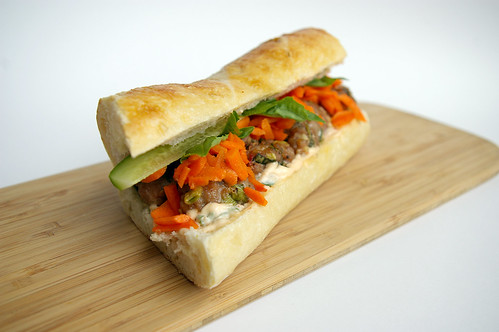
The result: Flavourful meatballs, a spicy mayonnaise and a tangy tangle of carrots, topped with basil leaves, all wedged onto a chewy baguette I picked up from a bakery.

Heavenly. And I didn’t even have to work a Saturday shift to get it.

Pork Meatball Banh Mi

Pork Meatball Banh Mi

Pork Meatball Banh Mi

Adapted from Bon Appetit. Don’t be daunted by the list of ingredients and number of steps. Both the mayonnaise and the meatballs can be made a day ahead and kept in the fridge.

Hot Chili Mayo

  • 2/3 cup (150 mL) mayonnaise
  • 2 green onions, finely chopped
  • 1 tbsp (15 mL) hot chili sauce (like sriracha)

Stir all ingredients together, cover and chill until assembling sandwiches.

Meatballs

  • 1 lb (500 g) ground pork
  • 1/4 cup (50 mL) finely chopped fresh basil
  • 4 garlic cloves, minced
  • 3 green onions, finely chopped
  • 1 tbsp (15 mL) fish sauce
  • 1 tbsp (15 mL) hot chili sauce (like sriracha)
  • 1 tbsp (15 mL) sugar
  • 2 tsp (10 mL) corn starch
  • 1 tsp (5 mL) freshly ground black pepper
  • 1 tsp (5 mL) coarse kosher salt

Gently mix together all the ingredients in a large bowl. With moistened hands, roll scant tablespoonfuls of the mixture, forming them into 1-inch (2.5-cm) balls. Place on a rimmed baking sheet. (If doing the day before, line the baking sheet with plastic wrap, then cover the meatballs with more plastic and refrigerate.)

Preheat the oven to 400°F (200°C). Bake the meatballs until golden and cooked through, about 15 to 20 minutes.

Sandwiches

  • 1/4 cup (50 mL) unseasoned rice vinegar
  • 1/4 cup (50 mL) sugar
  • 1 tsp (5 mL) coarse kosher salt
  • 3 cups (750 mL) coarsely grated carrots
  • 4 10-inch (25-cm) baguettes (or 4 10-inch pieces of baguette, cut from 2 baguettes)
  • 16 basil leaves or cilantro sprigs
  • 1 cucumber (or 2 short ones), cut horizontally into 4 wedges thinly sliced jalapeno (optional)

In a bowl, mix together vinegar, sugar and salt. Add grated carrots and toss to combine. Set aside and let stand at room temperature for 1 hour, tossing occasionally.

To assemble sandwiches, slice the baguettes horizontally in half, and pull out some of the bread to make room for the filling. Spread hot chili mayo over each bread shell. Arrange 1/4 of the cooked meatballs, drained carrots, basil or cilantro, cucumber and jalapeno (if using) inside the bread.

Serves 4.

This article first appeared in the Calgary Herald. For more recipes and meal ideas, check out the Herald’s food page.

Continue Reading

Pickled Onions and Onion Jam

As a kid — like almost all kids, I imagine — I was resolutely against onions. No, not in any dishes, please and thank you. And I was totally convinced that I could tell when they were in something. Until my mum did a little experiment. With my eyes closed, she gave me a piece of cooked celery and a piece of sauteed onion to taste. If I could tell them apart, I won. And if I couldn’t, then I wasn’t allowed to complain about onions ever again.

I failed.

Even though it was a 50-50 shot.

Red Onion

Now, I find the whole thing amusing. These days, almost all of my favourite dishes start with sauteeing some diced onions in butter or olive oil or both. (Like this one or this one or this one. Huh. Think I have a pasta addiction? Yeah.)

Of course, they don’t have to just be the start of a dish.

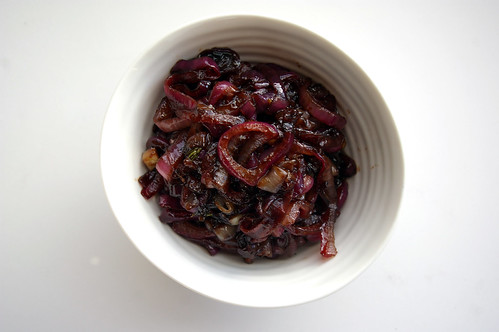
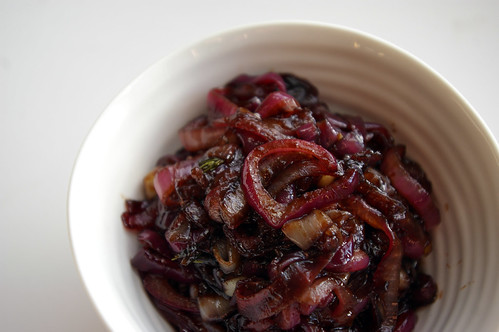
A few months ago, over at my day job, I wrote a piece about saving the standard sandwich. I made some jazzed up mayo with lemon juice and a whole bunch of herbs and then I made onion jam. That was my first time making it and it was a revelation. Sweet and savoury, rich and that slight hit of vinegar. Dear god help me, I was eating it with a fork. Seriously. And I had just made some no-knead bread and I had a chunk of brie and for the next three days, that became my go-to snack. (That and the herb mayo on toast with thin slices of tomato. Drool.)

Onion Jam II

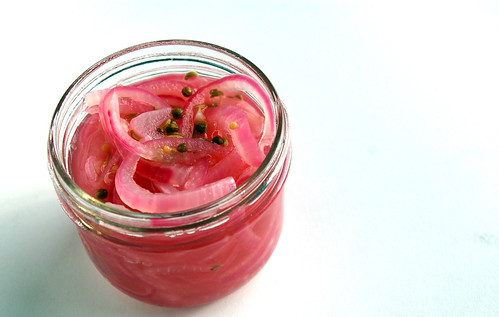
A few weeks ago, I made a little Mexican feast (guacamole — recipe coming — and slow-cooked pork and tortillas) and at the last second, I thought nothing could improve this delicious trifecta than a little zing from pickled onions. I did a quick surf around the web, found a recipe and whipped them up. It made those little tacos sing. Seriously.

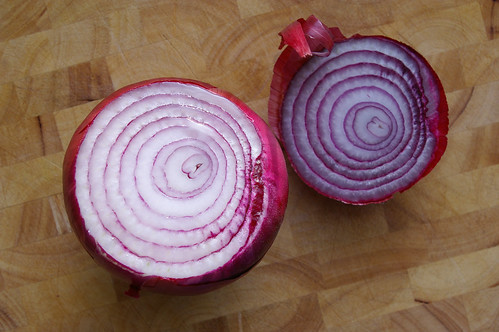
And then, a few days ago, I bought two red onions for reasons that are entirely unclear to me. And so, with two red onions and two recipes that would transform those little purple globes into something amazing, (And that’s with me liking red onions to begin with.) I got cracking.

I made Pickled Onions and Onion Jam.

I didn’t have brie this time around, so I’ve been eating the onion jam with Monterey Jack. Less fancy, still tasty. And I don’t have homemade tortillas, slow-roasted pork and guacamole, but I do have toasted bagels and ripe avocados that I’ve just mashed on top before lacing on top a few forkfuls of pickled onions. So simple, so good.

Brine

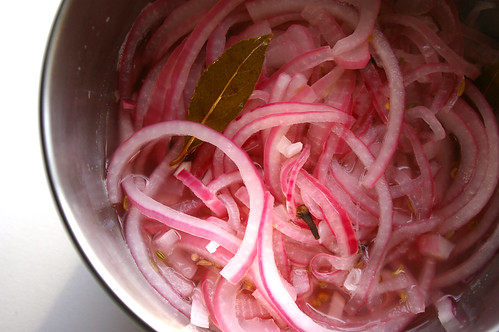
Adding the red onion

Pickled Onions

One quick note on the pickled onions: I made them the first time without the fennel and the second time with. Since I don’t love fennel, I will probably leave it out from now on. But if you do actually like fennel, then go for it. Other recipes I found also called for allspice berries (don’t have any; trying really hard to stop buying ingredients for just one recipe) and dried chiles (don’t have any and didn’t really want that kick of heat.) So, in short, this is totally adaptable. This is how I did it this time around.

Pickled Onions

Adapted from several sources.

  • 3/4 cup white vinegar
  • 3 tablespoons sugar
  • 1/4 teaspoon salt
  • 1 bay leaf
  • 5 whole cloves
  • 5 peppercorns
  • 1/4 teaspoon fennel seeds
  • 1/4 teaspoon coriander
  • 1/4 teaspoon mustard seeds
  • 1 large red onion, peeled, and thinly sliced into rings

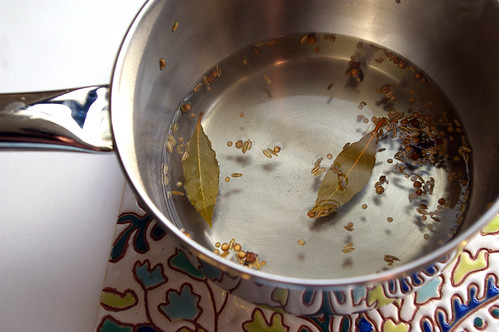
In a small, non-reactive saucepan, heat the vinegar, sugar, salt and spices until the mixture comes to a boil.  Add the onion slices and lower heat, simmering gently for about a minute.  Remove from heat and let cool. Transfer the onions and the liquid into a container and refrigerate.

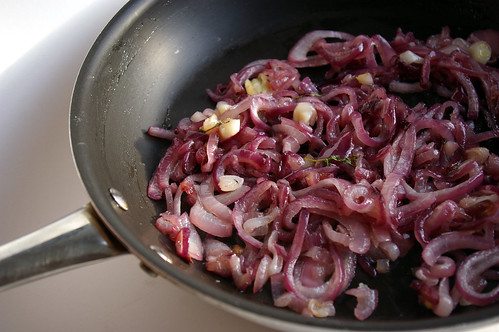
Sauteed onions

Onion Jam

Onion Jam

  • 2 tablespoons (30 mL) olive oil
  • 2 tablespoons (30 mL) butter
  • 2 red onions, halved and sliced into 1/4-inch (1/2-cm) moons
  • 1 clove garlic, crushed (optional)
  • 1 teaspoon (5 mL) fresh thyme
  • ¼ cup (60 mL) balsamic vinegar
  • 1 tablespoon (15 mL) sugar
  • pinch salt

In a saute pan, heat olive oil and butter over medium heat until melted.

Add onions and a pinch of salt (which helps to draw out the onions’ moisture) and garlic (if using); saute until onions are cooked and caramelized, about 15 minutes. Add sugar and thyme, stirring to dissolve the sugar.

Add vinegar. Simmer until it is thick and has a jam-like consistency, about 5 minutes. Remove garlic clove.

Continue Reading

Teriyaki Trout and Quick Japanese Pickles

When I’m nostalgic for Japan, there is one recipe I pull out.

Though, oddly, I didn’t find it in Japan nor use it when I was there.

Instead, this recipe for Teriyaki Trout was one I inherited from my family, who has been cooking it for years.

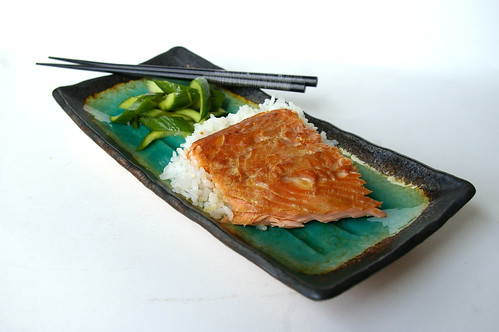
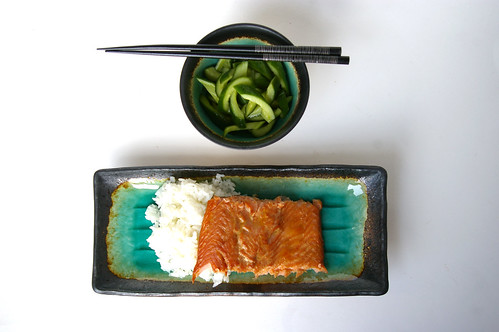
Teriyaki trout with quick pickles IV

Although only really a nod to a traditional teriyaki, it is my fallback recipe when I’m longing for the Land of the Rising Sun. There, I often made an authentic teriyaki salmon that I would serve with steamed rice and a selection of tsukemono (pickles).

But this tastes just as good and the ingredients are readily available, unlike the two types of soy and mirin that usually went into my marinade when I was overseas. (These can, of course, be found at Asian grocery stores, but this recipe is built on ingredients most people have readily available in their cupboards: soy, sugar and sherry.)

This is not the thick gloppy sauce you find on supermarket shelves. This is a thin marinade that infuses the fish with that salty-sweet teriyaki flavour.

A few cloves of smashed garlic perfume the marinade without overpowering the flavours. (And, bonus, they are easy to fish out when it’s time for the trout to go in the oven.)

In the beginning, my parents made this with salmon, as the original recipe calls for, but when the price of that got too dear, they started using steelhead trout. Now that’s what I grab as well.

Teriyaki trout with quick pickles II

My version is a photocopy of the original, with no notation of where it came from. Even the amount of fish called for is absent from the recipe.

But I’ve found the marinade is enough for about two pounds of fish. I prefer to do whole sides rather than individual fillets or steaks, though please use what you want.

Since it’s usually only me dining, I often make the full batch of marinade and divide it between two pieces of fish, throwing one into the freezer for dinner at a later date. I’ll pull it out in the morning and let it sit in the fridge. As it thaws, it continues to infuse the teriyaki flavour into the fish and by the time I get home from work, it’s ready to cook, which, some nights, is exactly the kind of meal I like to have around.

When I’m a little homesick for the rice paddies and stunted hills of the small town in Japan where I lived, I make this dish, serving it with rice and some steamed green vegetables. Sometimes, when I’m really feeling nostalgic, I also make quick pickles -thin slices of de-seeded cucumbers left to sit in a bath of rice vinegar, sugar and salt.

The tangy flavour is a nice balance to the rich fish.

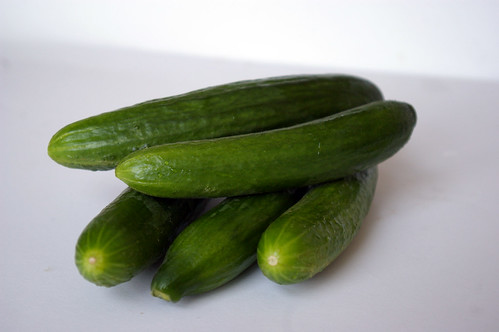
Cucumbers

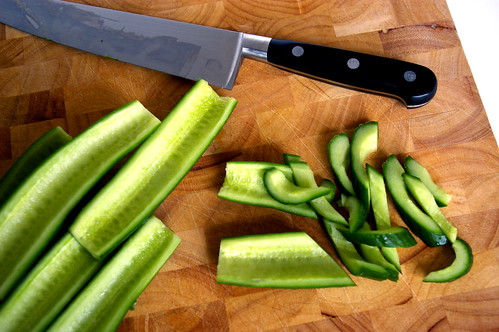
Sliced Cucumbers

Teriyaki trout with quick pickles

Teriyaki Trout

  • 2 pounds (1 kg) steelhead trout, side or steaks
  • 1 cup (250 mL) soy sauce
  • 1/4 cup (50 mL) sherry (drinking, not cooking)
  • 2 tablespoons (25 mL) sugar
  • 3 cloves garlic, crushed
  • 2 tablespoons (25 mL) grated ginger or ginger paste

Combine the soy, sherry, sugar, garlic and ginger in a bag or flat dish. Add the trout. Let marinate for at least 30 minutes or up to overnight.

Preheat oven to 450°F (230°C). Place fish in a casserole dish (if using steaks, grease the dish slightly so they can be easily removed) and bake until fish is cooked and flakes easily, about 12 to 20 minutes depending on the thickness of the fish.

Quick Japanese Pickles

The amount of salt and sugar can be easily adjusted for taste. I use Maldon flaked sea salt, which has a milder flavour. Sea salt can be easily substituted, but start with just 1 tsp (5 mL) and add more only if needed. The rice vinegar should be unseasoned.

  • 1 English cucumber (or 3-4 small cucumbers)
  • 1/2 cup (125 mL) rice vinegar
  • 1 tablespoon (15 mL) sugar
  • 1½ teaspoons (7 mL) flaked sea salt
  • 2 tablespoons (25 mL) water

Slice cucumbers in half and use a small spoon to scrape out seeds. Slice on a diagonal into ½-cm half-moons. Stir together vinegar, sugar, salt and water and mix until salt and sugar have dissolved. Add cucumber slices, tossing them with brine. Let rest in the fridge for at least an hour, tossing occasionally.

This originally ran in the Calgary Herald. For more recipes and food stories, head to the Calgary Herald’s Food page.

Continue Reading