Lockdown Libations no. 17: Right Word

Right. After an Easter weekend break, we’re back. And just in time for a return to some restrictions in Alberta.

Let’s have a cocktail.

My friend, Dan McPhee, has been making a series of cocktails over on Facebook and one I immediately bookmarked was this, the Right Word. A play on the Last Word — which is such a great cocktail name — this drink swaps Last’s green chartreuse for a combination of St. Germain and Lillet Blanc. I’ve used these in cocktails before (week no. 1’s Peruvian Elder Sour and the Vesper Martini for week no.3, respectively) but we’re definitely at the point where liquors are going to be repeated — though there are still others that haven’t been cracked yet, so I will start prioritizing those.

Those who have been following along will know the Vesper didn’t blow my skirt up, so I was despairing a bit that this huge bottle of Lillet Blanc — a fortified white wine — was going to continue to sit unused in my cupboard.

Gin, Lillet Blanc and St. Germain

(Not so that Les Subversifs gin, which is my second bottle. Makes an excellent Gibson, which I am currently so devoted to that I’ve just made my own batch of cocktail onions. Good lord, what a finicky process.)

Given it contains two liquors I’ve had a hard time using up through this project, I really wasn’t sure what to expect of this cocktail. Turns out, I like the floral undertones and slight sweetness mixed with the tang of lime.

Regular rotation? Maybe not. But one I would happily revisit.

Pouring the Right Word

Right Word

Right Word

  • 3/4 ounce gin
  • 3/4 ounce Lillet Blanc
  • 3/4 ounce St. Germain
  • 3/4 ounce freshly squeezed lime

To a cocktail shaker filled with ice, add the gin, Lillet Blanc, St. Germain and lime juice. Shake vigorously for 15 to 30 seconds, until the vessel is cold to the touch. Strain into a coupe or martini glass.


Continue Reading

Lockdown Libations no. 15: Aperol Cosmopolitan

I don’t remember the last time I had a regular Cosmo. There was certainly a time when they were a drink of choice. Yes, because of Sex and the City. Yes also because they are highly drinkable and it was at a time in my life when sipping something from a martini glass (even though I couldn’t handle an actual martini) felt very sophisticated.

And then I stopped drinking them.

There’s only a small overlap between a classic Cosmo (vodka, orange-flavoured liqueur, cranberry and lime) and this Aperol version I came across. I suppose there are orange-y undertones to Aperol? But the slight bitter, herbaceous notes of the liqueur don’t seem to have much to do with cranberry and Cointreau — to the point where this feels like a misnamed cocktail.

Aperol Cosmopolitan II

But does it work? That’s the main question. And the answer is yes. It’s actually a nice drink, though I would never have associated it with a Cosmo.

The vodka creates a nice neutral base for the lime and Aperol and the citrus seems to enhance the herbal undertones. It’s more of a sipper for those reasons, but I liked it.

Part of the regular rotation? Maybe not. But I like the idea of whipping one up when this goddamn pandemic is over and I’m entertaining friends, introducing it with, “Here’s something a little different!”

Vodka and Aperol

Aperol Cosmpolitan pouring

Aperol Cosmopolitan poured

Aperol Cosmopolitan

  • 2 ounces vodka
  • 1 ounce lime juice
  • 1/2 ounce Aperol
  • lime twist for garnish

To a cocktail shaker filled with ice, add vodka, lime juice and Aperol. Shake vigorously for 15 to 30 seconds, until the vessel is cold to the touch. Strain into a coupe or martini glass.

(Yes, I drink while blogging — ha!)

Blogging

Continue Reading

Lockdown Libations no. 6: Lime Drop Martini

This week has felt like a month and there is nothing I want to do more this afternoon than shut down my computer, text some friends to see who’s around and go for a cocktail.

But, you know, pandemic.

So, instead, a martini while texting it is! And, of course, the next episode of Drag Race. It’s the little things.

I bought some limes the other day — I actually don’t remember what I had planned to do with them, so this week I wanted to do something that would take advantage of that bounty. And, let’s face it, use them before they go bad. Related: why is that lemons have so much more lasting power than than green-skinned cousins?

Sliced limes

I have cranberry juice, so I was thinking of doing a Cosmopolitan. I suppose they’re on my mind because of the announcement Sex and the City is coming back. (And… no. Can we not just make NEW shows with new characters? Please?) But I nixed it because the point is to try new things and I most definitely have had a Cosmo or two in my life.

But the idea of vodka and lime intrigued, which is what led me to the Lime Drop Martini.

Lime Drop Martini III

I already love a lemon drop, so I don’t know why I was a) surprised a lime version existed and b) I hadn’t thought of it myself.

In looking up various versions, though, I was puzzled that most called for the addition of superfine sugar instead of using simple syrup. Or, if they did use syrup, it had been infused with mint, which, as far as I’m concerned, makes it a very different drink. Since I don’t think most of us have superfine sugar lying around, I’m using the normal stuff for the rim and simple syrup, which mixes in with a cocktail much more easily, for the drink itself.

It is, in a word: delightful.

I hope you’ll agree.

Vodka and Cointreau

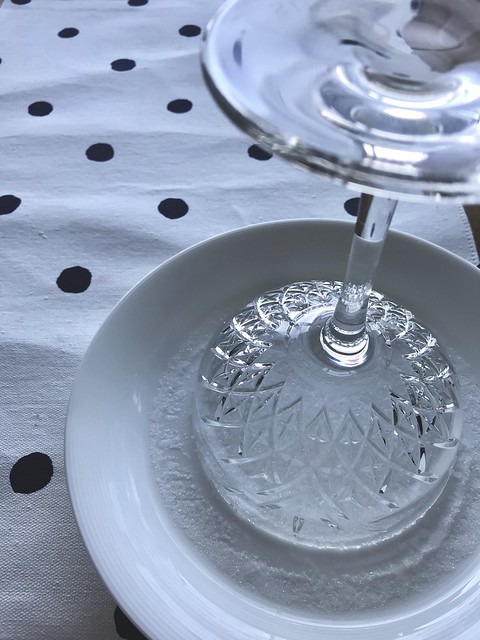
Sugaring the glass

Lime Drop Martini II


Lime Drop Martini

  • 3 ounces vodka
  • 1 ounce Cointreau — or another orange liquor, such as Grand Marnier or Triple Sec
  • 1 1/2 ounces fresh lime juice
  • 1 to 1 1/2 ounces simple syrup —
  • sugar, to rim the glass
  • lime wheel for garnish

Set a couple of tablespoons of sugar onto a small plate.

Rub the squeezed lime around the rim of a martini glass. Swirl the rim of the glass through the sugar — you can do the entire top of the glass or just half, whatever you’d like.

To a cocktail shaker filled with ice, add the vodka, Cointreau, lime juice and syrup. Shake vigorously for 15 to 30 seconds, until the vessel is cold to the touch.

Strain the drink into the glass.

Garnish with a lime wheel, if desired.


Continue Reading

Lockdown Libations no. 1: Peruvian Elder Sour

I need a project — so sayeth a lot of us right now as we face rising numbers of COVID-19 cases and decreasing ways to be with friends and family.

Peruvian Elder Sour II

I’m not going to make this a whole coronavirus thing, other than to say I need something to do with some regularity to keep myself occupied. And one thing I’ve had in the back of my mind for a few years now is to come up with a way to use all the odds and ends liquor bottles in my cupboard.

There are a lot of them. Like, I’ve-had-to-make-a-list-of-what’s-in-there-to-keep-it-straight a lot.

Liquor list

Liquor Cabinet II

Liquor cabinet I

Many are different brands of the same type of liquor — I have no fewer than six gins, for example. But others are one-offs that I’m not really sure what to do with. Like blueberry vodka and Pisco and two bottles of Cointreau. Yes, two bottles.

So, here we go. Project Lockdown Libations.

The rules are simple — and yes, I need rules. Otherwise the project will fall apart.

Rule no. 1: Each week, I need to make a cocktail. The results of this will be posted here.

Rule no. 2: Each cocktail must use something from the cupboard of wonders.

Rule no. 3: The primary ingredient may not be repeated until every single bottle — lord, help me — is used at least once. (Caveat: they can be used as secondary ingredients.)

That’s it.

Peruvian Elder Sour III

Down the road, I’m hoping to get some local bartenders involved — if you’re game, let me know! But otherwise it’s me, my liquor and Google.

Which led me to this recipe.

Pisco, St. Germain

I wanted to kick things off with pisco, that Peruvian liqueur that falls under the category of brandy, because I’ve had an unopened bottle of it for a few years. I thought I’d make a Pisco Sour — all y’all know I love a sour, but then I realized that as long as I’m using new liquors, I should try to expand my horizons at the same time. Which is how I landed on the Peruvian Elder Sour. Hey! It has citrus, I’m in.

The elderflower adds a nice floral undertone, while the lime adds a little tartness, though not as much as you might think.

Peruvian Elder Sour

  • 2 ounces Pisco
  • 2 ounces St. Germain
  • ½ ounce freshly squeezed lime juice
  • lime wheel or wedge for garnish

Shake with ice and strain into a chilled glass. Garnish with lime wheel or wedge.*
*Which I didn’t because the lime had seen better days and among the points of this project is to use what I have.

Peruvian Elder Sour I

Continue Reading

Khao Soi

As a general rule, I won’t complain about the weather. Snow happens. As does rain. As do those chinooks which bring a brief and welcome reprieve from the short days of winter.

But this year, for the first time, I’ve actually found myself daydreaming about a tropical holiday: aquamarine waters, warm beach, cold drink.

My bank balance, however, won’t allow it.

The next best thing is to eat like I’m somewhere exotic.

A spicy kick to warm the belly was the aim, a meal evocative of southwest Asia to cut through the grey afternoon with wind-whipped snow swirling outside. A little searching led me to Khao Soi, a Thai soup thickly spiced with red curry, but balanced with creamy coconut and spikes of lime. Chicken shredded after cooking in the broth and egg noodles add heartiness to this dish, which requires both fork and spoon to eat.

Pickled mustard greens or cabbage, crispy shallots and deep-fried noodles are traditionally added, but I craved a simpler soup that could be whipped up in less than hour without the need for all the pots in the cupboard. If I was going to pretend to be on a holiday, then coming up with something easily put together made sense.

As such, despite my recent vocal opposition to “recipes” that use cake mixes or jarred sauces – which I’m not against them as a general rule; I just expect when I click over to a food blog for a recipe that it will be how to make something, not just assemble it from pre-made parts – I admittedly came up with a version of Khao Soi that uses Thai red curry paste. I’d argue this falls more toward the practical end of the jarred sauce continuum since it’s comprised of numerous, and sometimes obscure, ingredients. But, since I could have technically made my own curry paste (recipes abound on the Internet), I’ll simply say there are times when shortcuts are warranted; this is one of those times.

I did enhance the curry paste with more garlic and ginger and a sprinkling of spices sautéed to enhance their flavour. The broth is rounded out with salty fish sauce and a bit of brown sugar then poured over bowls of chewy noodles and chicken cooked in the creamy, hot and spicy soup.

A bit of cilantro, lime wedges and bean sprouts added just before serving adds to the complexity.

The soup was all I had hoped for, hot and spicy enough – definitely at the upper end of my albeit low tolerance for heat – with the requisite sour, salty and sweet components that comprise a lot of southwest Asian cooking.

It wasn’t quite like sitting on a beach as aqua waters lap at the sandy shore, but it was at least a culinary escape from the dreary winter.

Khao Soi

I adapted this from a number of sources. I used chicken thighs which have more flavour, but boneless, skinless chicken breasts will work just as well in a pinch or if preferred. It can easily be made vegetarian by skipping out on the chicken and using vegetable broth. In that case, I’d add some fried tofu to round out the dish.

  • 2 tbsp (30 mL) vegetable oil
  • 2 cloves garlic, minced
  • 1 tbsp (15 mL) ginger, finely minced
  • 1 tsp (5 mL) curry powder
  • 1/2 tsp (2 mL) turmeric
  • 1/4 tsp (1 mL) cardamom
  • 3 tbsp (45 mL) red curry paste
  • 2 14-oz cans (796 mL) coconut milk
  • 2 cups (500 mL) chicken stock
  • 1 1/2 lbs. (750 g) chicken thighs, sliced in half lengthwise
  • 3 tbsp (45 mL) fish sauce
  • 2 tbsp (20 mL) brown sugar
  • 1 lb (500 g) fresh egg noodles (see note)
  • Lime wedges, cilantro, sliced shallots, bean sprouts for serving

In a large pot set over medium heat, warm the oil until it’s shimmering slightly. Add the garlic and sauté until fragrant, about 1 minute, then stir in the ginger. When the garlic and ginger are just cooked, but aren’t yet brown, add the curry powder, turmeric and cardamom. Sauté the spices until the form a paste with the oil and are fragrant, about 2 to 3 minutes. Add the red curry paste and stir with the spices, garlic and ginger. Work the paste and spices together and continue cooking, stirring nearly constantly and scraping it up off the bottom of the pot, until they are completely mixed and fragrant, another 2 to 3 minutes. Watch to ensure the spice mixture doesn’t burn. Scoop off the solidified coconut cream from the two cans of coconut milk and add to the pot. Mix well with the spice paste and cook, stirring often, until the red oil from the curry paste starts to separate, bubbling up to the surface, about 3 or 4 minutes. Add the rest of the coconut milk and the chicken stock. Bring to a boil. Add the chicken thighs, reduce the heat to a simmer and cover until the chicken has cooked, about 20 to 25 minutes. Remove the chicken to a dish and shred with two forks, setting aside until ready to serve.

Add the fish sauce and brown sugar and taste for seasonings, adding more of one or the other if desired.

Bring another pot of water to a rapid boil and cook the egg noodles until just tender with a slight chew. (Mine only needed about 45 seconds.) Drain and divide between 4 bowls.

Top with shredded chicken and ladle over the broth.

Serve with lime wedges, cilantro, sliced shallots and bean sprouts.

Serves 4.


Note: Find egg noodles at most grocery stores in the produce section or at Asian supermarkets.

Continue Reading

Brownies with Sea Salt and Lime

Oh, hello!

Thanks for joining me here on my inaugural post on my NEW blog. While I should be a little ashamed (and I am a bit, to be honest) that it took me this long to get my own domain and I certainly should be (and am) irked that waiting this long meant a lot more hiccups in making ye olde switch from my WordPress version to this one, I’m just tickled that I finally broke down and did it. I own real estate! Internet real estate!

(Side note: I guess this is a good time to say that you may want to update your bookmarks.)

I’m still trying to work out some design kinks. Those classes in HTML that I took in my undergrad (read: a long time ago) haven’t really kept up with the times. But I figured it would be better to just get this thing live and try to fix as I went along rather than wait until it was perfect and have you all give up on ever seeing me post again. (Thanks to the kind person on Twitter who gently nudged me into getting things rolling again.) (Related: if anyone has a quick fix to get the blog’s tagline all on one line and to get the “What It’s All about” over to the left side of the page, I’d be totally grateful.)

And just a few weeks shy of my four-year (four year!) anniversary. Four amazing, heartwrenching, uh, fattening years. But tasty ones too. Of course, I’ll wax a little more poetic when I actually get there. After all, it’s not an anniversary without some cake. Or not in my world, at least.

So, stay tuned for that.

Today, though, I’ve got some really, really, really good brownies.

With lime.

And flakes of sea salt.

Like the margarita of brownies.

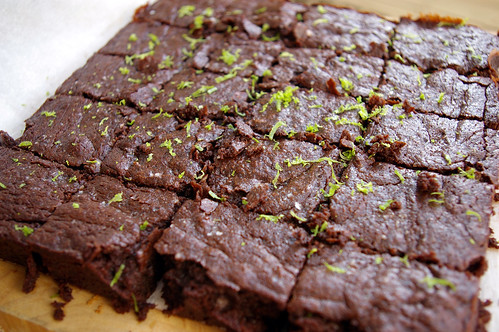
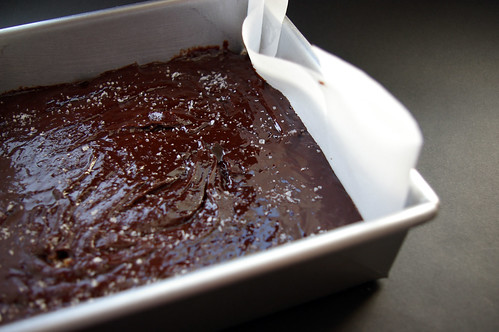
Brownies with Lime and Sea Salt

But, you know, without the booze. (Unlike these and these. Oh yeah.)

I had bookmarked them a while ago from the Kitchn, which is a fabulous resource for recipes and kitchen tips. And then kind of forgot about them — surprising considering my love of all things citrus.

But as I was getting ready for (après) ski weekend a few weeks ago, they popped back into my head. (Après) ski weekend is becoming an awesome tradition. We rent a house right at Kicking Horse, pack up lots of goodies to eat (and maybe a couple of bottles of wine, ahem) and then hang out for the weekend. The others ski and board, but the mountain is a bit advanced for me, so I just do the après part. All the hot tubbing, snacking, reading and laughing, none of the actual hurtling down a mountain. Good times!

These brownies totally delivered on all my expectations. They were darkly rich, slightly sweet with the tang of lime and kiss of sea salt.

The most unexpectedly amazing part of these were the chunks of unsweetened chocolate that you stir in before baking. After, they’re these little pockets of chocolate-y goodness and they taste as if they are dark or semi-sweet chocolate. The addition just takes these brownies over the edge.

Well, that and the lime, of course.

We didn’t manage to eat them all over the weekend. (No judgment; I had also packed some Bourbon Blondies and, of course, the Dark Chocolate Chunk Cookies. Plus, everyone brought lots of other delicious dishes for dinner and the world’s supply of chips. Did I mention it’s a very good weekend?) So I took the rest in to work where they were gobbled up.

And now that I know how good they are, I certainly won’t be waiting until the next (apres) ski weekend to make another batch.
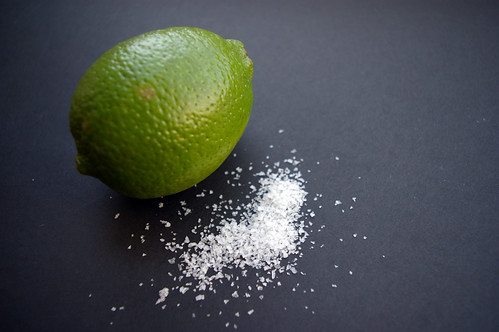
Lime and Salt

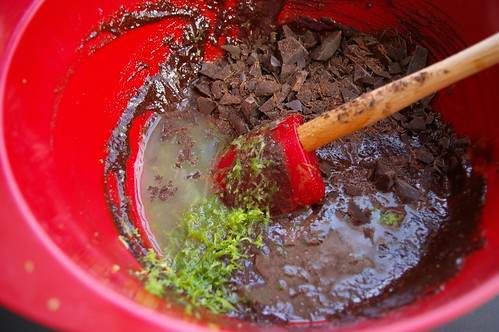
Brown, green and red

A sprinkle of salt

Brownie with Lime and Sea Salt

Brownies with Sea Salt and Lime

Adapted ever so slightly from The Kitchn.

  • 1/2 cup + 2 tablespoons unsalted butter
  • 4 ounces bittersweet chocolate, chopped coarsely
  • 1 cup sugar
  • 3/4 cup all purpose flour
  • 1/4 cup Dutch process cocoa powder
  • 2 large eggs, lightly beaten
  • 1 teaspoon vanilla
  • 1/4 teaspoon kosher salt
  • 1 lime, juiced and zested
  • zest of 1 lime
  • 2 ounces unsweetened chocolate, finely chopped
  • 3/4 teaspoon flaky sea salt

Preheat oven to 325F and line an 8×8-inch baking pan with parchment paper, leaving the paper extra-long and hanging over two sides.

In a medium saucepan, melt the butter and bittersweet chocolate over medium-low heat. Stir until smooth.

Remove pan from the heat and add the sugar, flour, cocoa powder, eggs, vanilla and kosher salt. Mix until combined. Then add lime juice and zest, as well as the finely chopped unsweetened chocolate. Stir to combine and pour into prepared pan. Sprinkle the sea salt on the top.

Bake for 30 to 35 minutes or until a tester comes out moist. It will not be perfectly clean, but it shouldn’t be sticky either. Allow pan to cool on a wire rack for 15 minutes before removing brownies from pan. To remove the brownies, run a knife around the sides of the pan to help release the brownies, then lift out the parchment paper. Place the brownies on the paper back on the wire rack. Cool completely and cut into 2 inch squares.

Continue Reading

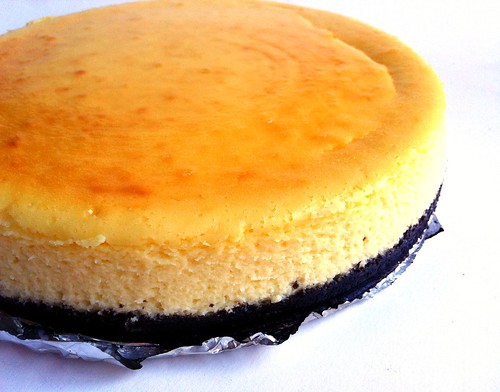
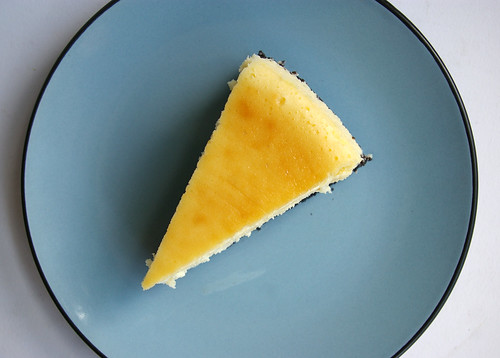
Chocolate Lime Cheesecake

The problem with getting behind in blogging is you start to forget why you made something in the first place.

OK, that might not be a problem others have. This may be particular to me.

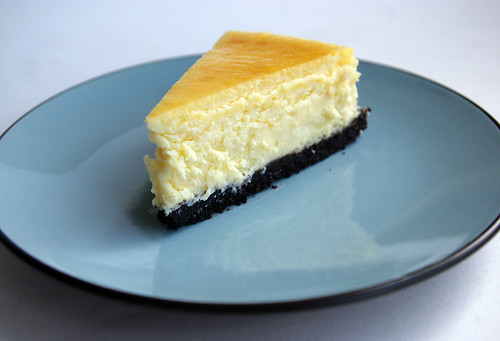
Chocolate Lime Cheesecake Slice I

I think I came up with the idea of making a Chocolate Lime Cheesecake while flipping through cookbooks one night and remembering this had been on my to-do list for eons. I’m almost sure I had pulled Nigella Lawson’s Nigella Bites from my (overstuffed) shelf looking for one of her salad recipes when I re-stumbled across this one. And it occurred to me, since it was a long weekend and I was going to be working on the stat holiday, that I should bake this up and bring it in to the rest of the Calgary Herald crew working on the holiday Monday just like I used to when I was over in the city section. (Back then, I worked Sundays every week and I often baked and brought in goodies for what became known as Civilized Sundays, which would see us sitting around at 10 a.m. eating cake and listening to the police scanner. And reading our horoscopes.)

Then, and I do remember this correctly, I told the people who I knew would be also working that I was going to bake a cheesecake, which actually made me do it.

And, man, am I glad I did.

Nigella, my friends, she knows her stuff.

You know I love lime. It’s no surprise I also like chocolate. These two together are a very nice, very unexpected treat.

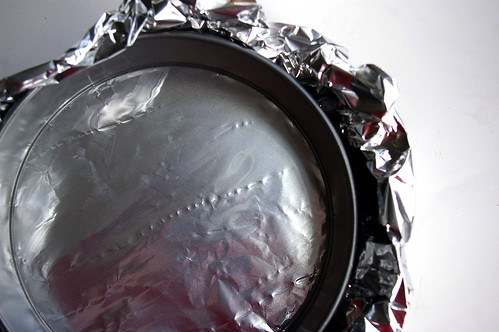
It may seem a bit fussy, but I followed all the instructions, including baking it in a water bath, which is a relatively common suggestion for baking cheesecake (a gentler way that theoretically keeps the top from cracking but always seemed like an unnecessary additional step). And I think it is indeed worth it. And the trick of snapping the aluminum foil into the springform pan (which sounds more confusing than it actually is) really does protect the crust and cake from any water.

Aluminum foil-wrapped pan

However, I must also add that I bought extra-wide aluminum foil thanks to the suggestion of my friend, Colette, who knew such a thing existed. Thanks Col! That way there was no panic about making sure the various pieces were secure enough. I would recommend this as a great way of alleviating any concern over seepage.

Seepage. What an odd thing to be mentioning on a food blog.

And, goodness, this is a very scattered post, isn’t it?

To summarize: this cheesecake is tasty. I enjoyed it. So did my friends. Make it. Don’t wait as long as I did to do so.

End.

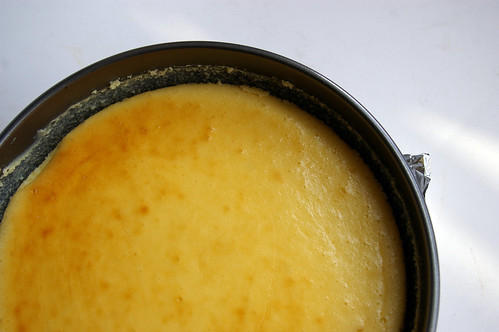
Chocolate Lime Cheesecake I

Chocolate Lime Cheesecake II

Chocolate Lime Cheesecake Slice I

Chocolate Lime Cheesecake Slice I

Chocolate Lime Cheesecake

Straight from Nigella Lawson’s Nigella Bites.

  • 7 ounces chocolate wafer cookies
  • 1/3 cup unsalted butter, melted
  • 1 1/2 pound cream cheese (recommended: Philadelphia)
  • 1 cup sugar
  • 4 whole eggs
  • 2 egg yolks
  • 4 limes, juiced or 3/4 cup

Special equipment: springform pan

Preheat oven to 350 F.

Place a large overlapping piece of aluminum foil over the bottom of the springform pan, and then insert pan ring over it. Fold the foil extra foil up and around the pan and place the whole thing on a second piece of foil, also folding it and pressing it securely around the pan, having a water tight covering.

In a food processor, process cookies until they are crumb-like, add melted butter and continue to process. Pour crumb mixture into springform pan and press with your fingers to line the pan. Place the pan in the refrigerator to set while you prepare the cheesecake.

Place a kettle of water on for water bath. In a food processor beat the cream cheese until smooth, add the sugar, eggs, egg yolks, and lime juice.

Take crumbed pan from the refrigerator and place it in a roasting pan. Pour the cheesecake mixture into the crumb pan, and then carefully pour the hot kettle of water into the roasting pan so the water reaches 1/2 way up the pan so the water does not splash into cheese cake.

Place roasting pan in oven for 1 hour, checking after 50 minutes. It should feel set, but still wobbly in the center. Take the roasting pan out of the oven, carefully remove the springform pan from the roasting pan and place it on a rack. Peel off the outer layer of foil, and tear away the side bits of the first layer of foil and leave the pan to cool. Once the cake comes to room temperature, place it in the refrigerator for 20 minutes before serving. Transfer to the plate you’re going to serve it on, a plate without a lip, or a cake stand. Unclip the springform pan and remove the outer part. Carefully lift the cheesecake removing the metal bottom. The aluminum foil can stay on the cake. Serve chilled.

Continue Reading

Juice of a Few Flowers

Last year was one of celebrations: plenty of new babies and a wedding or two.

That, inevitably, meant many a shower.

Some involved sipping tea out of dainty china cups, others a glass of wine or two, perhaps a tipple of Champagne.

This year is gearing up to be slightly slower showerwise. No weddings on the calendar and only a few friends expecting to add to their families.

Which is too bad, because I’ve just discovered a lovely multi-purpose cocktail.

Juice of a Few Flowers

It’s a drink with a tart citrus punch and a nice kick of vodka. An ice-cold glass, a sugared rim, a sprig of mint.

It’s downright civilized.

So, it’s no surprise then that Juice of a Few Flowers was apparently created in the 1920s by a couple said to give glamorous parties in the East Hamptons.

The original version used gin, but Barefoot Contessa Ina Garten, in her book Back to Basics (Clarkson Potter, $40), has updated the recipe to use vodka.

She notes, though, Gerald Murphy often mixed up the drink without alcohol, pouring it into martini glasses and serving them to the children.

And that makes it a great mocktail for mothers-to-be.

Shower guests and the guest of honour can all sip (relatively) the same thing.

With puckery grapefruit and tart lemon and lime juices, this drink could head toward sour territory, but it’s mellowed by the addition of sweet orange juice, then tempered further with the sugared rim.

Shaken until ice cold (freeze the martini glasses in advance to keep it even further chilled), the drink is smooth and oh-so sippable.

So much so that I don’t think I’ll be waiting for a shower or other celebration to be pulling out this recipe again.

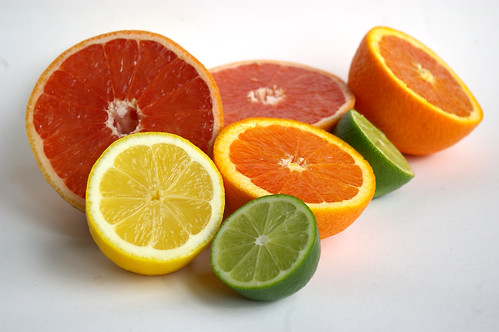
Citrus

Juice of a Few Flowers II

Juice of a Few Flowers

Ina Garten notes if your juicer doesn’t strain the juice, use a sieve to remove the pulp, otherwise it will clog the holes of the cocktail shaker.

  • 1/2 cup (125 mL) freshly squeezed orange juice (2 oranges)
  • 1/2 cup (125 mL) freshly squeezed pink grapefruit juice (1 grapefruit)
  • 1/4 cup (50 mL) freshly squeezed lemon juice (1 lemon)
  • 1/4 cup (50 mL) freshly squeezed lime juice (2 limes)
  • 1 cup (250 mL) vodka
  • extra lemon juice
  • granulated sugar
  • fresh mint sprigs

Combine the orange juice, grapefruit juice, lemon juice, lime juice and vodka in a pitcher.

Dip the rims of 4 martini glasses first in a dish of lemon juice and then in a dish with sugar. Set aside to dry.

Pour the cocktail mix into the glasses, garnish with mint and serve.

This story first appeared in the Real Life section in the Calgary Herald. For more delicious recipes, visit CalgaryHerald.com/life.

Continue Reading

Microwave Lime Cheesecake

Under normal circumstances, microwave cheesecake would be an ideal summer dessert for the sole reason that it doesn’t require you to turn on your oven.

However, this summer has been anything but normal.

So, instead, I’m going to tell you that these little cheesecakes are ridiculously easy, super tasty and highly transportable and those are three very fine reasons to consider trying it out. And, hey, if the forecasters are right and we’re going to sail through the rest of August on a heat wave, then feel free to use not wanting to turn on your oven as an excuse, too.

The more rationale, the better, I say.

Not that cheesecake should require any rationale.

These ones certainly don’t.
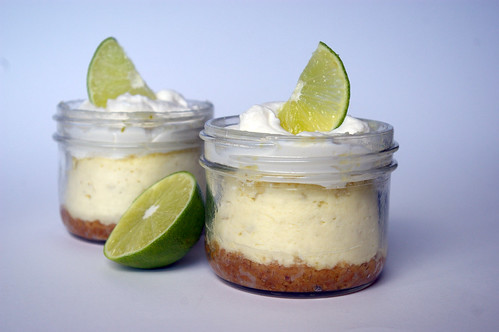
Microwave Lime Cheesecake I

Now, I’m not going to lie. If you’re looking for a silky smooth cheesecake with nary a crack marring the surface, lovingly cooked in a water bath and chilled overnight in the fridge, this isn’t the recipe for you.

If you’re looking for something you can whip up in seven minutes — including cooking time — that sits in the fridge for an hour and then can be devoured, giving you the same tart lime cheesecake taste as the regular kind with almost the same amount of smoothness, then this is the recipe for you.

It was for me.

The hardest part was waiting for it to chill enough.

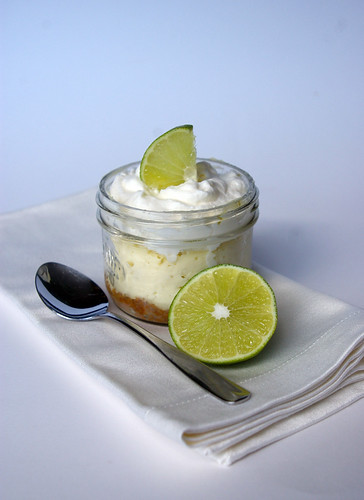
And the best part was because I used mason jars, I could just slap on a lid and take it with me, which would be ideal for picnicking or making an office lunch a little more luxurious.

I used two one-cup (250 mL) mason jars to make the cheesecakes and had a little bit of batter left over. In hindsight, I can tell you I filled the jars a bit too full.

At some point, I may want to sit down and reexamine the subject of portion control. At the time, though, it seemed like a good idea. After all, the recipe said it makes two to four cheesecakes, so two seemed more than reasonable.

Please take my suggestion and make at least three, for a few reasons: 1: These jars are pretty giant and the cheesecake is, naturally, a bit rich and may be better in a slightly smaller dose. 2: Three or four cheesecakes means you can share more easily with more people. That or you can spread them out over several sittings.

3: You won’t be watching anxiously through the microwave door as the cheesecake mixture souffles up and over the jars’ edges, threatening to spill all over the rotating tray.

As it was, all that fretting was for nothing. They didn’t spill, but I think it would have been better without the panic.

Out of the microwave, they settled nicely into a slightly concave top.

I filled that with whipped cream — purely for esthetic reasons, of course. But later I thought some fresh fruit would have been nice.

I liked the slightly tart taste of limes countering the richness of cheesecake, but suspect this recipe can be easily adjusted to suit other flavours, such as lemon (by switching the zest and juice to that fruit) or a straight-up vanilla cheesecake by omitting the citrus and adding a teaspoon or so of vanilla extract. That would be particularly delicious topped with summer berries or a fruit compote.

After all, it only takes about seven minutes to try a new variation. The tricky part will be waiting the hour to see how it tastes.
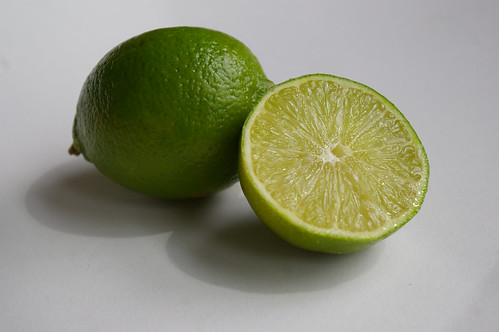
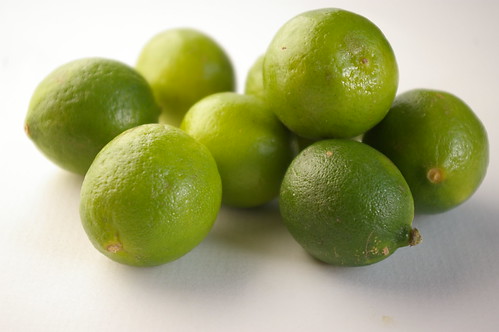
Limes

Microwave Lime Cheesecake II

Microwave Lime Cheesecake

Adapted from TheKitchn.com

  • 3 tbsp (50 mL) butter, melted
  • 1/2 cup (125 mL) graham cracker crumbs
  • 1 tbsp (15 mL) sugar
  • 8 oz (250 g) cream cheese, softened
  • 1/3 cup (75 mL) sugar
  • zest of one lime
  • 2 tbsp (25 mL) fresh lime juice
  • 1 egg

Combine the graham cracker crumbs with melted butter and 1 tbsp (15 mL) sugar. Divide between two to four 1-cup (250 mL) jars or ramekins and press into the bottom.

Mix the rest of the ingredients until smooth. Divide evenly into jars or ramekins with crumbed bottoms.

Place in microwave for 2 minutes. The top of the cheesecake should appear dry when cooked. If it doesn’t look quite done, microwave at 30-second intervals until the tops appear dry. (For my extremely full jars, I needed 2 minutes and 30 seconds.) If you don’t have a rotating microwave tray, cook for 1 minute then turn the jars or ramekins and microwave for another minute.

Chill in refrigerator for 1 hour. Garnish with whipped cream or fresh berries and serve.

This story first appeared in the Real Life section in the Calgary Herald. For more delicious recipes, visit CalgaryHerald.com/life.

Continue Reading

Quinoa Salad with Curry-Lime Vinaigrette

When Twitter first came on the scene, I wasn’t really sure what to do with it. I had Facebook and email and a blog already, so did I really need another way to connect with people? But I signed up anyway. And, as it has grown, I’ve come to see all sorts of benefits that I could not have previously imagined would come from this micro-blogging/communication/networking phenomenon. I’ve made new friends, found news stories and been given a few new recipe ideas.

This Quinoa Salad with Curry-Lime Vinaigrette is one of those recipes. A friend tweeted she had been thinking a lot about biryani-style quinoa dishes. I was curious and asked for links, which she happily sent along. I liked the idea of them, but neither of the recipes really grabbed me as a whole. Instead, I was more interested in picking and choosing the bits and pieces from each that were intriguing.

And I was more than motivated to try out something similar, having impulse bought a three-pound bag of quinoa from Costco. Seriously. Some people impulse buy gum; that makes a lot more sense.

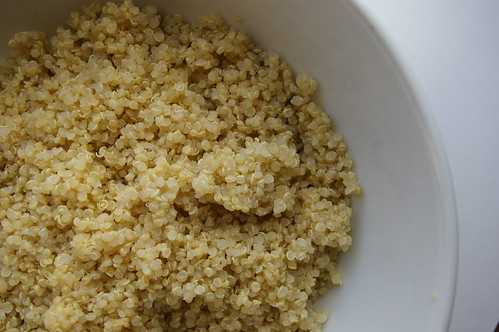
Cooked quinoa

I’ve liked quinoa for some time, ever since trying it with veggies and a peanut sauce at the Coup. But the idea of cooking it was a bit intimidating. Various reports of it being bitter or improperly cooked were enough to make me shy away from it. And then I saw on the back of this bag that you could cook it in a rice cooker. Can I make a confession here? I don’t really know how to cook rice on the stove because a former boyfriend bought me a cooker when I came back from Japan (where I had fallen in love with the one in my little townhouse). Now that’s all I use. So, knowing I could make perfect quinoa in the rice cooker was enough for me to put the giant bag of the stuff in my equally giant Costco cart.

And then I got it home and didn’t really know what to do with it.

And here we are.

So, I made this salad with quinoa and carrots and zucchini, currants and pine nuts and sort of make-it-up-as-you-go-along dressing based on what I thought would be good with hints from the other two recipes I read. Tossed it all together and it was fantastic. So I ate some more. And then I tweeted it and people started asking for a recipe. So, I made it again last week and actually wrote down what went in this time.

I was at the farmer’s market and bought some oddly coloured carrots (because I also impulse buy strange vegetables) and used them in the salad because I thought they’d be pretty. They were. But the first time I made this I used straight up normal carrots and it was just as fantastic.

Funky white carrot

Purple Carrot

Oh, and here’s the best tip I’ve read in a while for julienning vegetables perfectly. First cut it in diagonal slices, then stack those and cut into sticks. So much easier and they always look fantastic.

Julienned Zucchini

This is great right away, even better if you can let it sit for a bit so everything has a chance to hang out.

Lastly, I’d say that the beauty of a salad is it is infinitely adaptable. Don’t like pine nuts? Use sliced almonds instead. Currants are great, but I bet diced apricots or a handful of dried cranberries would also be delicious. And so on.

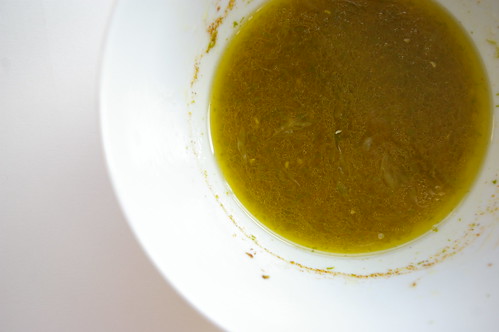
Curry-lime vinaigrette

Quinoa salad with curry-lime vinaigrette

Quinoa Salad with Curry-Lime Vinaigrette

  • 2 cups cooked quinoa
  • 2 carrots
  • 1 small zucchini
  • 3 green onions
  • 1/2 cup currants
  • 1/4 cup pine nuts, toasted
  • 1 cup chickpeas, rinsed and drained
  • zest and juice of one lime
  • 1/2 teaspoon salt
  • 1/2 teaspoon curry powder
  • 1/4 teaspoon dried ginger
  • 1/4 teaspoon cinnamon
  • 1 tablespoon honey
  • 1/4 cup oil (I used olive because it’s what I had. Any veg oil will be great)

Cook quinoa according to package directions or using the “white rice” setting on a rice cooker. Set aside and let cool then place in large salad bowl.

Julienne carrots and zucchini, then slice green onions. Add to quinoa. Stir in chickpeas, toasted pine nuts and currants.

To make dressing, zest lime into a bowl, then add lime juice and honey. Whisk to dissolve honey, then add salt and spices. While whisking, slowly add oil to emulsify. Pour over salad and toss.

Continue Reading

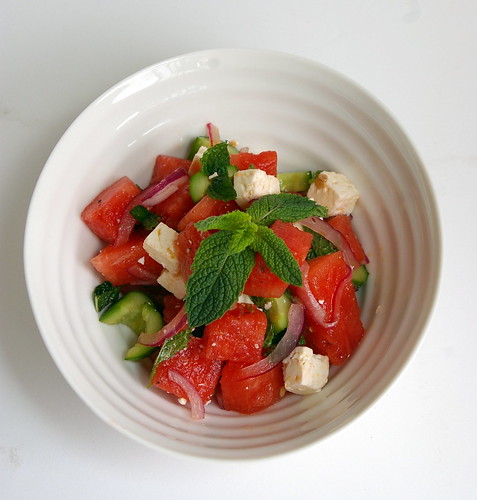
Feta-Watermelon Salad

Fruit and cheese is a natural combination. I like a nice wedge of brie with pear, have enjoyed dried apricots and a little Gouda and, of course, apple and cheddar are a classic pairing for a reason.

Over the years I’ve seen the combination of feta and watermelon crop up in cookbooks, on blogs and in menus. For a long time I just could not wrap my head around the idea of matching the sharp, salty tang of feta with a sweet and luscious watermelon.

Feta-Watermelon Salad II

It seemed an incongruous match. A slightly chalky cheese with a juicy fruit? I could not be tempted. But I finally broke down and ordered a salad with feta and watermelon at a local restaurant a few months ago. Curiosity got the best of me, I guess. And then I mentally kicked myself for waiting so long.

Where I had expected incompatibility, I found harmony. A harmony that almost tempted me to lick my plate. Decorum reigned, but the salad has remained at the back of my mind for the last few months.

I was never a big watermelon eater. Sure, we’d eat wedges of it during summer as kids, coating our faces in the fruit’s juices as we sat on the back porch. It was a cool and refreshing treat and a nice way to pause between runs through the sprinkler on the lawn. I never did get the hang of spitting seeds, though.

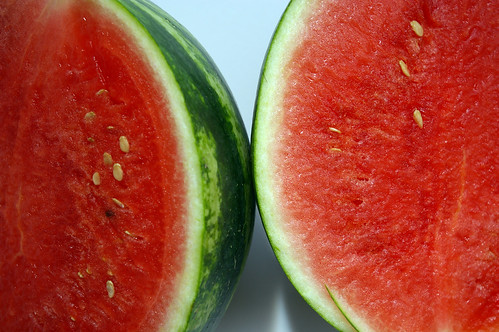
Watermelon II

As I grew older, watermelon dropped off my radar. I never bought it for myself, ate it only when it was part of some fruit salad. Until this dinner out, when I realized this giant fruit could be just as sophisticated as the combination of brie and pear, while still holding that faint taste of childhood summers.

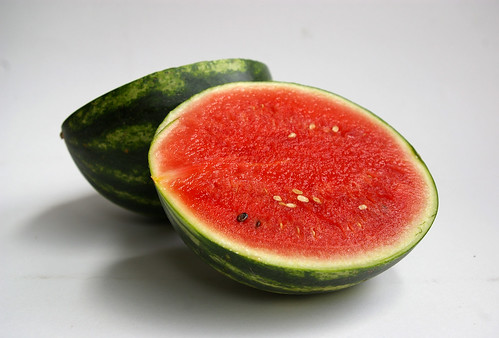
A baby watermelon I found at the farmer’s market sealed the deal. It was time to make this salad my own.

There are myriad variations of feta-watermelon salad on the Internet, and even one or two in my rather large cookbook collection. But each one had some ingredient that held no appeal for me or they appeared to be missing something I believed was crucial. In the end, I simply took from each what I thought was right: watermelon for the sweet; feta for the salt; cucumber for crunch; lime juice for tang; red onion for some sharpness; olive oil for that fruity, grassy flavour; and, of course, mint.

The mint certainly kicked it over the edge for me. That small addition transformed the simple salt-sweet combination into something spectacular.

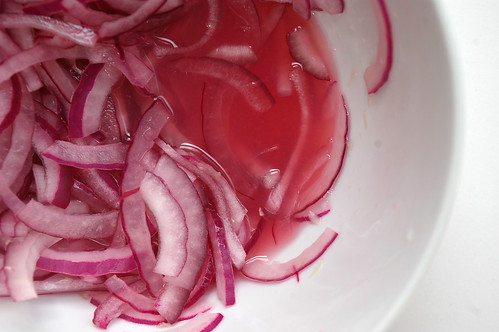
I used a Nigella Lawson trick of marinating the sliced onions in acid — in this case lime juice — which she uses in several recipes, including her own version of feta-watermelon salad. The lime juice takes some of the bite away from the red onions while not robbing their flavour, and also creates a lovely pink colour for the dressing.

I don’t want to get too romantic about this salad, but it did taste a lot like I was eating a summer afternoon. Refreshing like a cold drink, but with the punch of feta and soothing mint. I probably could have eaten the entire bowl.

Which would have been for the best, because this salad really doesn’t keep. Only make as much as you’re going to need, because the watermelon does break down relatively quickly. Not that it didn’t still taste as good — it just lost some of its visual appeal.

Lastly, don’t be afraid to make adjustments as you see fit. Want more feta? Go for it. Think the watermelon cubes should be bigger? Smaller? Not cubed at all? Be my guest. This is a salad, after all, so tailor it to your own tastes. As long as the core ingredients remain the same, it will be tasty.

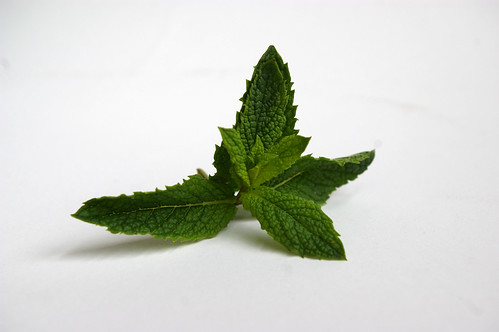
Mint

Watermelon I

Onions

Feta-Watermelon Salad I

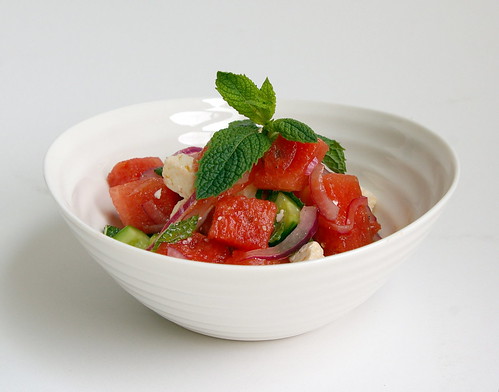
Feta-Watermelon Salad with Mint

  • ½ cup (125 mL) lime juice, from 3 to 4 limes
  • ½ red onion (or one small one), peeled and sliced thinly into half-moons
  • 8 cups (2L) watermelon, cut into ½ inch (2 cm) cubes, one tiny watermelon or ¼ of a large one
  • ½ English cucumber or 3 baby cucumbers, seeded and sliced
  • 1 cup (250 mL) feta, cut into small cubes
  • 2 tbsp (25 mL) extra virgin olive oil
  • ½ cup (125 mL) mint, chiffonade

Juice the limes into a bowl. Slice the red onion and add to the lime juice to marinate while you prepare the rest of the salad.

Cut watermelon into slices, remove rind and chop into chunks. Dump them in a large salad bowl and top with cucumber slices and feta cubes. Add olive oil to red onion-lime juice mixture, stir and then pour over salad.

Roll mint leaves into a cigar and slice thinly into strands. Sprinkle over salad, toss and serve.

This story first appeared in the Real Life section in the Calgary Herald. For more delicious recipes, visit CalgaryHerald.com/life.

Continue Reading

Key Lime Pie

Any Dexter fans out there?

Season Three has turned out to be even more intense than the previous two — something I didn’t think the writers could do. But after the episode where … WARNING, possible spoilers and a little bit of profanity ahead for anyone not keeping up with this season … Camilla asks Dexter to find her the perfect piece of key lime pie, I found myself wanting a taste of that myself.

Camilla: You know, Dexter, my whole life I’ve been searching for…

Dexter: The meaning of life.

Camilla: The perfect key lime pie. And what do I get when I’m about to croak? Fucking pie crust, Reddywhip and green Jell-o

End spoilers and profanity.

So, the research began. And, after flipping through pages of recipes, it became clear there were two things that made a key lime pie authentic: key limes and no dairy. (My understanding is that this pie was born at a time when there was no real refrigeration in the Florida Keys, which is why canned condensed milk is used.)

As usual, this adventure was not without its disasters, er, learning experiences.

One valuable lesson: just because a can doesn’t have an expiry date doesn’t mean it doesn’t have a shelf life.

I was all excited that I already owned a couple of cans of sweetened condensed milk. (Side rant: Why are the cans in Canada 300-milliletres and the U.S. ones come in 14 ounces? That means I need to use one full can and most of another, but am left with some, which really bugs me. We share a border, why can’t we share can sizes? Also, on that note, a lot of recipes that come from the States simply say “one can of sweetened condensed milk” so I had to find out exactly how much that was. Yes, yes, I could have mathematically figured out how to use up both cans, but that was going to be a lot of fractions. Not that I don’t love math, I just don’t want to do it all the time. Okay, moving on.) And I was excited that they had no expiry dates.
And then I opened them.

They had gone golden coloured, looking a bit like they were turning themselves into dulce de leche. A little googling indicated they were safe still to eat, but one person posted in a forum that they probably shouldn’t be used for something like Key Lime Pie, which should come out a very pale, creamy yellow colour. So, it was off to the grocery store for two more cans. Thinking about it later, it occurred to me that I actually had no idea when I bought those first two cans. Yikes.

Key limes. Teeny, tiny limes. Full of teeny, tiny amounts of juice. They weren’t hard to find — most grocery stores around here have mesh bags of them amongst the Persian limes and lemons — nor were they hard to squeeze. But it took about 16 of them to get all the juice the recipe called for.

Key Limes

So, I could have made one big pie (in my still relatively new pie dish), but then I was out shopping and spied baby tart tins. Oh yeah, have to have those. First, who doesn’t love individual desserts? Second, they were just so darn cute. And they were on sale. There, three very fine reasons to purchase more bakeware.

The tarts ended up a bit shallow for all that filling, so I threw the rest of the mixture into a ramekin and just baked it off. That was a pretty tasty dessert too.

I cut it close, but had them ready to go for Sunday when I and my Dexter-watching friends dined on them while watching the next episode.

And I get what Camilla was searching for.

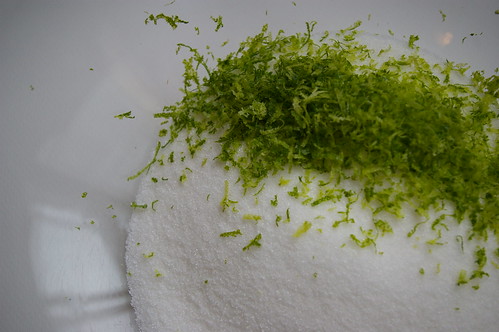
Zesty limes

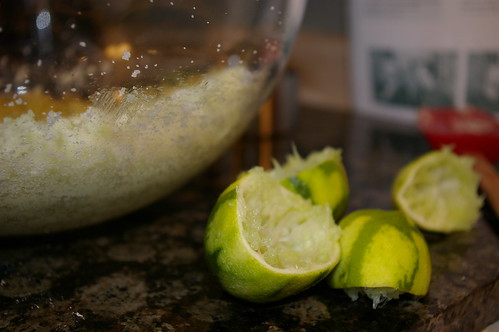
Key Lime massacre

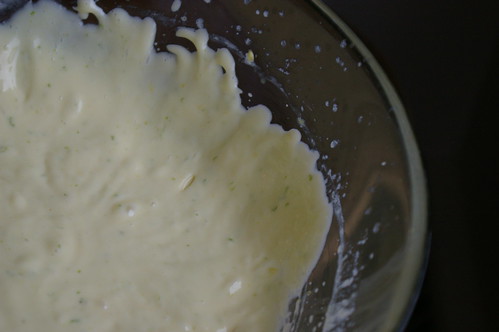
The filling

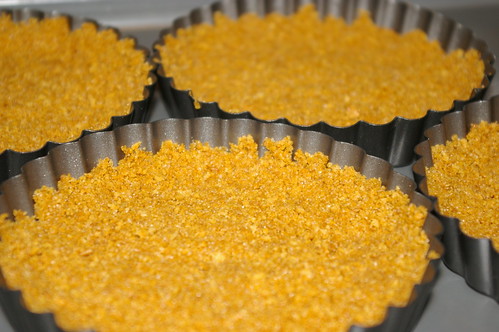
Pie shells

Little pies pre-oven

Key Lime Pie

I kind of combined a couple of recipes here, and this is what I ended up with.

Key Lime Pie

  • 15 graham crackers, crushed
  • 2 tablespoons sugar
  • 1/2 cup butter, melted
  • 4 large eggs, yolks only
  • 1 3/4 cups sweetened condensed milk (14-ounce can)
  • 12 key limes, juiced (1/2 cup fresh lime juice; it took 16 limes for me)
  • 2 teaspoons lime zest

Preheat oven to 350

Beat egg yolks with a mixer until they lighten in colour and thicken. Add the zest and beat again. Add the juice and condensed milk, then thoroughly mix and let sit for 30 minutes as the mixture thickens.

Mix the crackers in a food processor until they are crumbs. Add sugar, then turn on processor and slowly pour in melted butter. Press into a nine-inch pie dish or tart pan and push up the sides slightly. Bake for 12 minutes until the pie shell is golden.

Pour mixture into the pie shell, and bake for 15 minutes. (Less if you are doing smaller, individual servings.) The centre should jiggle slightly when the pan is shaken.

Remove from the oven and allow to cool to room temperature before putting in the fridge. Let cool for another three hours before serving. Serve with whipped cream if desired. (I liked it with the whipped cream, even if it isn’t traditional, because it cuts the richness of the pie.)

Continue Reading

Lime Sugar Cookies

Is it ridiculous that I bought a recipe book solely for a basil salad dressing?

Does it make it better if I explain that the salad dressing goes on one of my all-time favourite salads from a vegetarian/vegan restaurant in Victoria that I must visit each time I’m back in that city? (Especially interesting considering my carnivore ways.)

Nevermind, it was because of the cookbook that I was led to this fabulous cookie. The sweetness of sugar and tang of lime in neat cookie form. I love all things citrus and these certainly satisfy the craving.

IMGP2190

Oddly, I never went to Rebar while I lived in Victoria, which I now realize is a huge shame. Still, I get back to the capital city twice a year, so I can keep my cravings for their salad relatively in check. (Hmmm. Perhaps I should blog about the salad dressing….)

Anyway, when I found their recipe book in a store one day, I bought it immediately. When I got home (as I tried to justify the unnecessary purchase of *yet another* cookbook), I started to flip through and inevitably found a bunch of recipes I wanted to try, including the one for the Lime Sugar Cookies.

Sure, it calls for pepitas (pumpkin seeds) and, sure, there was no way I was going to have those on hand and there was no way I was going to buy them. (Surely, the whole point of cookies is that, in general, there is nothing healthy in the mix?) So, I forewent that step and moved ahead.

Then, on the second time making them, I made a very happy mistake. I doubled the recipe, but then didn’t fully double the amount of flour. As a result, the cookies came out a bit denser and with a nice chew, as opposed to the somewhat cake-y versions previously. I now purposely make that mistake. (And, yes, I still don’t bother with the pepitas.)

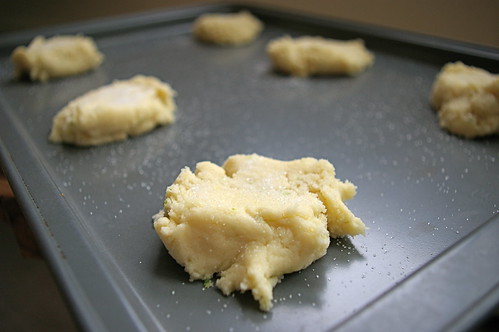
The one thing to really be aware of with these cookies is that they probably won’t look fully baked, even if they’re ready to be pulled out of the oven. They’ll look puffed, but still very pale with only a hint of golden at the edges. Once you pull them out and they start to cool, they’ll fall slightly and get the nice sort of cracked top to them.

It was raining today when I made these before going in to work. The grey skies made me a bit homesick for Vancouver. But this light and tangy cookies were cheerful, a little taste of summer.

IMGP2120

IMGP2134

IMGP2150

IMGP2155

IMGP2165

IMGP2183

Here is the recipe as printed in the Rebar Modern Food Cookbook. My notes and changes are in italics.

Lime Sugar Cookies

  • 1 cup granulated sugar
  • 1/4 cup unsalted butter
  • 1 tbsp. vegetable oil
  • zest of 1 lime
  • 1 large egg
  • 2 tbsp. lime juice
  • 1 3/4 cups unbleached flour (I use all purpose)
  • 1/4 cup pepitas (pumpkin seeds), toasted and roughly chopped
  • 1/2 tsp. baking soda
  • 1/2 tsp salt

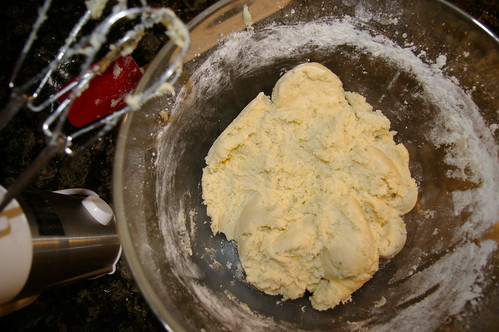
Preheat the oven to 350F. Cream the sugar, oil, butter and lime zest until light and fluffy. Add egg and lime juice, and beat together to incorporate.

In a separate bowl, mix the flour, pepitas, baking soda and salt. Add the dry mix to the wet mix and stir together well.

Using a 2 oz. ice cream scoop or forming 3 tbsp balls (or, in my case, a big rounded soup spoon), drop the batter onto a cookie sheet, leaving space in between to allow the cookies to spread during baking. Flatten each slightly and sprinkle with granulated sugar. Bake for eight minutes. Cool on a wire rack.

As I said above, I always double this recipe (11 cookies is not enough), but instead of using 3 1/2 cups of flour, I only use 3. Feel free to try it both ways.

Continue Reading

Saifun Salad

I don’t know why I always forget how great T&T supermarket is.

Yesterday, I went grocery shopping. After 10 days away it was time to restock the fridge with vegetables and fresh herbs. I was really craving fresh herbs now that the temperature is starting to climb. (Mother Nature is, apparently, apologizing for the extra long winter by moving us straight into summer.) Safeway was out of basil, though, so after dropping a friend off at the airport this morning, I decided to quickly stop by T&T in the city’s northeast.

Let’s do a little comparison shopping, shall we?

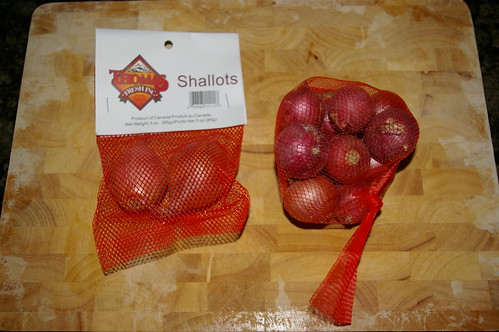
Two shallots at Safeway: $1.99

Bag of eight shallots at T&T: $1.49

Shallots

Packages of herbs at Safeway: $2.49

Bag of Thai basil about three sizes larger than Safeway’s: $2.64 (by weight)

Fresh herbs

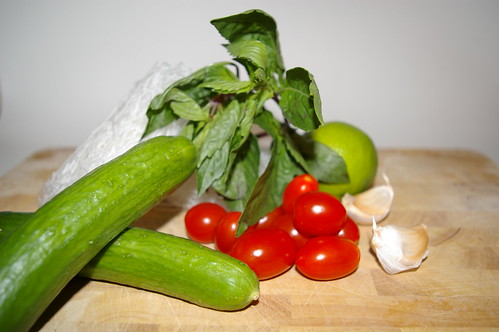
Okay, so I only needed a little bit of basil, but bonus basil means more room for creativity. Now, instead of one or two recipes that call for the stuff, I can make three or four. With three baby cucumbers sitting in my car (from my aforementioned friend who needed to ditch the last of her produce before heading on holidays), grape tomatoes at home and a package of mint also sitting in my fridge, I remembered this great little summer salad recipe that uses Saifun noodles.

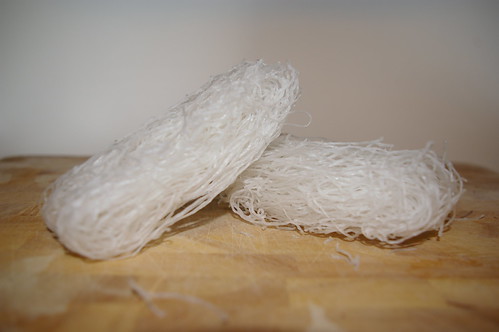
Saifun noodles — before the softening

Saifun noodles softening

These noodles — also known as mung bean noodles, bean threads or vermicelli — are the perfect summer food. They don’t need to be boiled, just reconstituted in a little hot water, which is easily done while chopping the rest of the ingredients. The noodles are light and when dressed with lime, rice vinegar, garlic and fresh herbs can be very refreshing. The hits of fresh herbs also make it super tasty.

For the record, Thai basil (also known as holy basil, apparently) does not taste the same as traditional Italian basil, so I wouldn’t suggest using it for your favourite tomato sauce or other Italian dishes. But if it’s a Thai, Vietnamese or southeast Asian recipe that calls for basil, you could definitely use Thai basil if you can find it. A lot of Asian grocers seem to carry it, so keep an eye out.

Thai basil

I originally found this recipe in the Edmonton Journal. My additions and changes are noted in italics. Also note that these noodles suck up the vinaigrette like string sponges, so, when in doubt, don’t skimp. Oh, and I like to use those baby cucumbers that seem to be cropping up everywhere these days; they’re less bitter than the long English cukes. Either way, I’d recommend scraping out the seeds because that ups the soggy factor if you’re not eating it all in one go (or, of course, serving it all in one go).

Saifun Salad ingredients

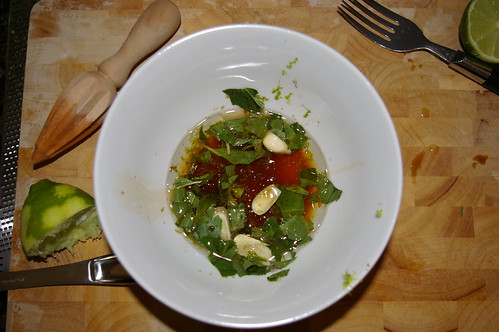
Saifun Salad dressing and kitchen mess

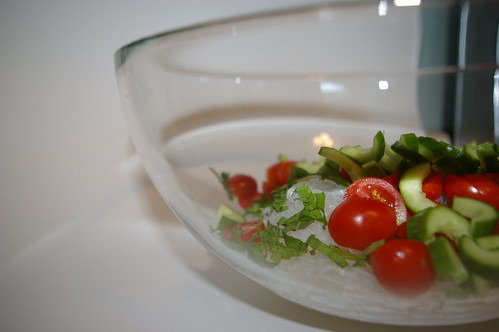
Saifun Salad before the dressing

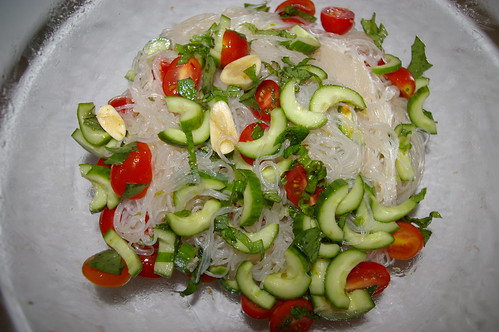
Saifun Salad with the dressing

Saifun Salad

  • 8 oz. (250 grams) saifun bean thread noodles
  • 1 cup grape tomatoes (I chop mine in half so they stretch further)
  • 1 small cucumber, diced
  • 2 tbsp. chopped fresh mint leaves
  • 2 or 3 green onions, minced
  • a few cilantro leaves, chopped (cilantro and I are not friends. I do not like it nor understand everyone’s obsession with it. If you like it, by all means add it; I do not.)

Dressing:

  • 1/4 cup rice vinegar
  • 3 tbsp. sugar
  • grated zest and juice of one lime
  • 2 tbsp. Thai basil, torn (Of course, if you can only find Italian, that’s fine.)
  • 2 garlic cloves, mashed (I mash them, throw them in the dressing, then fish them out just before eating so as to impart as much garlic flavour but without the burn of eating raw garlic.)
  • 1 tsp. red chile paste
  • 2 tsp. fish sauce
  • 2 tsp. soy sauce
  • 1/4 cup canola oil (I’m sure any vegetable oil will do. But I wouldn’t use olive oil, which I feel would overpower the light flavours of the salad.)
  • 1/2 tsp. sesame oil (I usually don’t add this because I find it overpowering.)

Soak the noodles in a bowl of warm water just until softened, about five minutes, then cook one minute in boiling water. (I simply cover them with boiling water and wait about five or six minutes for them to soften.) Drain and immediately rinse with cold water to stop the cooking. Cover and store in the fridge until ready to make the salad.

Whisk together the dressing ingredients. Taste to check for seasonings.

Place cold noodles in a large salad bowl. Add tomatoes, cucumber, onions and herbs. Top with dressing and toss well, then put the salad in the fridge for about 30 minutes before serving, so the noodles have a chance to soak up the flavours of the dressing.

Continue Reading

Whiskey Sours

I drank my first Whiskey Sour at the behest of my friend Julie who had spent two years in Ireland where she developed a taste for the amber liquor. That tall drink sipped in the plush lounge of the Four Seasons in Vancouver (two nights of luxury while on assignment in my hometown. L’Occitaine products in the bathroom, three soft pillows on the bed and turn-down service; this is exactly why I never stay at hostels) sparked what would become a several-year quest to find the perfect replica.

There is something deliciously retro about a Whiskey Sour. Makes me want to sing Danke Schoen while prancing around in heels and a frilly, white apron. (And a dress, people, what kind of blog do you think this is?)

I’ve had pitiful recreations at some bars where the bartender believes mixing whiskey and lime-ade will fulfill the need. May I just say, No. No. No. No.

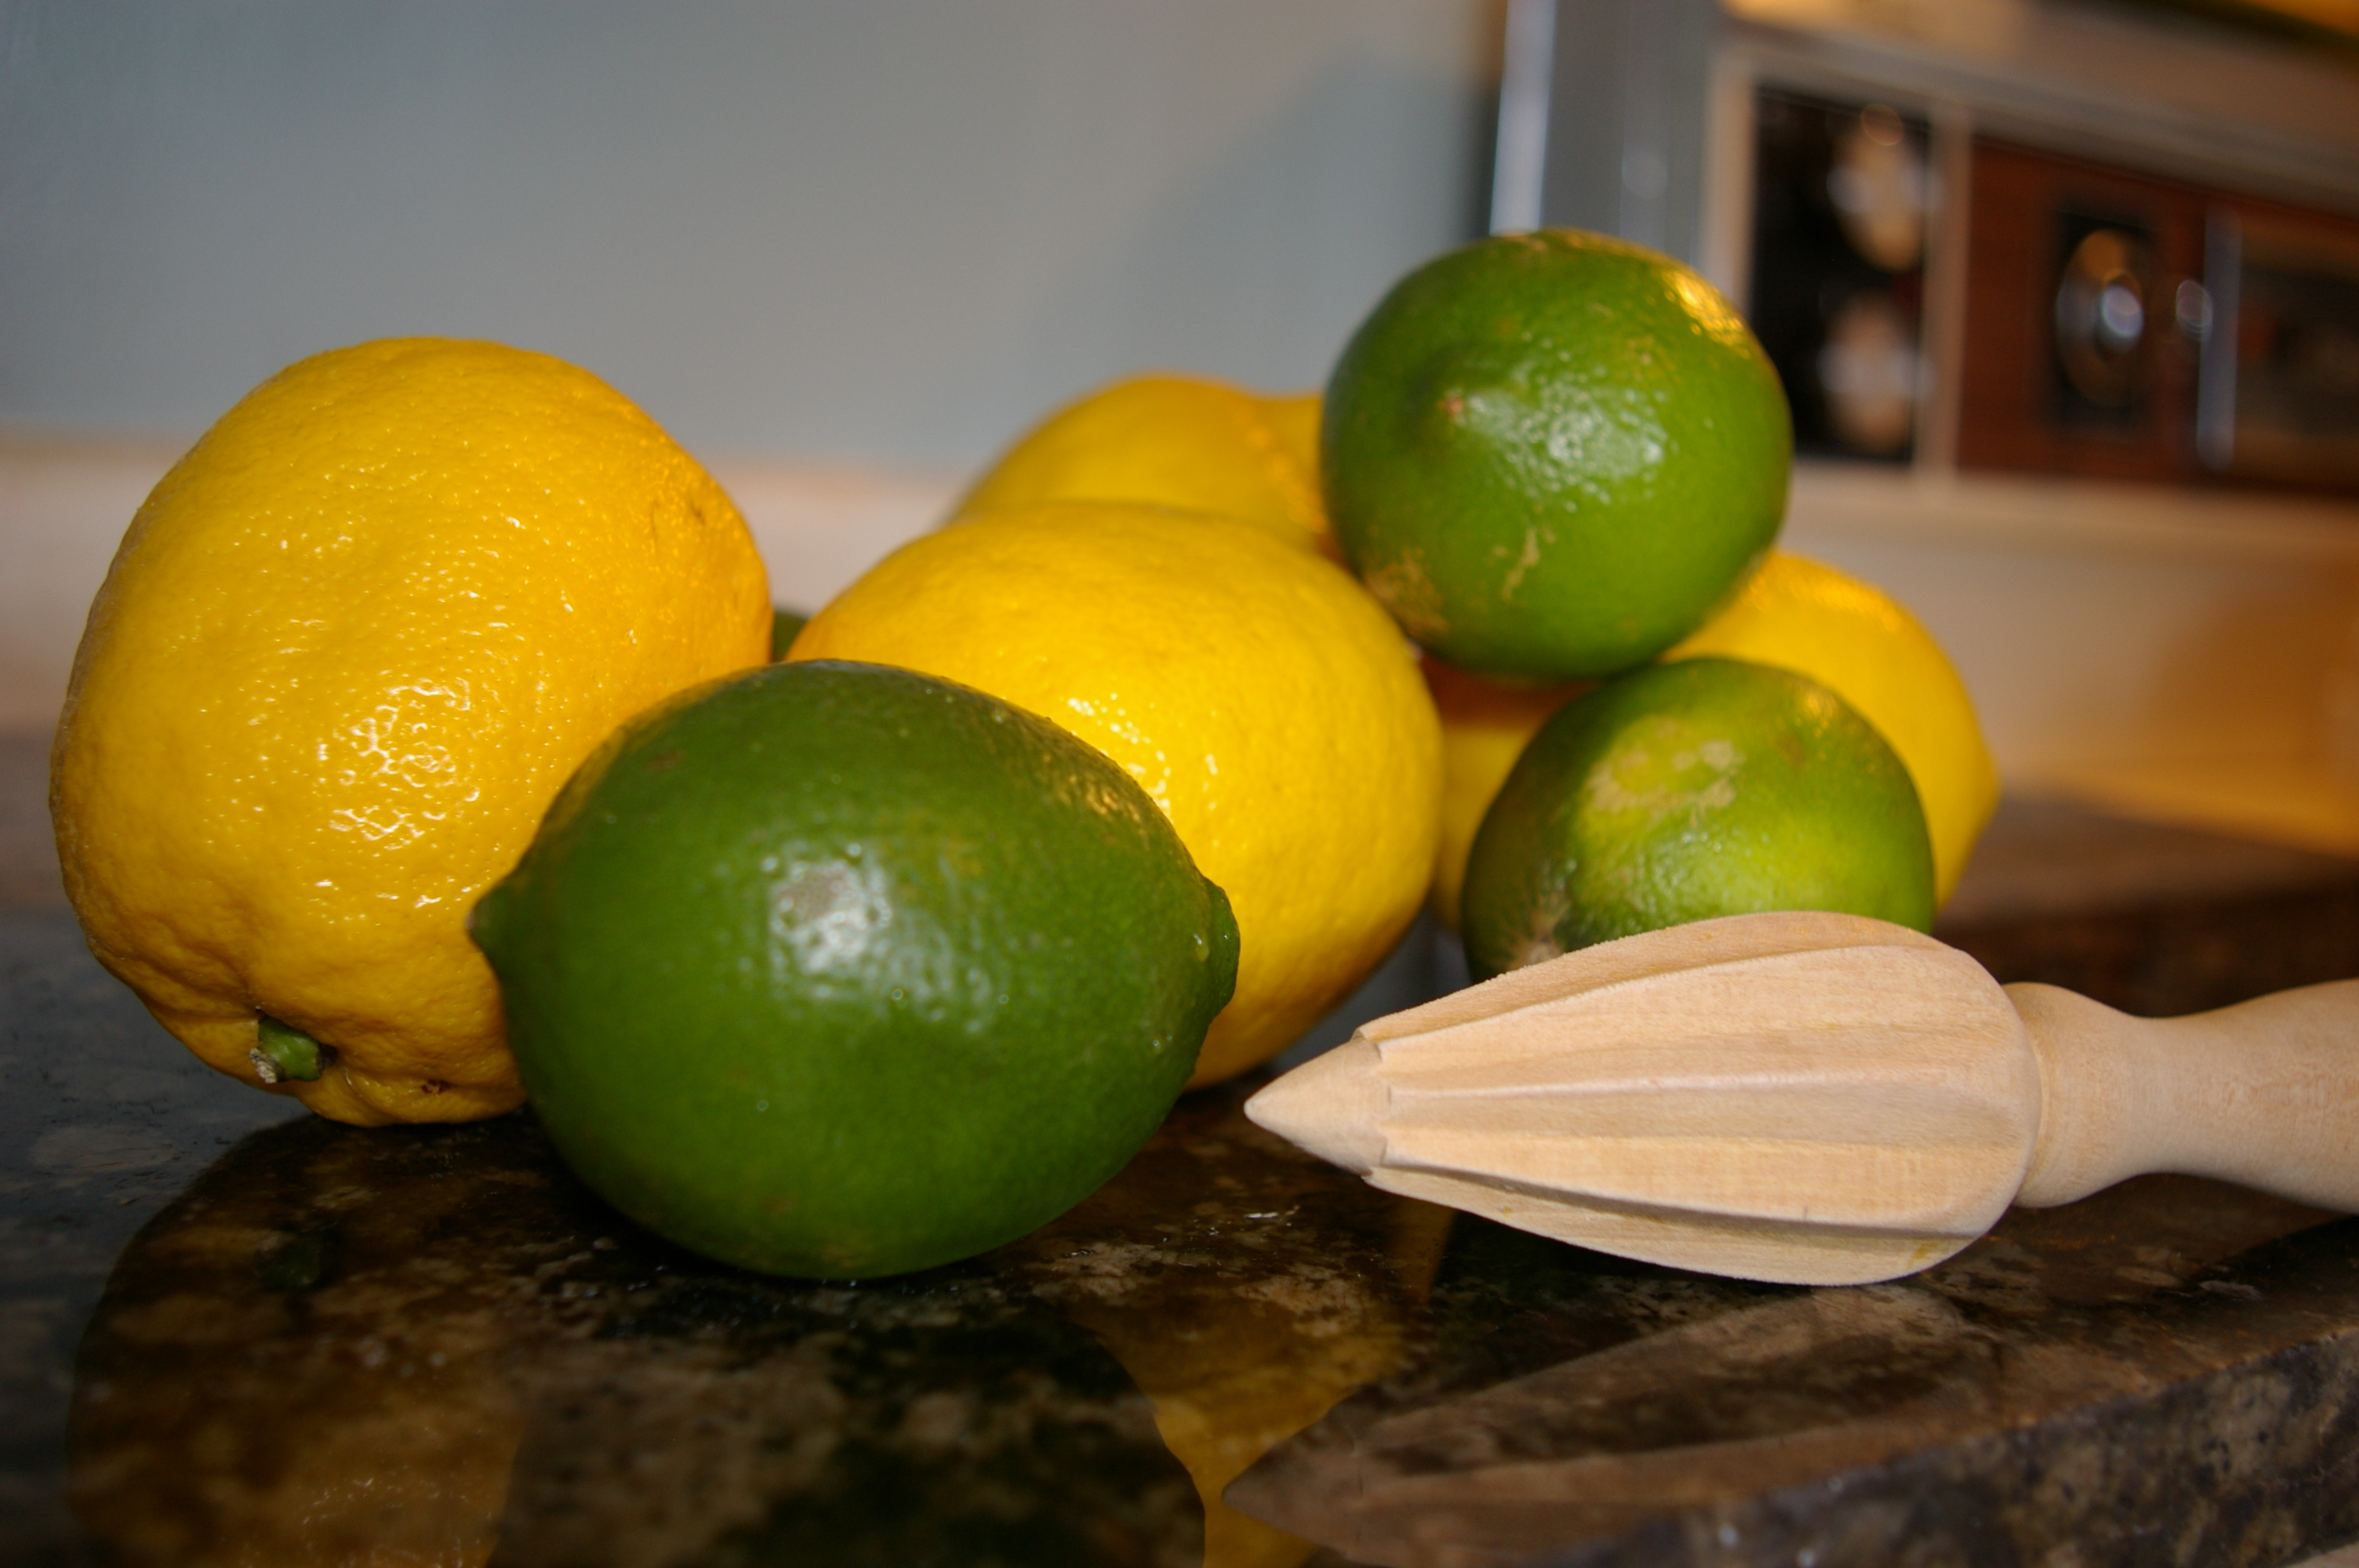
The ingredients

It seems the secret is to have one at a hotel bar and every time I’ve done this, it has been successful. Still, I wanted to give them a try at home, so I was ecstatic when the Barefoot Contessa included a recipe in her latest book, Barefoot Contessa at Home. Her recipe calls specifically for Jack Daniel’s and who am I to doubt Ina? But when I made a batch, I didn’t love them and I wondered if perhaps I wasn’t as enchanted with Whiskey Sours as I once had been.

But I was determined to make them for my pre-blog launch on Saturday night. (And then I got impatient, launched the blog and made it a post-launch.) Another friend kindly offered to donate a half bottle of Gibson’s Whiskey that she had lying around and didn’t think she’d drink on her own, so I decided to make it what that.

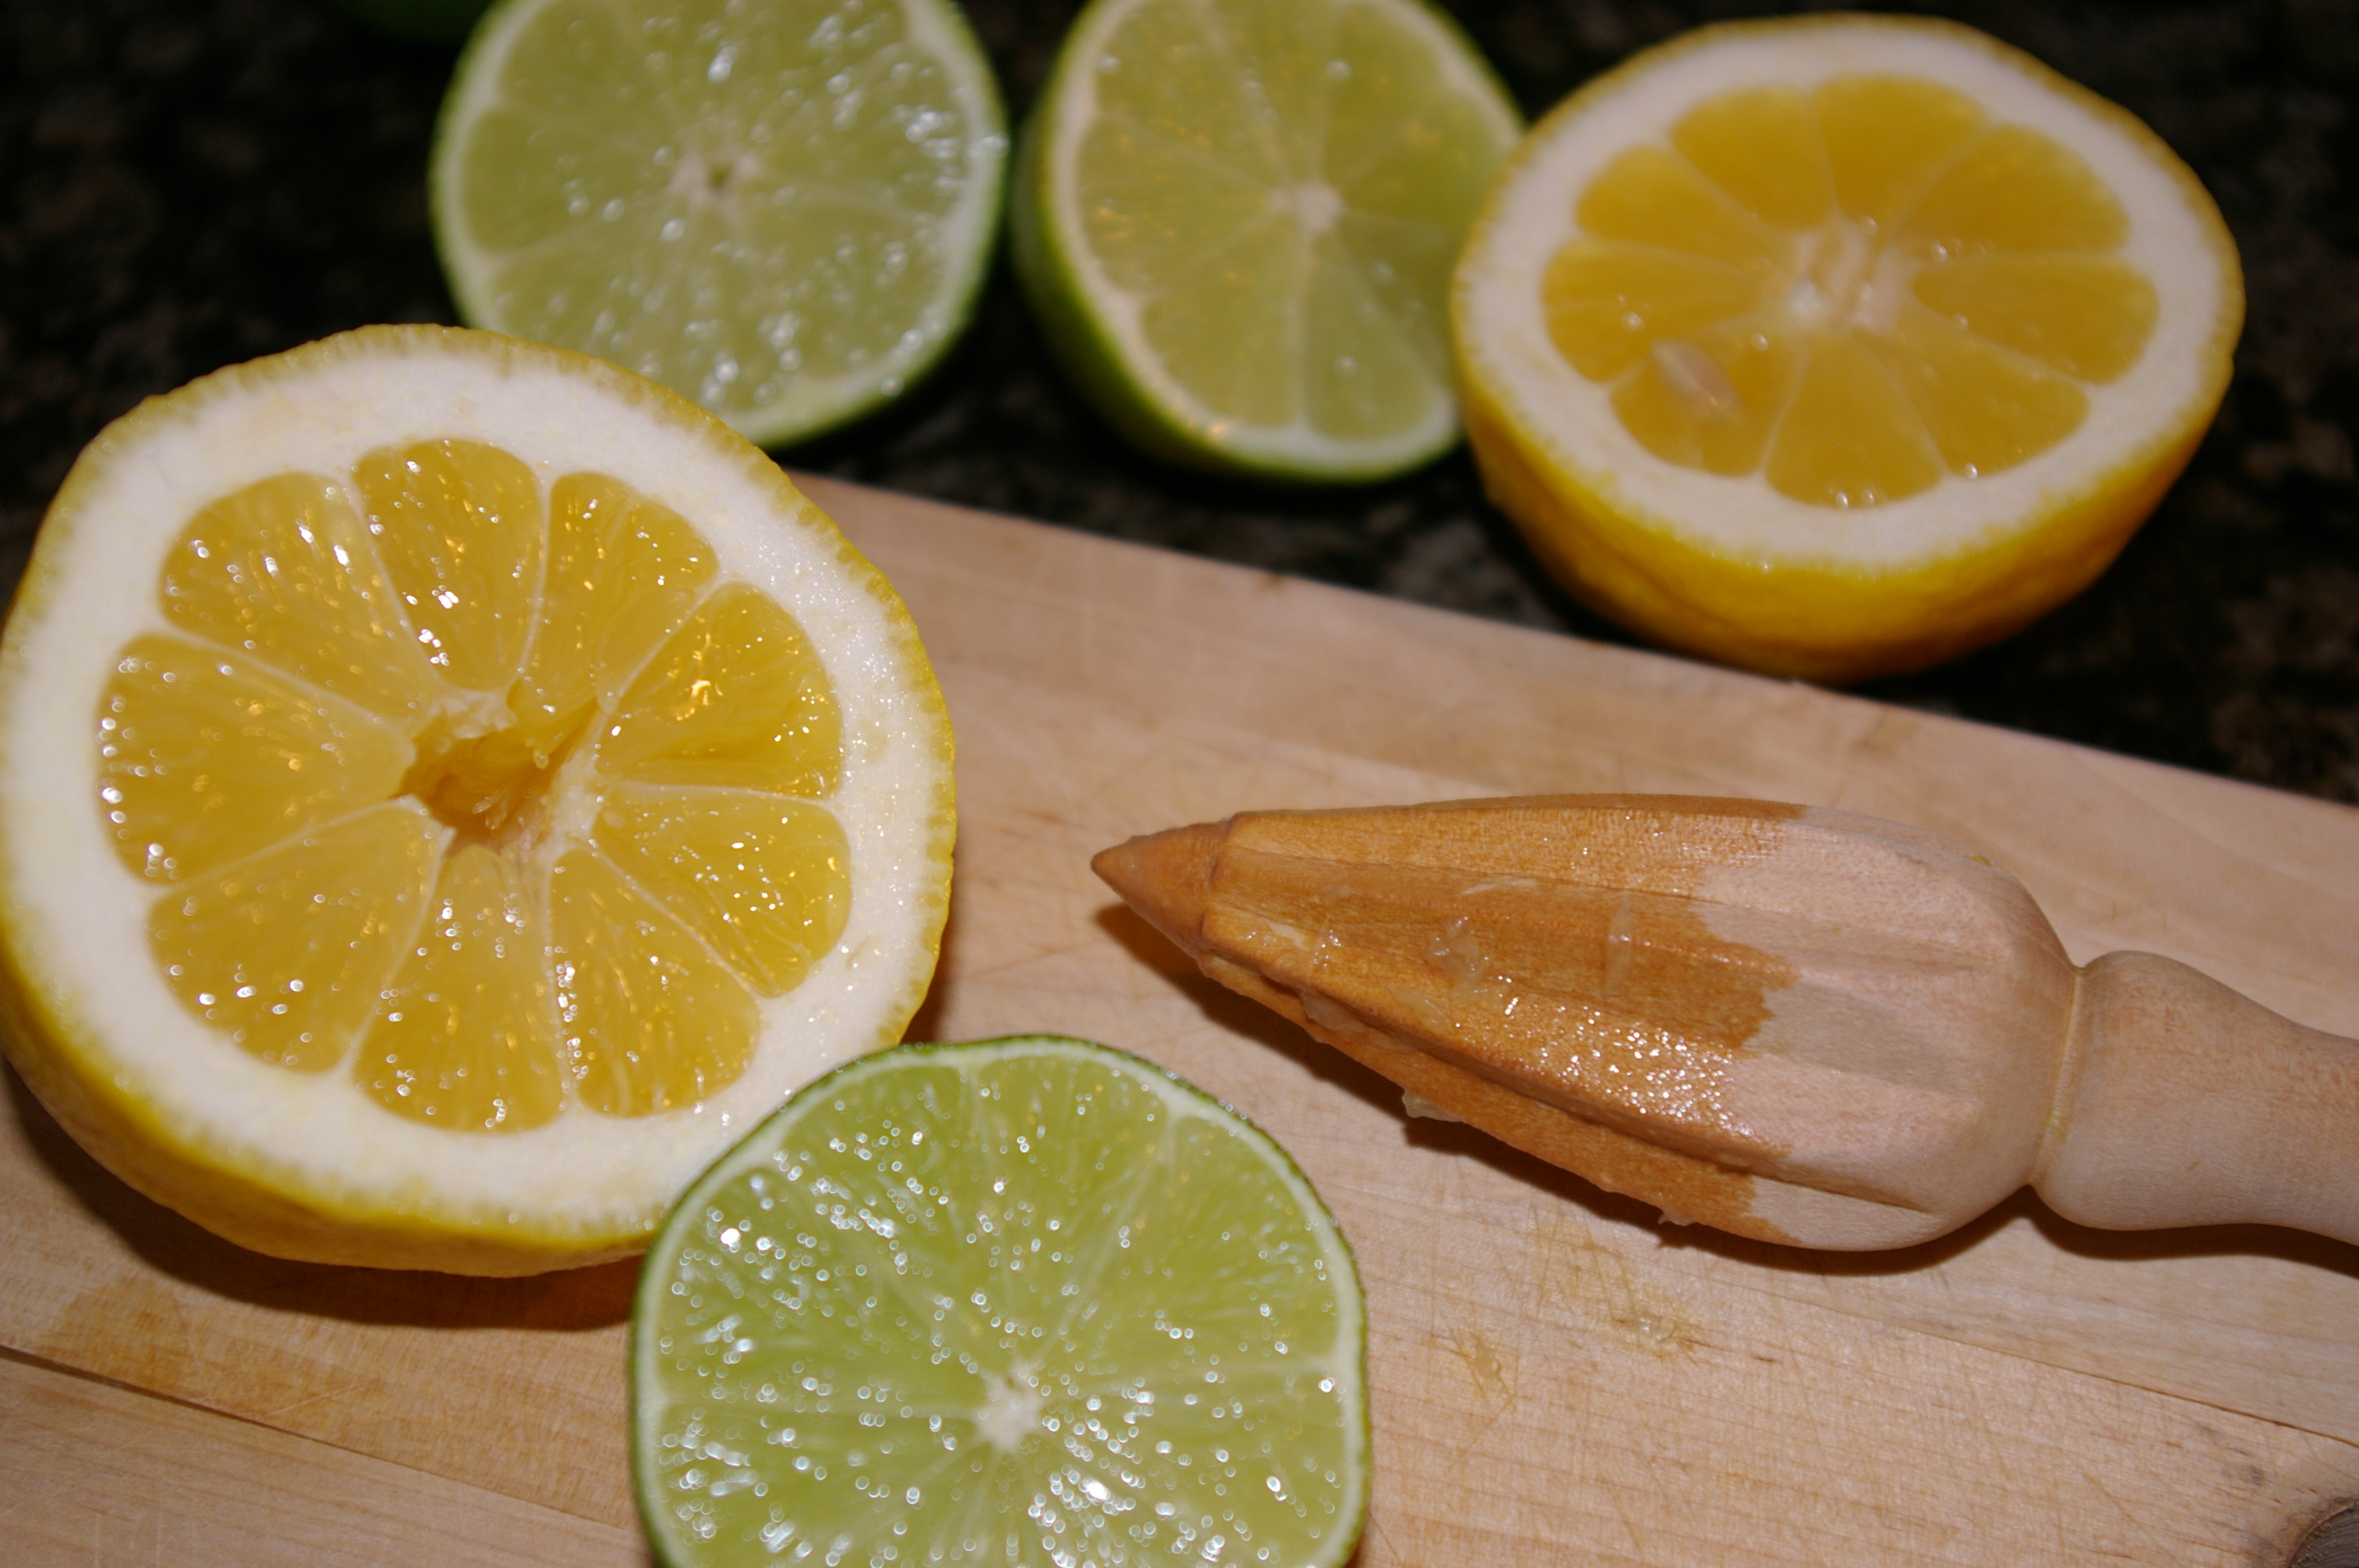
I nearly got a hand cramp from reaming the eight limes and six lemons required to make two cups of fresh-squeezed citrus and I was very grateful I had no paper cuts. But it was beyond worth it. Once combined with the sugar syrup and the smooth whiskey, these drinks were fantastic. I think my guests and I made it through the entire batch in the first 30 minutes of the party.

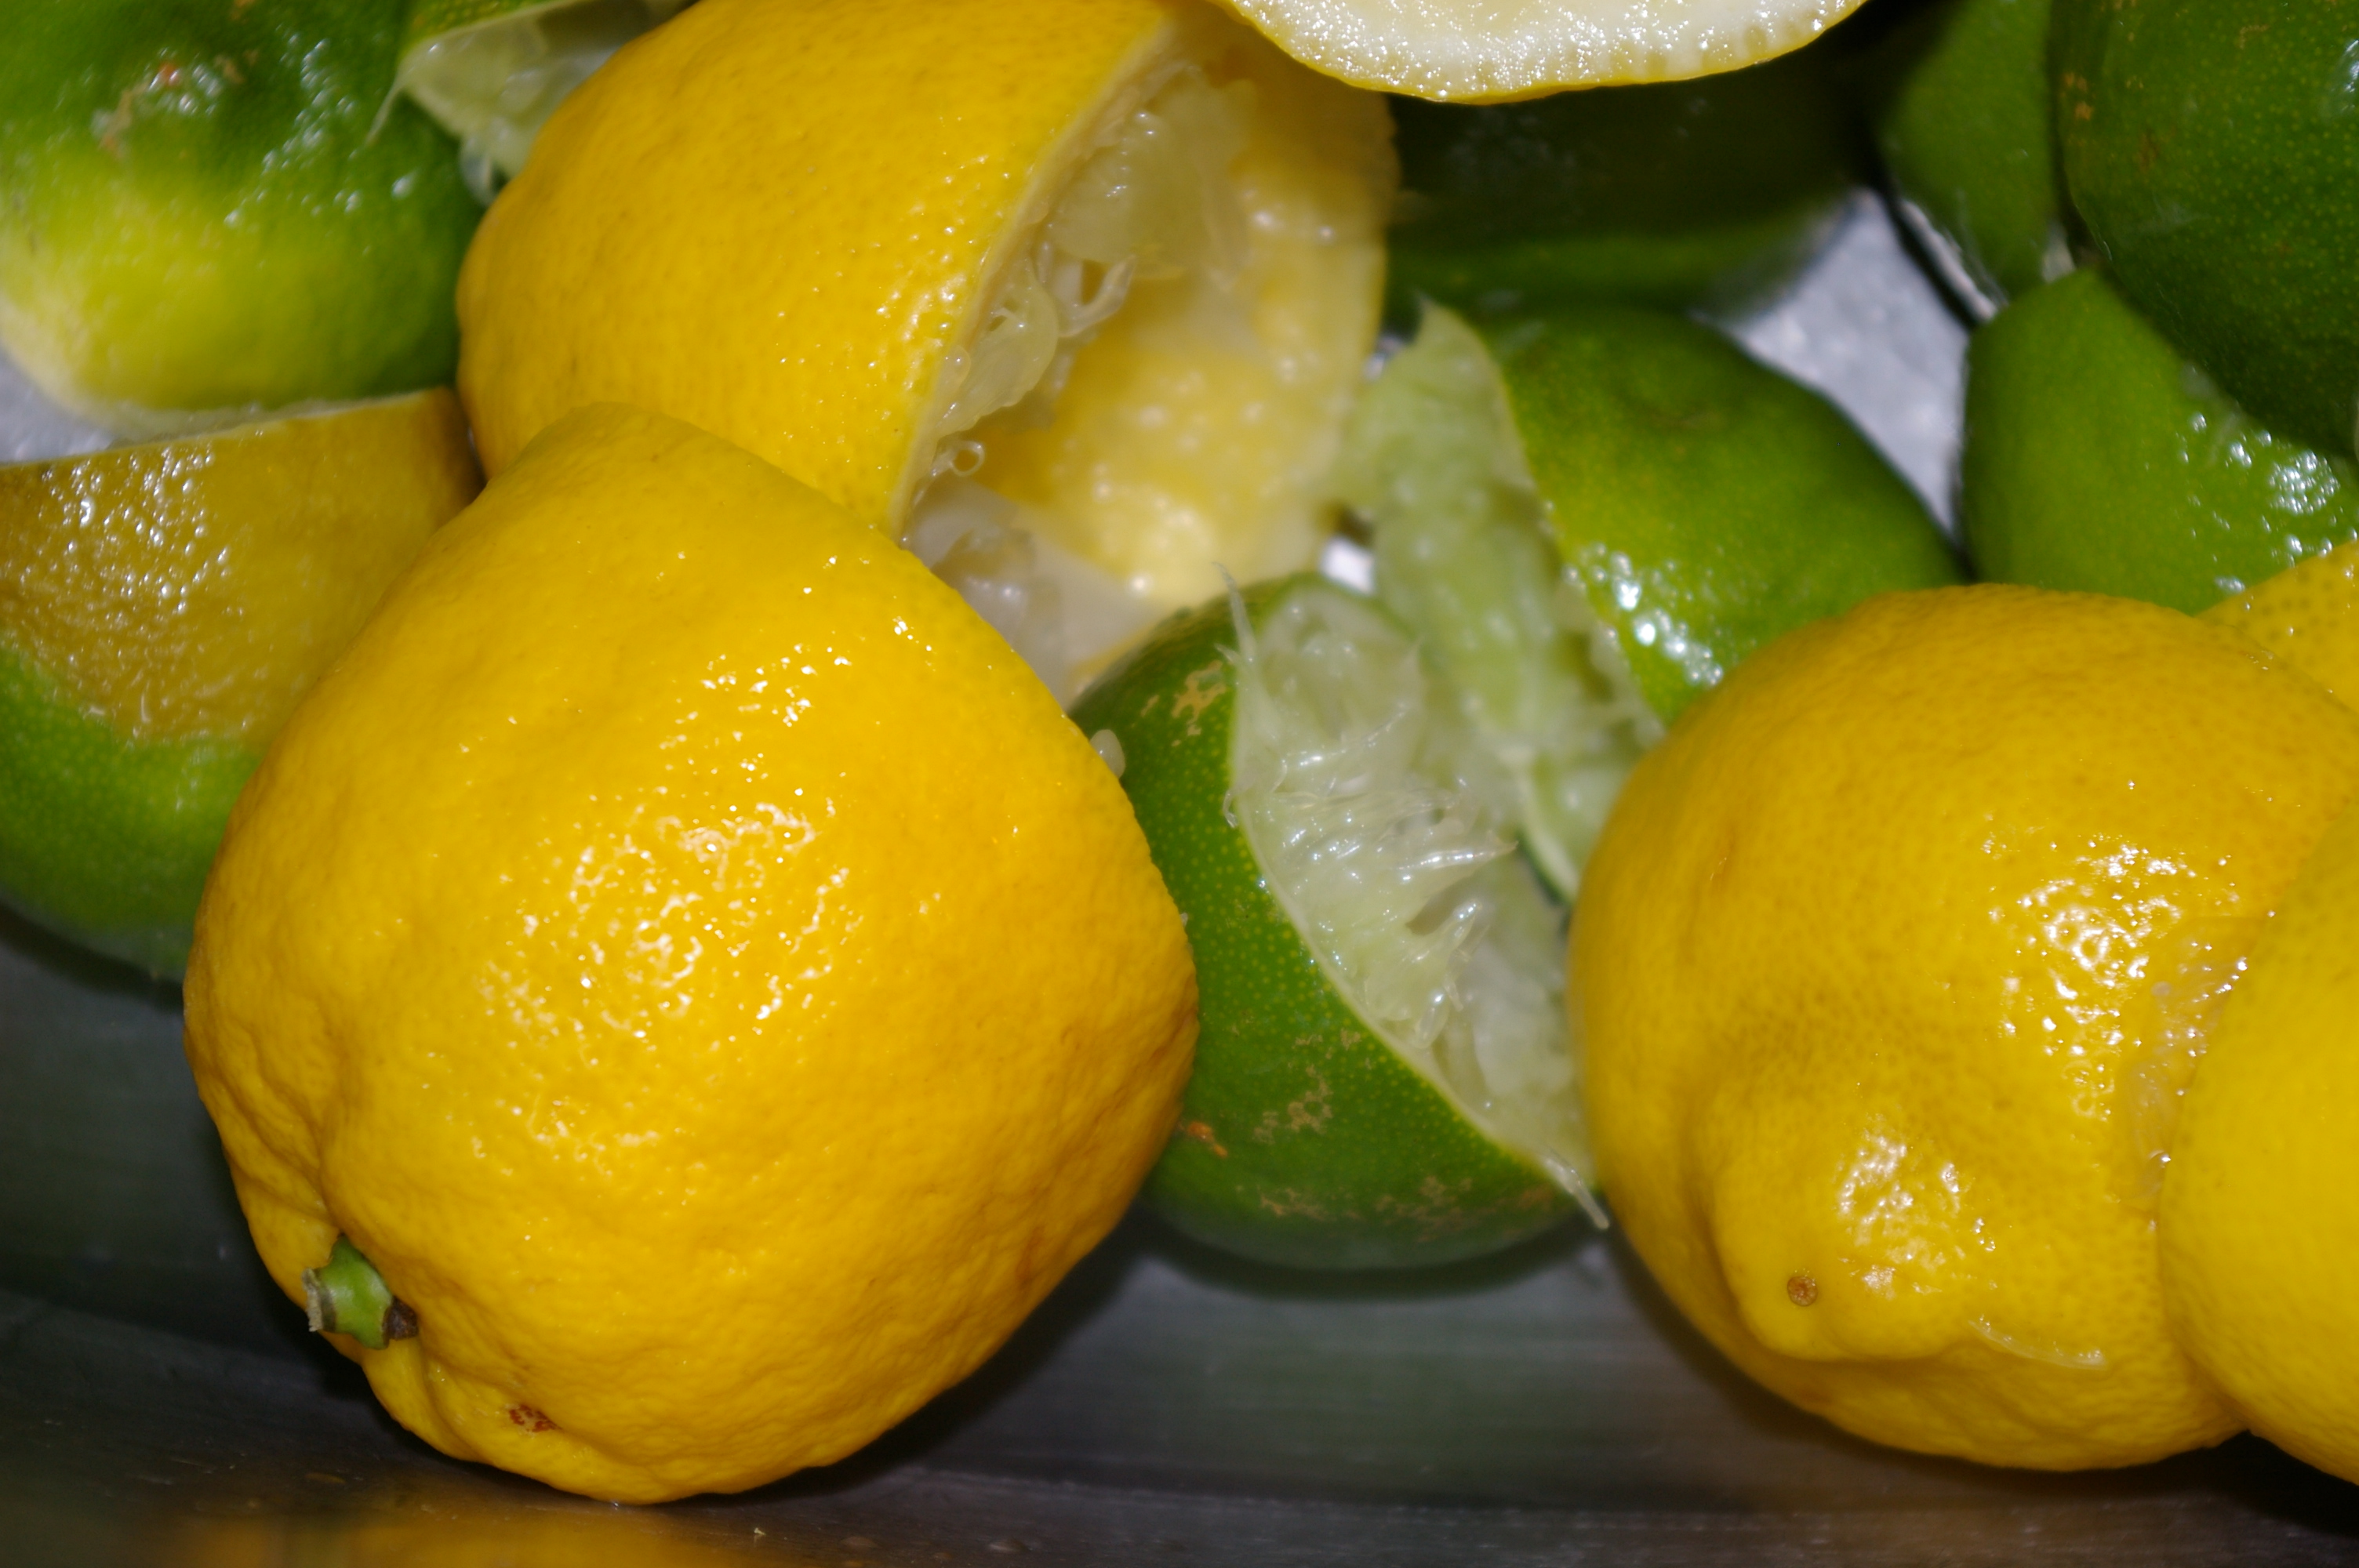
The Aftermath

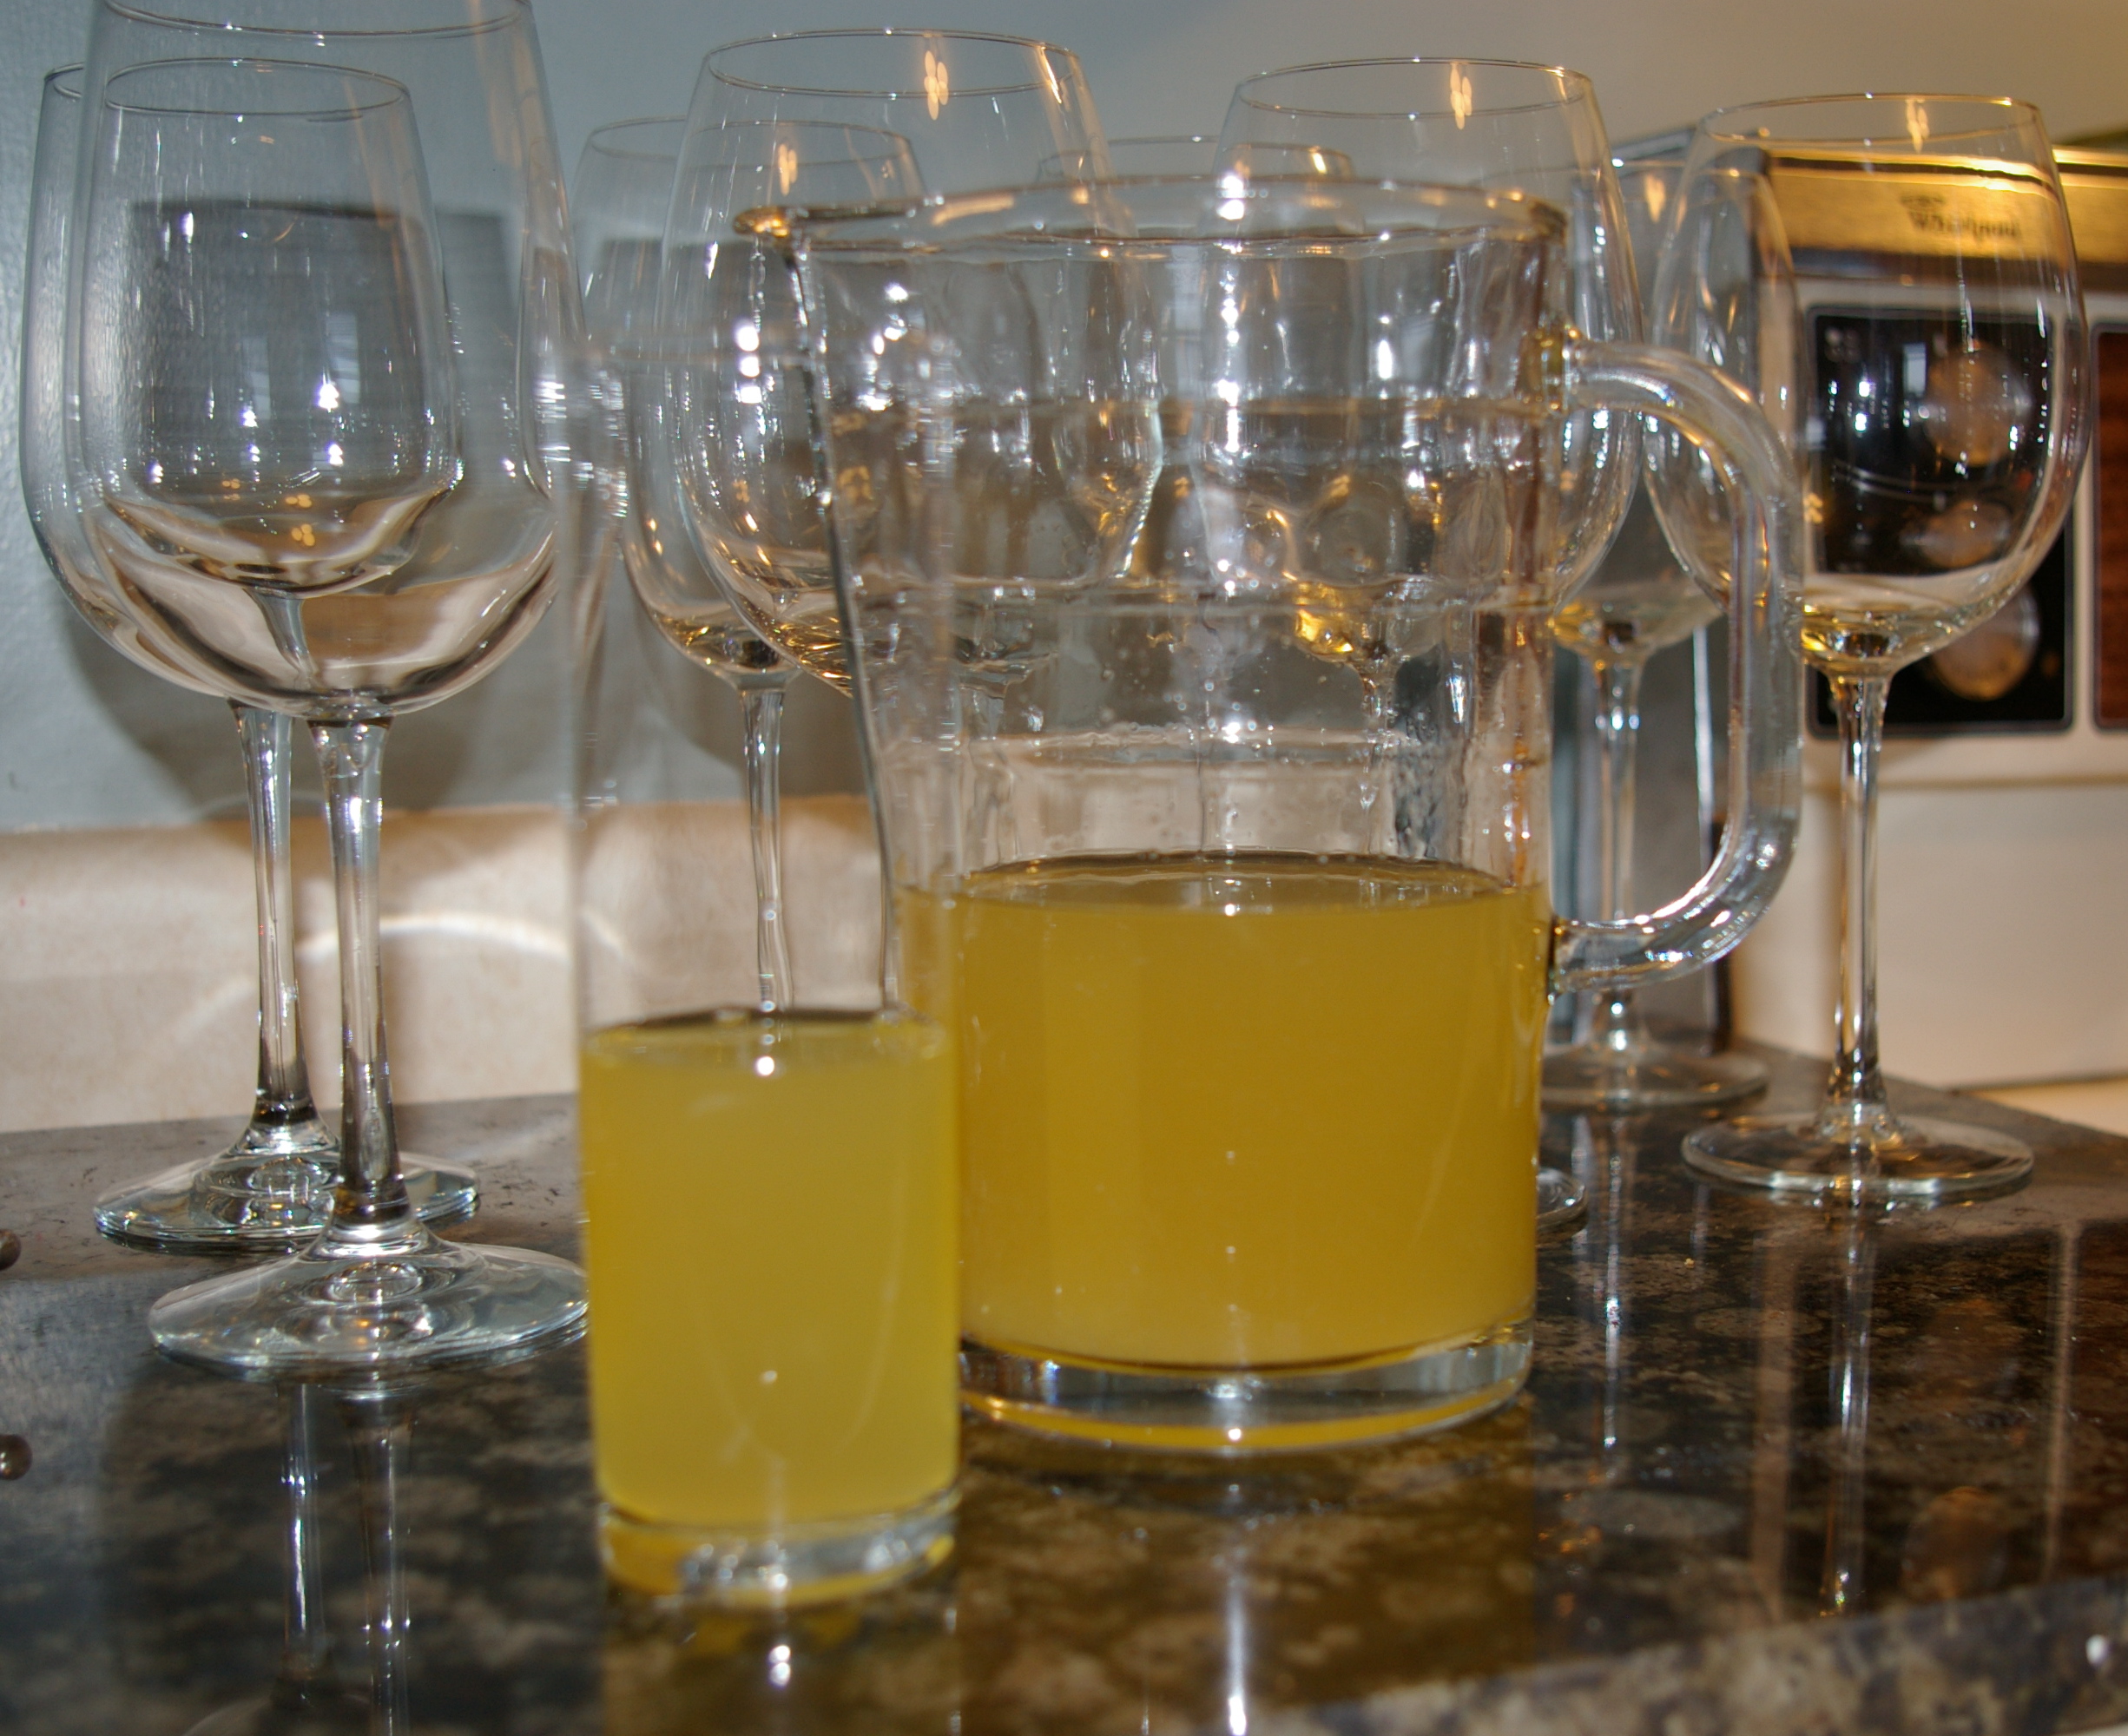
For the record, I didn’t bother with the cocktail shaker step because I made a pitcher of them and had kept everything in the fridge until just before serving. No one seemed to mind, but I bet ice cold would be even better. In fact, writing about this is tempting me to go squeeze out the rest of the lemons and limes in the fridge for another round.

The recipe comes from Barefoot Contessa at Home.

Fresh Whiskey Sours

  • 3/4 cup Whiskey (use what you like, though my friend Julie — to whom I turn for all things Whiskey — recommends Jameson or Bushmills.)
  • 1/2 cup freshly squeezed lemon juice (3 lemons)
  • 1/2 cup freshly squeezed lime juice (4 limes)
  • 2/3 cup sugar syrup

Combine the whiskey, lemon juice, lime juice and syrup. Fill a cocktail shaker halfway with ice and fill two-thirds full with the cocktail mixture. Shake for 30 seconds and pour into glasses. Add a maraschino cherry and serve ice cold.

Note: To make sugar syrup, put 1 cup of sugar and 1 cup of water in a small saucepan and cook over medium heat until the sugar dissolves. Chill thoroughly before using.

Serves four (apparently).

Whiskey Sours

Continue Reading