The joke goes that my grandfather was born on the kitchen table and so his love affair with food began right from the start.
His passion for cooking fostered my own love of being in the kitchen and eating good food from the time I was a child.

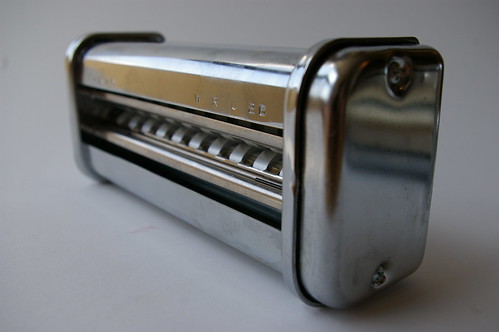
My memories of him revolve around food: making fresh pasta, picking basil in his greenhouse and making little pots of pesto to be eaten on bread with cheddar, and eating plates and plates of pasta.
(The other joke is that my grandfather is secretly Italian.) I still feel that influence today.
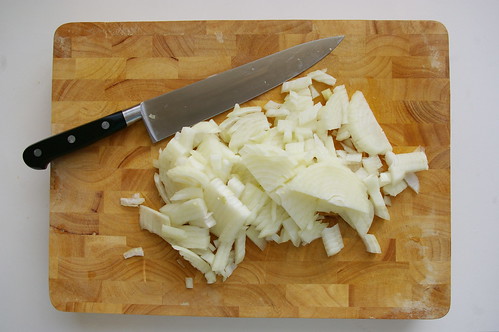
When I cook the dishes he would make for me as a child, I am back in the kitchen with him. Comfort dishes are often those I associate with him: tomato and red onion salad, sweet peppers braised in tomato sauce and served with chunks of crusty bread, soft-boiled eggs with toast and, of course, pasta.
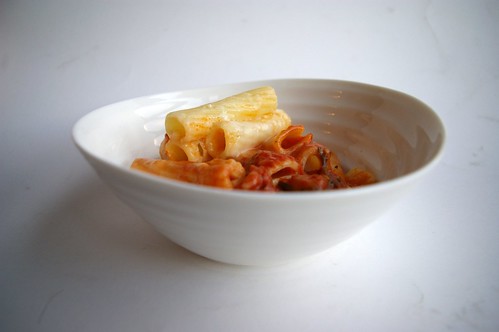
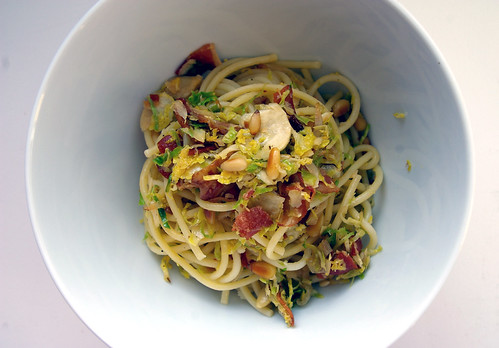
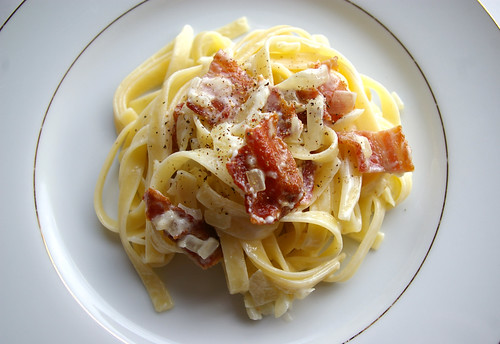
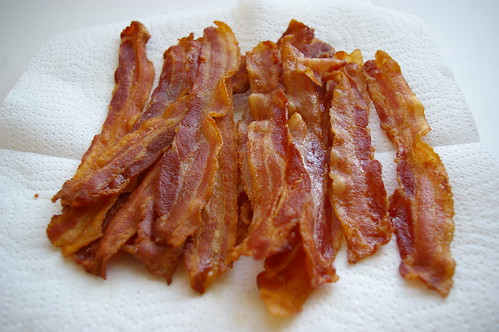
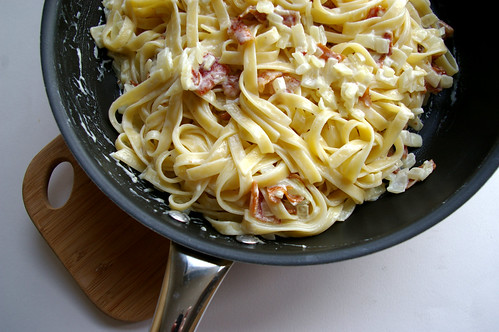
He makes a wicked carbonara, but the dish I have inextricably linked to him is Fettuccine con Prosciutto e Piselli – a much more romantic way of saying pasta with cream, peas and ham.

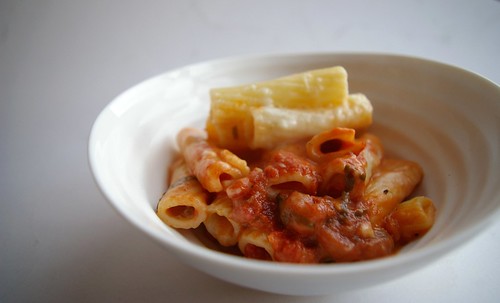
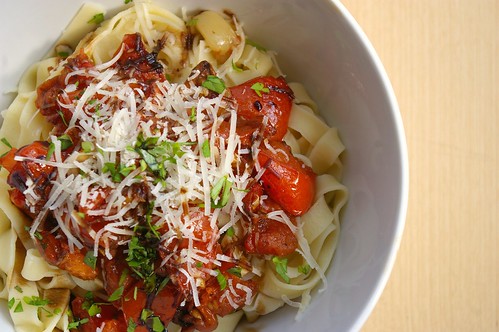
I’d sit at the dining room table and he would bring in heaping bowls of it, steaming hot and speckled with pink ham and green peas, dusted over with Parmesan and a sprig of parsley from the plant on his front deck.
There have been unusual and unexpected variations over the years, depending on what ingredients he had available. At one point, it was a truly bastardized version made from army green-coloured canned peas and canned flaked ham.
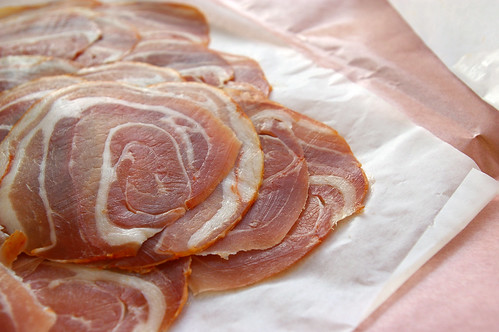
When I moved out on my own to go to university, my grandfather bought me a copy of The Umbergo Menghi cookbook containing the actual recipe which had spawned all his own versions. (And also the braised sweet peppers recipe.) Making it in the early ’90s on a student budget and without much experience finding specialty stores meant using more readily available types of ham since most grocery stores back then weren’t carrying prosciutto. Still, combining some version of ham with some cream and frozen peas and tossing it all with cooked pasta felt luxurious when competing against whatever food was being served in the cafeteria. (Lucky me to have had a boyfriend who lived off campus and, therefore, had a kitchen I could putter in occasionally.) Nowadays, prosciutto is easy to spot in the deli section, which means when I make this dish, it’s as Menghi intended.
Most of the time, though, I cook it from memory. Typically that also means adding more peas and prosciutto than called for. Partly because who doesn’t like all the good bits mixed with the pasta and also because that’s exactly how my grandfather does it.
A couple of years ago, while visiting my grandfather on the coast, we made some pesto together.
Then I let him sit at the dining room table sipping a glass of wine while I made Fettuccine con Prosciutto e Piselli for him, serving up a bowlful, sprinkled with Parmesan and a scattering of parsley from the plant on his front deck.
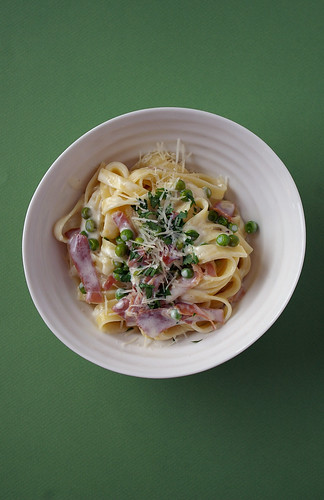
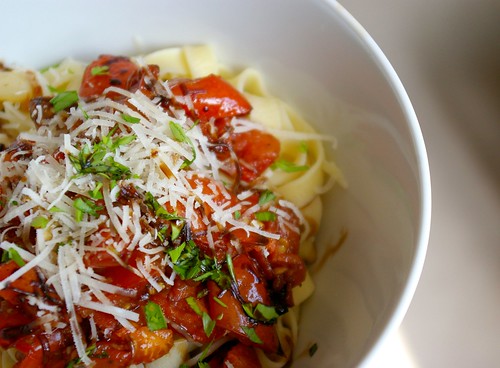
Fettuccine con Prosciutto e Piselli
While the measurements are quite specific, I won’t tell if a few extra peas and a slice or two of prosciutto find their way into the mix. I also like to let the cream reduce a little bit more than the recipe suggests. For reheating leftovers – if there are any – I find a touch more cream, or even milk in a pinch, helps. (ETA: if the mixture is too thick before serving — which happens when the cream reduces a bit too much — another splash of cream or some reserved pasta cooking water can thin it a bit.)
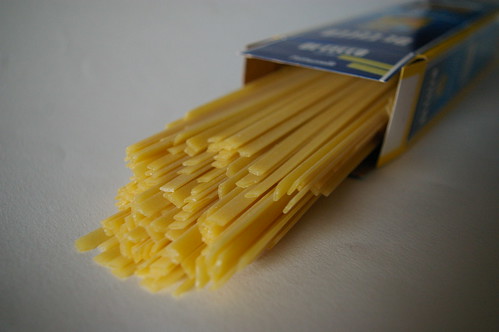
- 1 lb (500 g) fettuccine
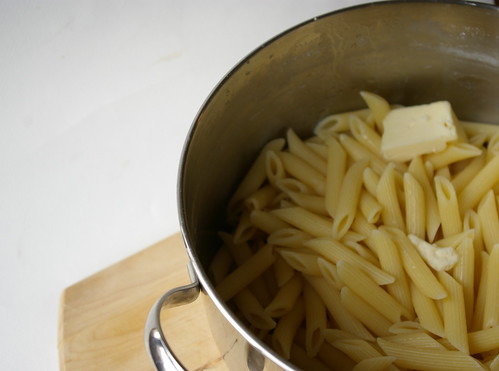
- 2 tbsp (30 mL) butter
- 2 tbsp (30 mL) dry white wine
- 6 tbsp (90 mL) peas
- 2 cups (500 mL) whipping cream
- 2 oz (60 g) prosciutto, julienned
- salt
- pepper
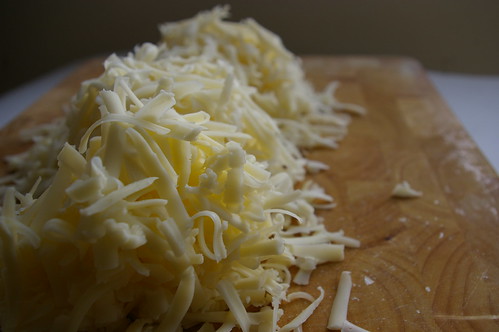
- 1 1/2 cups (375 mL) Parmesan cheese, divided
- 2 tsp (10 mL) fresh parsley, finely chopped
Cook pasta in boiling, salted water until al dente, about 3 to 5 minutes for fresh pasta and 5 to 7 minutes for packaged fettuccine.
Sauté peas in butter and wine in a large skillet on medium heat for 2 to 3 minutes. Add cream to peas and cook on medium heat until cream begins to bubble. Add prosciutto to peas and cream and simmer on medium heat for 2 to 3 minutes. Season with salt and pepper, but use less salt than you would normally use. The prosciutto will give you some salt.
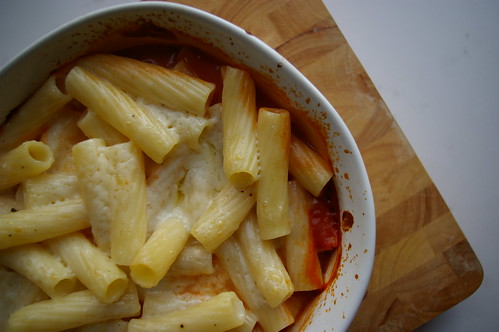
Add fettuccine to peas, cream and prosciutto. Gradually add 1 cup (250 mL) Parmesan cheese to fettuccine. Toss together and heat thoroughly until cheese has melted.
Put fettuccine into a warm serving bowl or on warm plates. Sprinkle with remaining 1/2 cup (125 mL) Parmesan and parsley and serve.
Serves 4 to 6.